This was another one of those posts that just didn’t want to happen, but it’s heeeeere!
Labels have anatomy, right? Well… not really. I just like calling it that. The reason I’m talking about labels and anatomy is that I’m sharing my extract labels with you today. These are really easy to do, if a bit messy. Of course, you don’t need to age them, which would save you the mess.
The Labels
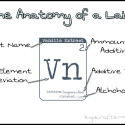
First, let’s check out these labels! Earl and I had a ton of fun creating these. We decided to use the periodic table as inspiration; thus, the discussion of anatomy. They’re related, right? No? Well, they are now. ’Cause I say so, that’s why. Wondering how to read the labels? Check out the graphic below!
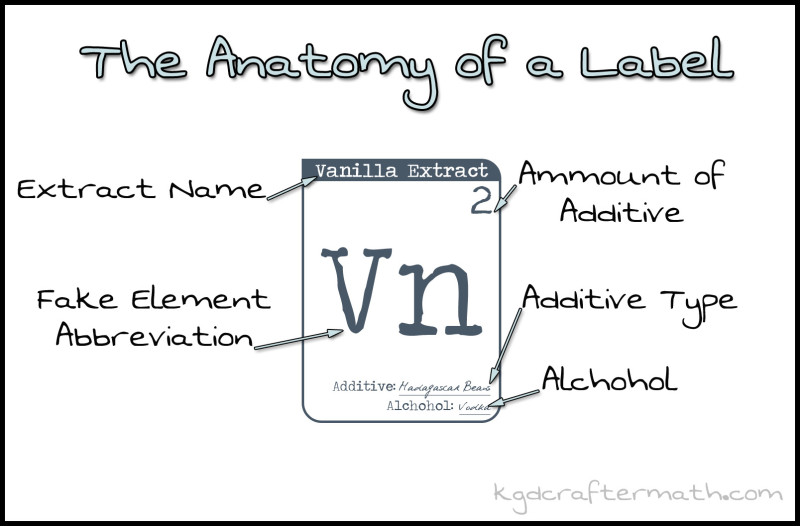
Download the free files here! If you appreciate my free downloads, I’d love it if you followed me on Facebook, twitter, instagram, or pinterest.
Remember the post I wrote about how me made the extracts? Well, if you have a general idea of the process, all you need is the label to recreate it! Isn’t that cool?!
Ready to make your own? Let’s do a tutorial! You can download a .zip file here which contains a .pdf to print and cut yourself, a .studio file to use your silhouette for a print and cut, and a .psd so that you can customize your own files! (You’ll need Traveling Typwriter, PhontPhreak’s Handwriting, and something that can edit .psd files to create your own customized labels.)
Materials
Avery full sheet labels
Instant coffee or black tea
Hair dryer or heat gun
Silhouette or scissors
Free label files (sized for 4oz Boston round jars)
Step 1: Print and cut
If you have a silhouette machine, use the .studio file I provided and use the print and cut feature. Want to know more about print and cut? Check out my stickers tutorial for a step by step.
Don’t have a silhouette? That’s ok! Just print them out and cut them by hand. I added a bit of a white border in the studio file, you’ll need to eyeball the border if you want to copy that (or you can just just use a paper cutter to add a bit of a border).
Step 2: Prep your working area
Next, set up your working area. You’ll want a small bowl of tea or coffee, some paper or plastic down to protect your table, and your drying tool out. I find that warm tea or coffee works better, so I kept some hot tea nearby for refills.
Step 3: Soak and dry
Now you can dip your labels in the tea/coffee mixture. Do a few tests with the coffee and tea to figure out how dark you want your stains to be. A full dip will give you a more uniform discoloration. You can also just dip the edges in to get a stronger color on the edge. Finally, you can drop the tea randomly on different parts for a really non uniform look. Then, hit it with your heat source (that’s the hair dryer or the heat gun) to dry them off and set the stain.
Step 4: Apply
Slap them on your bottles, and you’re all set!
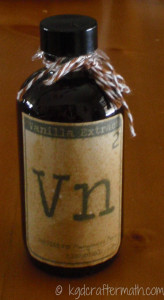
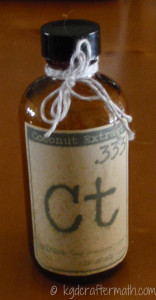
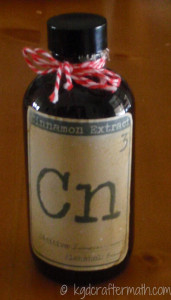
That’s it! The project is pretty simple, but I’m really happy with the design we came up with. What do you think? Does the periodic table inspiration make your inner nerd squeal?

Your labels look great Kristy. I think dipping them is worth the mess.
Glenna @ My Paper Craze recently posted…{ELEGANT} Princess Night Light
Thanks Glenna! I found that laying down a protective layer first actually made the mess a whole lot less. Especially since we just used paper towels that we could wipe it all down with afterwards!
These. Are. So. Cool! And I love the play on the periodic table. I actually have vanilla all ready to transform into extract…thanks for the free cut file so I have my label ready to rock, too!
Lauren @ The Thinking Closet recently posted…Felt Fish Pillow Tutorial for the Nautically-Inclined