So now that you have the card front and the stickers, what’s next?
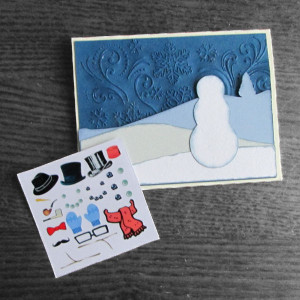
Well, we need to add it to the card! Oh yeah, and the card should have some sort of greeting.
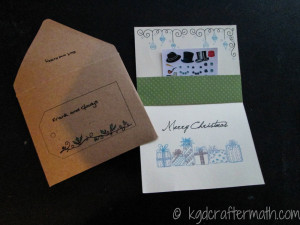
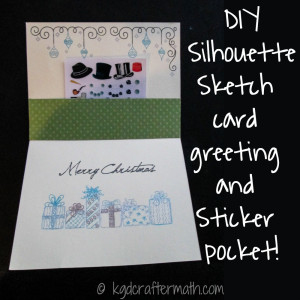
There are 3 major parts to this tutorial: cutting, sketching, and taping. I’ll go through each of the steps below so you can see how I did it. This is the one part of the card for which there isn’t a free cut file, but I will link to the awesome sketch files that I used from the Silhouette store! And, they’re only $1 a piece. Well worth it, don’t you think? This was the most time consuming part of the card though, both in setting up the design and in the actual sketch project. This was mainly due to the use of multiple colored pens and the fact that we made about 28 of them. Fair warning!
Materials
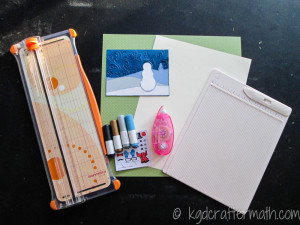
Cutting board
Sketch pens (I used a light blue, silver, bronze, and sparkly black pan)
8.5×11 Cream colored paper (Bazzill Basics Buttercream)
Contrasting paper for sticker pocket (Bazzill Basics Irish eyes)
Double sided tape
Folding board (optional)
Card front (from the card front post)
Stickers (from the stickers post)
Ornament doodle border (Silhouette online store, Design ID #36915)
Christmas card sketch file(Silhouette online store, Design ID #5914)
Step 1: Cut your paper
First you want to cut your 8.5×11 cream paper in half. I used my cutting board for this. You’ll set it length wise so that you’re cutting the short end and cut it right down the middle at 5.5″. This gives you two pieces of paper to use for your cards (so you get 2 cards out of it!). Don’t fold it just yet though, that will come later.
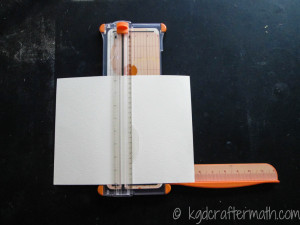
Step 2: Set up your sketch file
Setting up your sketch file is really simple if you want to do one color. If you want to do multiple colors like I did, it’s a tad more time consuming. Start by defining your paper size as 5.5″x8″ in the page options.
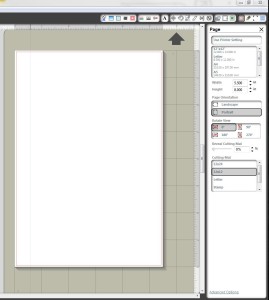
Next, go to File-My Library and locate one of your sketch files. Double click it to import it. Do the same for the other sketch file.
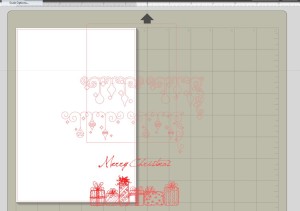
Drag each object so that they aren’t overlapping. Then, for each object, go to Object-Ungroup (or hit ctrl+u) and delete the outline of the card or the upper outline for the ornament doodle. Regroup each object separately (drag your selection box around all the objects you want to group and select Object-Group or ctrl+g) and drag them to where you want them on the card. You can use the Object-Align options to center the greeting if you want.
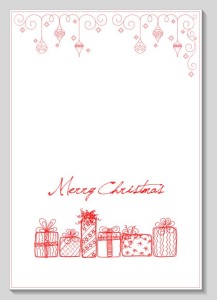
If you only want to use one color, jump ahead to step 3. Otherwise, continue along here.
So, you want to sketch in different colors, eh? Well, here’s what you want to do now. First, ungroup your images again (ctrl+u). If you have everything selected after you’ve ungrouped them, your image will look like this:
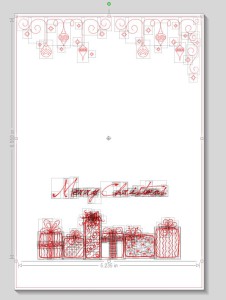
Basically, you need to define which color you want for each of those squiggles. I used the line color option in silhouette to denote which color I wanted where. Basically, you want to zoom in really close, select a line (or several) and then change the line color to the color you want. (You should really click to embiggen this picture, you’ll see how some of the lines work).
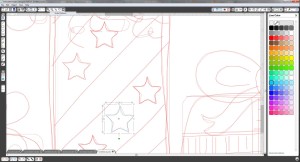
The ornaments are easier to work with than the presents, and the text in the middle is pretty easy to just draw a selection box around. Not all the squiggles will separate the way you expect them too. I just accepted it, and some parts of my present have two colors that define the outer edge or the ribbon (for example). Next, go back and select everything of the same color and group it (ctrl+g). I know it’s tedious, but this will make your life so much easier later. I have four groups, and this is how I chose to color my canvas.
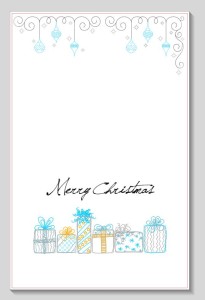
Step 3: Sketch your first color
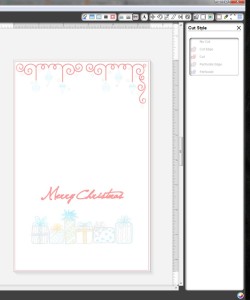
Now you want to sketch your first color (we’ll do black first here). So, head over to the cut style (it’s the little scissor) and set your black lines to cut (see, grouping is very helpful here) and all your other colors to no cut. You should see the black showing up as a thick red border and all the others as faded into the background like so:
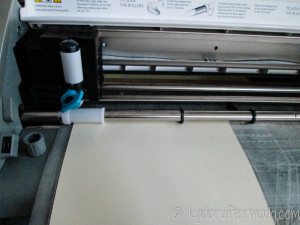
Load your black pen and your paper:
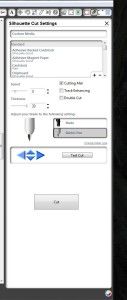
Then, head over to your cut settings and make sure that it’s on sketch pen (not blade). Hit cut and go!
If you’re using one color, skip ahead to step 5. Otherwise, head on over to step 4.
Step 4: Sketch the rest of your colors
This is where switching things around can get annoying and time consuming, especially if you are making a bunch of cards. However, it helps to have having pre-grouped the line colors! When you are ready for the next color (and each time you are), you need to go to the cut setting and switch out your active cut. So, for the gold it will look like this:
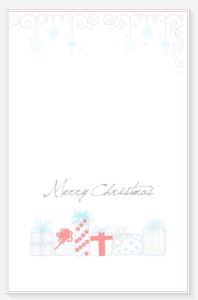
Then, switch your pen and set it to cut. Here’s each sketch in the order I did it, but it doesn’t really matter which color you do when:
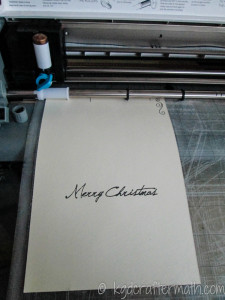
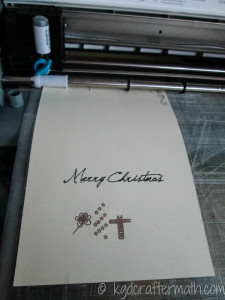
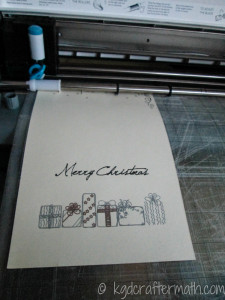
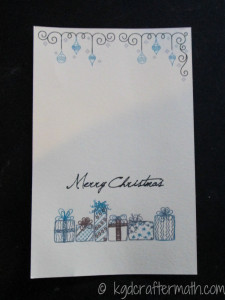
I went through 2 black pens and 2 silver pens, but the blue and the bronze were fine (over 28 cards). I had already used my black and silver pens, so that probably had something to do with it.
Step 5: Fold your card
We’re done with the silhouette part, and onto the assembly part! For this, I used my Martha Stewart folding board. Just plop the card on the board and run the creasing tool down the line marked A2 (this happens to be the size of card we’re making)
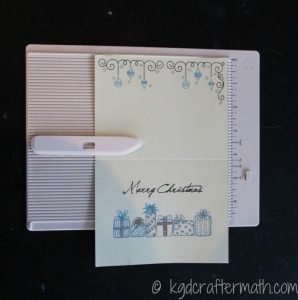
Step 6: Adding the pocket
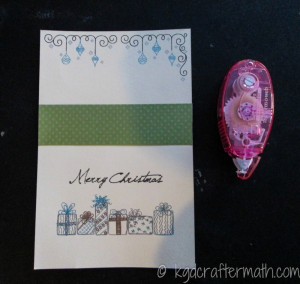
To make the pocket for the stickers, I just cut a strip of contrasting paper (green polka dot in this case) that was 1.5″x5.5″ and taped it down along the sides (but not the bottom). The bottom is aligned slightly above the fold line (to accommodate actually folding the card), and the fold line is sturdy enough to keep the stickers in place.
Step 7: Add the front of the card
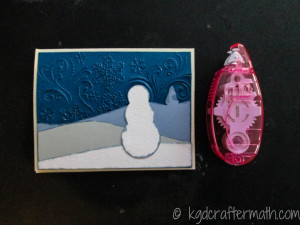
To add the front of the card we’re just going to tape it down in the center of the front portion of the card.
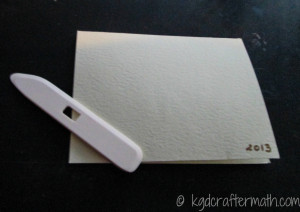
Finally, as a little added after touch, Earl and I added the year to the back of the card. Since we make a new card each year, this is our little way of remind ourselves when each card was made.
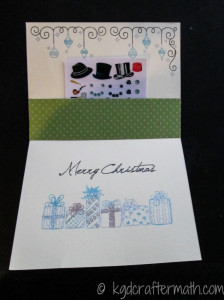
That’s it! Stay tuned for the envelopes tomorrow to finish out the card series. Oh , and don’t forget to check out the giveaway going on right now! You have until Monday, December 16th at 11:59p eastern to enter the giveaway for a $155 Amazon gift card!
2013 Snoman Christmas Card
Constructing the Front
Making the stickers
Assembling the Card <– You are here!
Making the envelope (Coming soon!)
