Today is another exciting Monday. I’ll be sharing the pearl necklace I made for my husband’s grandmother, it’s the final day for the amazon giveaway, and I’m also sharing a guest blog over at The Experimental Home all about the mess I make. I’m actually really excited about this! It’s my first guest blog *ever* you guys! This has certainly been one exciting month!
When Earl and I were figuring out what we would gift for Christmas, we decided early on that we were making everything. Only one of my brothers escaped this decision, but he’s really hard to gift for. For his memere (grandmother) and one of his aunt’s, we decided we would make some jewelry. Now, for memere, the jewelry adds to a theme, as we usually buy her a new piece every year. She really likes her jewelry! I think this will be extra special to her, since we hand made it.
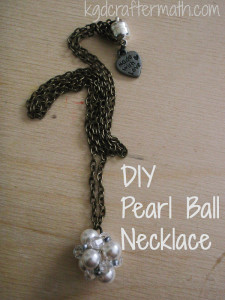
We decided that it had to be a necklace, and we also thought it would be nice to use some pearls. We were going to use the left over pearls from my wedding jewelry, but in the end decided not to. For inspiration, I modified Delightfully diy’s tutorial for pearl earrings to fit the beads I had and make it a full ball instead of just a half ball.
Materials
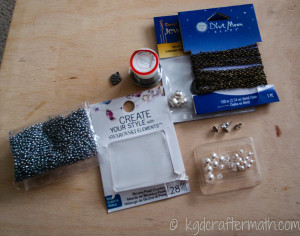
6 6mm pearls
8 silver seed beads
8 4mm rhinestones
20″ chain (cut into 2 10″ pieces)
Clasp
4 small jump rings
bead wire (I used the smallest gauge metal I could find)
A “made with love” heart bead
Step 1: Create the main loop
First, string 4 of the larger pearls interspersed with four seed beads like so:
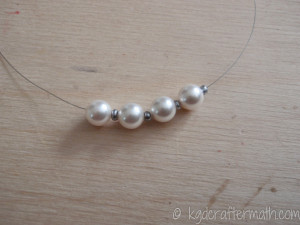
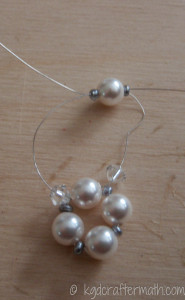
Then, take the right wire and loop it back through the pearl on the left so that it looks like this:

And draw it tight to create a loop.
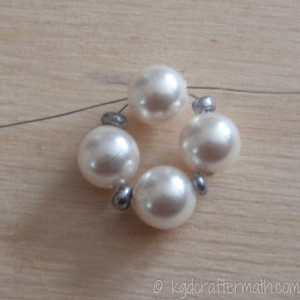
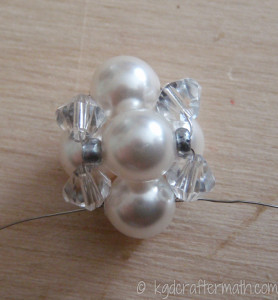
Step 2: Make the front round
Add a crystal and a seed bead to one side, and a crystal, seed bead, and pearl to the other.
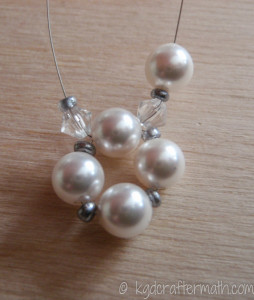
Pull the right wire through the seed bead and the left wire through the pearl and the seed bead. Then pull to tighten.
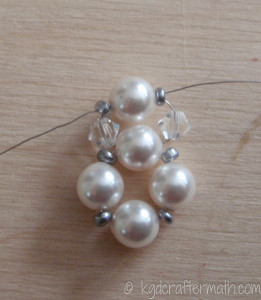
Make sure that you re going through both the pearl and the seed beads with your wires. Now, add a crystal to each wire.
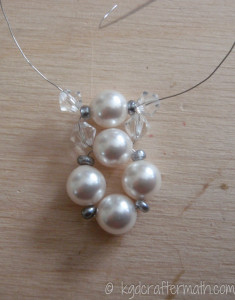
Here’s the (slightly) tricky part. Flip the pearl towards the opposite end and pull your two wires through the end crystal. Your right wire will go through the right side of the pearl and come out the left, and the left wire will go through the left side and go out the right.
Step 3: Make the back
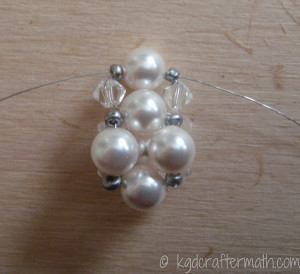
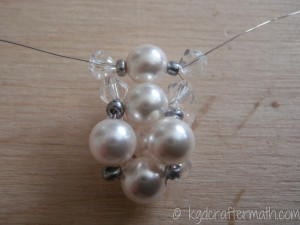
Flip your piece over and repeat step 2 to make the back of your ball.
Step 4: Secure the wire.
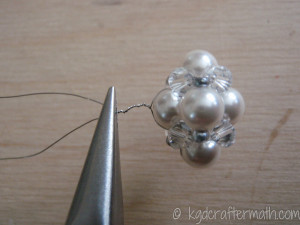
To secure the wire, I twisted it really tight, snipped the excess, and tucked the end in.
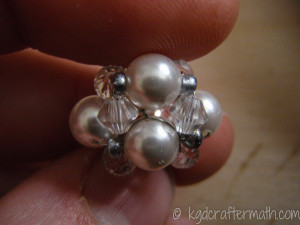
Step 5: Attach the chain.
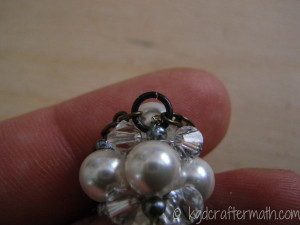
I used my jump rings to attach the pendant to the chain. First, I cut my chain into two 10″ pieces. To open the ring, hold each side with a pair of needle nose or chain nose pliers (you will need 2 pairs to do this) and twist one side towards you and the other side away from you.
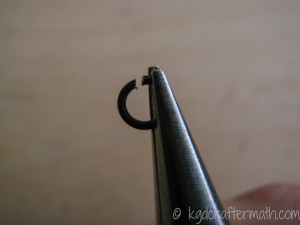
Then, run the ring through part of your ball and add the chain to the ends.
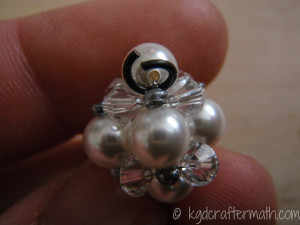
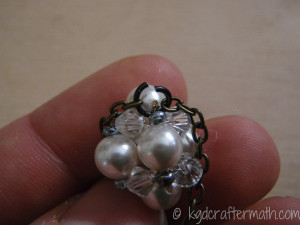
Finally, close the link up by twisting them back towards each other. Make sure that the close is nice and tight, or your pendant will fall off . Keep twisting back and forth to get a tighter close if you need to.
Step 6: Add the clasp
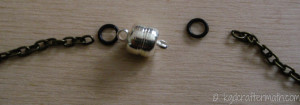
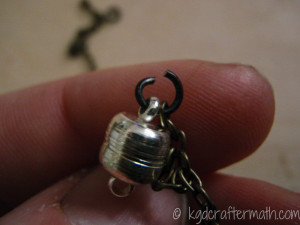
Use the jump rings to attach your clasp as well. I added a nice little bead to the end in addition to the clasp end. We used magnetic clasp, since memere doesn’t have the same dexterity she used to.
And that’s it! You’re done!
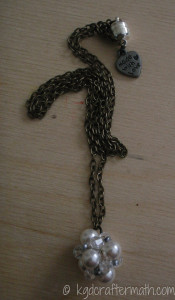
I hope memere truly enjoys this gift. Thanks for stopping by today! Don’t forget to head over to The Experimental Home and check out my Monday Mess guest post there (I saved all my craftermath for Laura today). And finally, today is the last day to enter in the $155 Amazon gift card giveaway, so don’t forget to do that before 11:59 Eastern tonight!
Do you make any jewelry? If so, what kind? What about other Christmas gifts?

I like to link up here.
Affiliate links help me keep this blog running. Thanks for using them!
All opinions expressed on this blog are always my own.

Wait.. this was your first guest post ever!!! Awesome! I am honored! Seriously. And great job. The necklace is gorgeous, as is the mess. Happy Holidays!
Laura @ The Experimental Home recently posted…The Monday Mess Movement: Please Excuse My Craftermath
Yep. First ever. To be honest, I’ve only been blogging since August, and I’ve been taking it intentionally slow. And I’m so happy that you had me! As you said, Monday Mess + Craftermath = perfect match. And thanks for the comment about the necklace! Happy Holidays to you too Laura!