You guys! It’s time for the final part of the card: making the envelope! I know, we’re using a standard size card so we *could* just go out and buy envelopes. But what would be the fun in that? Why buy them when you can make them, thus ensuring that you’re Christmas cards have way to many steps to them and take up all your time? Wait, did I just say that aloud. I guess so. Well, really I typed it out here, and I could delete it, but it’s better to just assume I’m saying these things. Otherwise I’d spend all day editing.
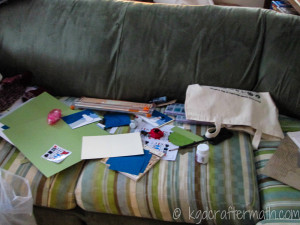
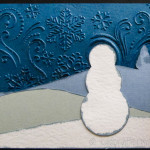
Anywho, right now this is what we have for our cards:
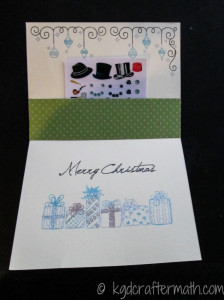
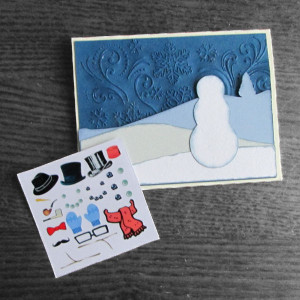
Fun! Today, I’m going to show you how to take a piece of card stock, address it with your cameo, and then fold it up into an envelope using a folding board. As a bonus, there are some print and cut seals using silver foil paper! Let’s get started!
Materials
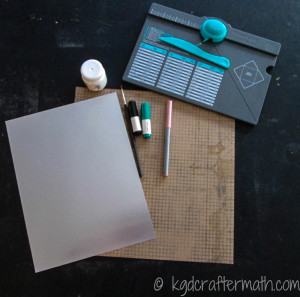
Printable Silver Foil Paper (or any type of paper that’s sticky on the back, you could even use your sticker paper if you really wanted)
A piece of card stock (I used a 12×12 sheet of Tim Holtz Paper Stash – Kraft Paper, but you could use an 8.5×11 piece of card stock as well)
Envelope gum
A paintbrush
Black sketch pen
A green pen
A red or pink marker (This needs to be the type that can go over other inks.)
An envelope punch board
Double stick tape (not pictured)
Free cut file (downloadable here)
Step 1: Make your seals
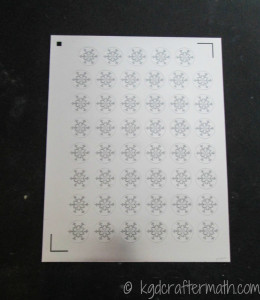
First, I made my seals using the print and cut feature. I went over the steps for print and cut with the stickers, so check out that post if you want a refresher. The snowflake I used is from The Graphics Fairy and is a vintage snowflake drawing. That little extra touch makes me happy. Here are the seals all printed and ready to stick to your envelopes.
Step 2: Set up your cut file
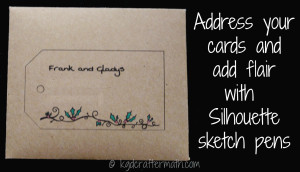
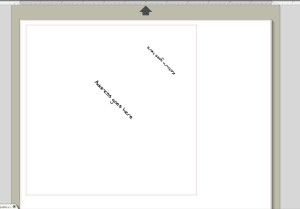
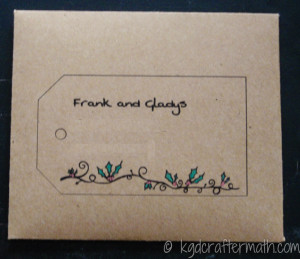
Next you’ll want to set up your cut file. We’re going to be sketching out the address and then finishing the envelope with another tool. As of right now, I don’t have the score lines set up in the studio file, but I’ll put that on my to do list. First, double click on the Address line and type in your address. You may also want to change the font. Do the same for the return. They will align the correct way. Next, you might want to add some embellishments. I added the free tag file that came with my silhouette and a nice holly sketch I purchased in the store. Then, group all your sketch elements together. If you are doing multiple envelopes, leave the address that you’ll change as a separate item. Here’s what the blank template looks like.
Step 3: Sketch and cut
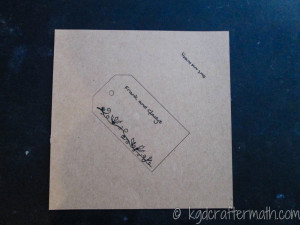
I did all of my sketching in black this time, so it only required two runs through the cameo. First, sketch your card and then cut it. If you are using paper with a pattern on one side, make sure the blank side is facing up. Remember to use your cut style tool to switch out the lines and don’t take the paper out of the cameo in between the sketch and the cut. Also, don’t forget to switch up the pen and the cut icons before you tell it to cut! I found out the hard way that if it’s on cut when the sketch pen is going, you get an absolutely terrible result. But, I figured it out real quick. Here’s what your page should look like now. (I’v removed the addresses for privacy reasons.)
Step 4: Clean things up and add some color
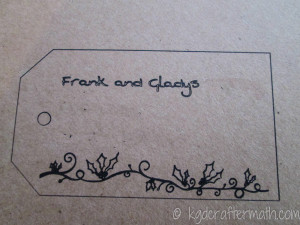
I’ve been filling in my addresses to make it look a bit cleaner and because I think the postal service would prefer it that way. You’ll notice that I also kept the address straight instead of tilting it, which I think would have had a nicer aesthetic. Then, I use another sketch pen to color in the leaves and the pink marker pen I have to place the berries. Make sure your marker is the type that will go over your ink, otherwise you won’t get the same effect.
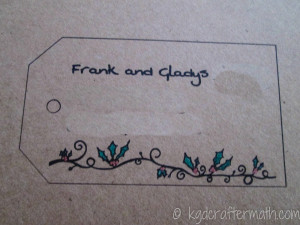
Step 5: Punch and Score
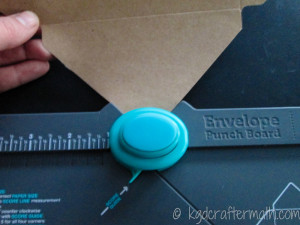
Now we’ll take out our envelope board and play with that a bit. First, line up your image on the board so that the left hand edge sits at 3 3/4″ like so: (make sure that the addresses are placed the way you see in the picture)
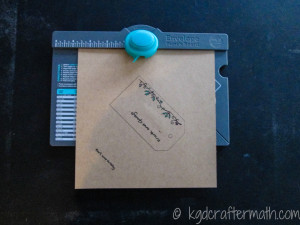
Press down on the blue button to punch, and pull your scoring tool along the line to create a score line.
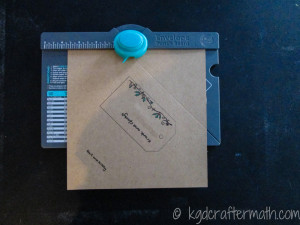
For the next line, you’ll be lining up the score line with straight alignment piece found on the punch. Punch down and create your score line.
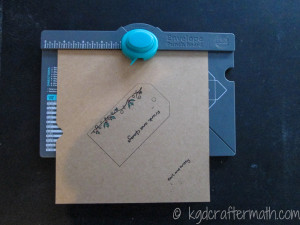
Continue this all the way around your page. Then, place the corners into the other side of the punch and round out your corners by pressing down. (This step is optional, but I like rounded corners so I went ahead and rounded mine.)
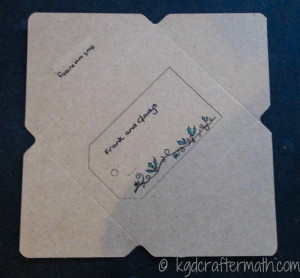
Step 6: Fold and tape your envelope.
Now it’s time to make this an envelope! Flip the paper over and fold up the sides. This will be the opposite direction of your scoring line, but that’s ok. It will still go pretty easily.
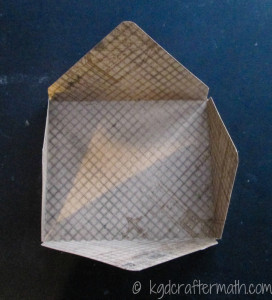
Now, figure out which side is the bottom and pull that side up. Then run some tape around the bottom inside edge of your two side pieces and press them onto your bottom flap.
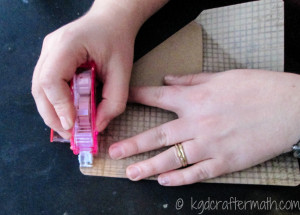
Finally, whip out that envelope gum and paint some along the edge of your envelope. You don’t need too much. You can do two things with the envelope: let it dry and wet it later with a wet paper towel, or place the card in now and just press it down while it’s still wet.
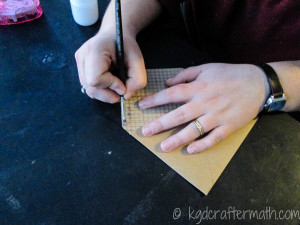
Fin
That’s it, you’re done! If you’re using patterned paper, the pattern will peek out nicely.
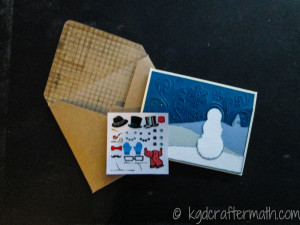
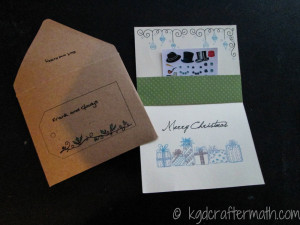
Stuff your card in.
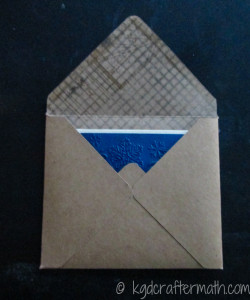
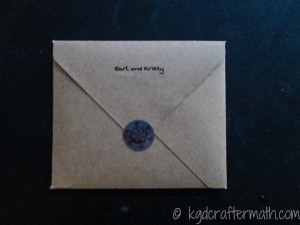
Add that seal.
And send it off into the mail!
Right, I might need to start cleaning up that craftermath now.
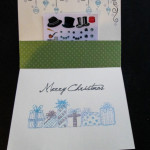
The nice thing about this card is that it’s all snowman and snowflakes except for the inside, so you could switch out the inner greeting for whatever winter celebration you partake in, or just send it as a “Thinking of You” card during the winter months!
Thanks for sticking this through with me, and I hope you have a great holiday season. Don’t forget the giveaway that’s going on right now! You have until Monday, December 16th at 11:59p eastern to enter the giveaway for a $155 Amazon gift card! I’ll see you Monday with yet another crafty tutorial!
2013 Snoman Christmas Card
Constructing the Front
Making the stickers
Assembling the Card
Making the envelope <– You are here!

Love these thorough tutorials, Kristy! You walk us through the steps in such a detailed way, that it really makes us feel like we can conquer it, too! I love all the special touches you added to these cards, and I know they will be such a blessing to Frank & Gladys and ALL your card recipients.
Lauren @ The Thinking Closet recently posted…The Friday Five Finale! (Or is it?)
Thanks Lauren! I always hope that someone feels inspired enough and competent enough to tackle a project that I’ve posted here. I’ve noticed a few downloads of the patterns as well, so that’s promising! The cards are (finally) going out in the mail tomorrow, so my friends and family should have them on their way soon!
Love your tutorials!
I really wish I had time to do the envelopes! Maybe once my kids move out (they’re 7 and 10) I’ll have time??
PS: also love the font you use!
Thanks so much Toni! It makes me ecstatic to see people enjoying the tutorials I write. Thankfully for my time budget, the closest thing to children I have are our dog and cat. I can’t imagine budgeting my time with little ones around the house! Even if you don’t have the time to sketch them out, the envelope punch makes it really easy to make your envelopes out of pretty card stock if you really wanted to and were able. Oh, and I’ve certainly noticed that my own mother has more time now that we’re all out of the house, so maybe you will!
P.S. Thanks! It’s called “Shadows Into Light”, and it’s a free font to boot!
Love your card and the envelope is such a nice touch. Thanks for the tutorial.
Glenna Anderson recently posted…“Another” Advent Calendar!
Thanks Glenna! The envelope board was something we purchased a while ago, so I knew that we had to use it. I’m so happy we did, and I really love how the sketch came out.
wow, i loved it,
Kristy is that a manila envelope too ? or just a hard cardboard .. been seeing another girl making a good album out from an envelope
Thanks Jessa! It’s all cardstock or scrap-booking paper. I don’t see why you couldn’t use a manila envelope though!