First of all, major props to those of you who voted in my impromptu Facebook poll! Thanks so much! For those who missed it, I needed a bit of direction to get back into the blogging groove again. The end of the semester really took its toll on me this year. For a grad student, that includes some last minute grant writing, lots of grading, dealing with student issues, end of year reviews with your committee, and a whole bunch of wrap up stuff. I basically turned to goo for 2 weeks after I finished all of that up.
But I’m back! And I’ve done so much in the meantime, that I had a few projects just waiting to be written up. Since I wasn’t sure what to do, I asked you! And here’s what you said:

As you can see, Craft it Forward and Cosplay crafting tied with 3 votes each. Since Craft it Forward was in the lead last night when I went to bed, that’s what I’ll be posting on tonight. Then I’ll switch over to Cosplay and Comic Con. After that – I’m not sure! I might do the metal casting, or I might do the gaming tabletop. Have an opinion on which you are more interested in? Let me know in the comments! And just in case your curious, the gaming tabletop comes with a full tutorial. :)
Craft-it-Forward
Ok, on to the topic of the day – Craft it Forward! This is something I ran into a while back on Facebook, before my days of blogging. The basic idea is that I will make something of my choosing for 5 people, who in turn offer to do the same for 5 other people. I really love the concept, and have seen several variations on it (including one where you offer to other bloggers and everyone blogs about it).
I offered up 2 of these this year – one set of 5 for my readers, and one set of 5 for my friends and family. The only requirement was that you made the same offer on your own Facebook page (blog or personal). So far, I’ve finished the first 2 sets of crafty gifts. One has been sent out, and the other is just waiting for me to toss in the mail. So if you’re next on the list, I should warn you that this is a sneak peek! I haven’t yet decided what I want to do for the next 3, but they’ll most likely be done during the summer months. Maybe more of the same, but maybe something different too!
Stationary Set
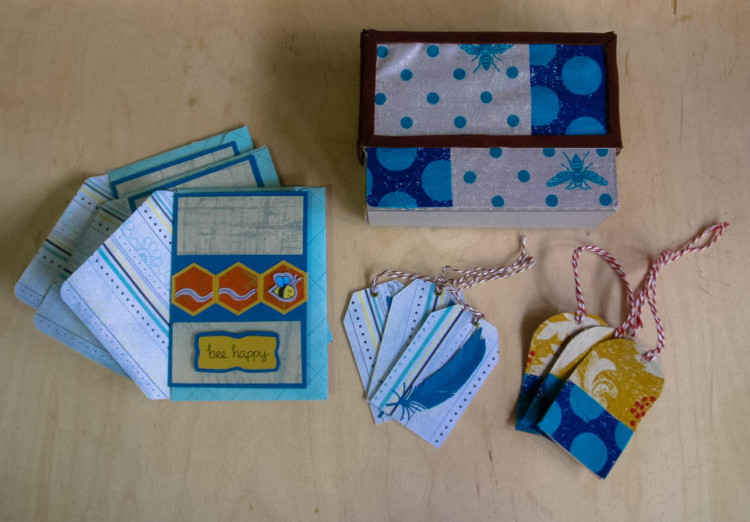
First up are these really fun card sets that I made.
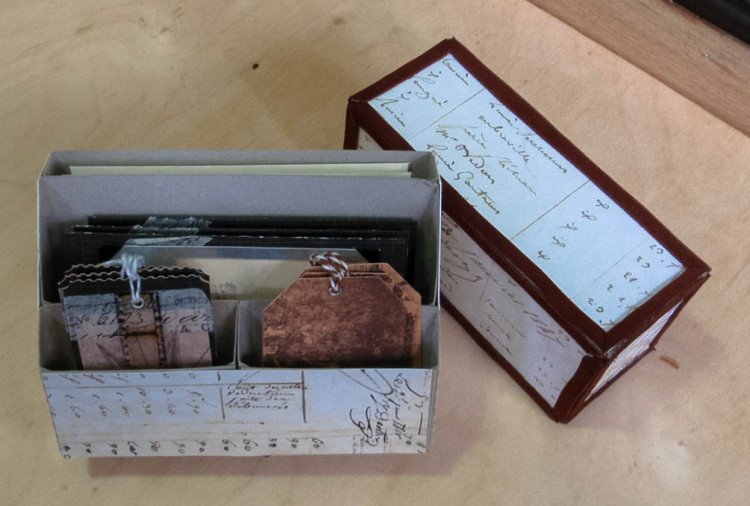
These sets were inspired by the card swap that I organized through the Silhouette Challenge Facebook Group. The swap was a ton of fun, and I decided to make a few extra cards for my Craft-it-Forward recipients. Of course, I couldn’t stop there so I made up some tags and a box to hold it all in.
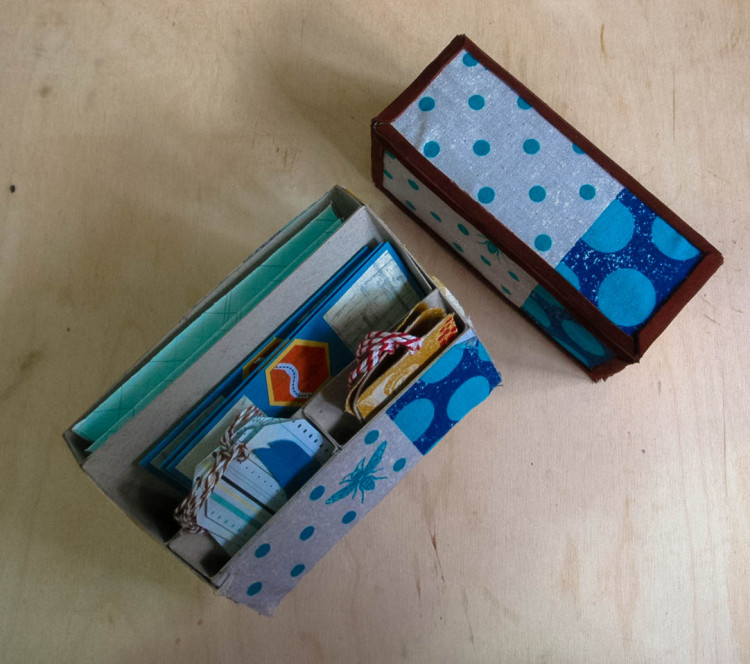
For the bee card set, I used some fun fabric I picked up for one of the tags and the box. For the other tag, I used the Silhouette Store feather file. I just thought the whole set shouted “Spring!”.
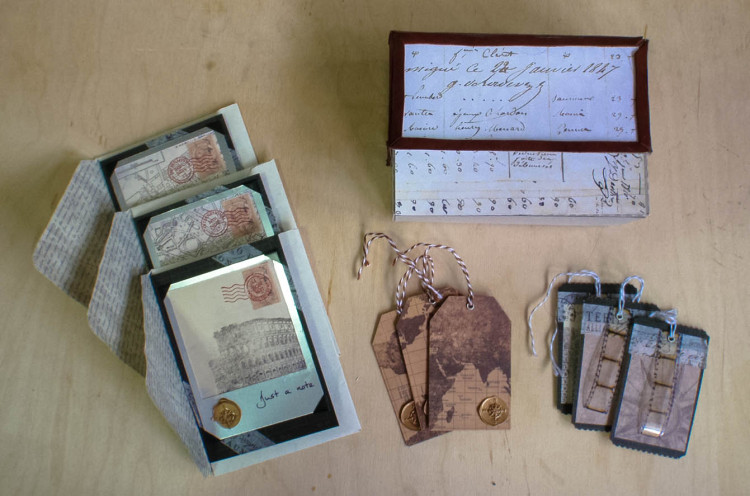
I also made a card set based on handwriting and maps. I love this one so much. It even has a wax seal on the card and one of the tags!
For both boxes, I added a bit of leather trim to spruce them up a bit. I hope they were well received! My only regret is that I didn’t make a set for myself.
Fabric Bags
Hi. My name is Kristy and I have a fabric obsession. This is all the fault of Crafty Planet, who introduced me to the world of amazing cotton prints. However, I can forgive them a bit, since they also introduced me to a really simple bag to make with said fabrics. I am now thoroughly addicted. Guess what – you can order from them online so you can be addicted too! I’ve got no affiliation with them, but I love them all the same. <3
When I ran across these really super cute bee and tree fabrics, I just knew a bag was to be had.
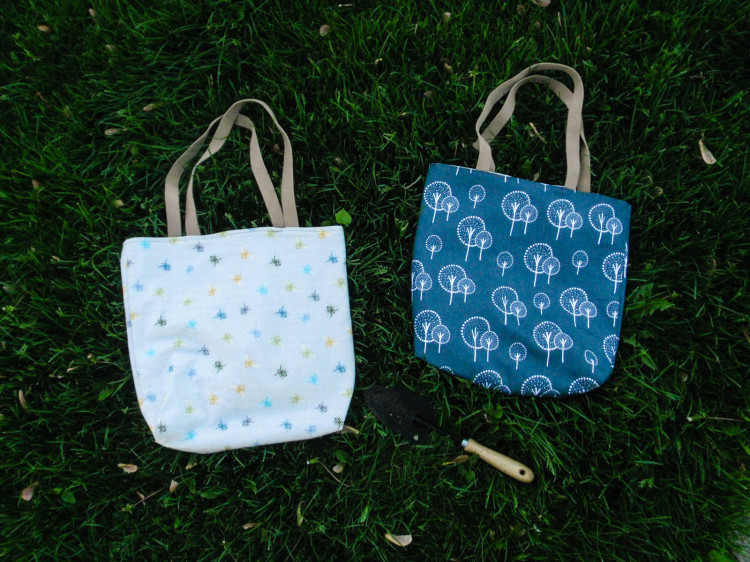
Actually, three bags were to be had! One for my reader Craft-it-Forward, one for my friends and family Craft-it-Forward, and one for me! I added the garden trowel there so you can see just how spacious these are (though, admittedly, my grass is a bit long and it kind of ate the trowel…). I can’t get enough of them! If only I didn’t need paper bags for recycling – I’d use these ALL THE TIME. FOR EVERYTHING. *ahem* Sorry about that. The bags are double sided and reversible, so each bag has both fabrics. Whichever mood you’re in, that’s the side you put on the outside!
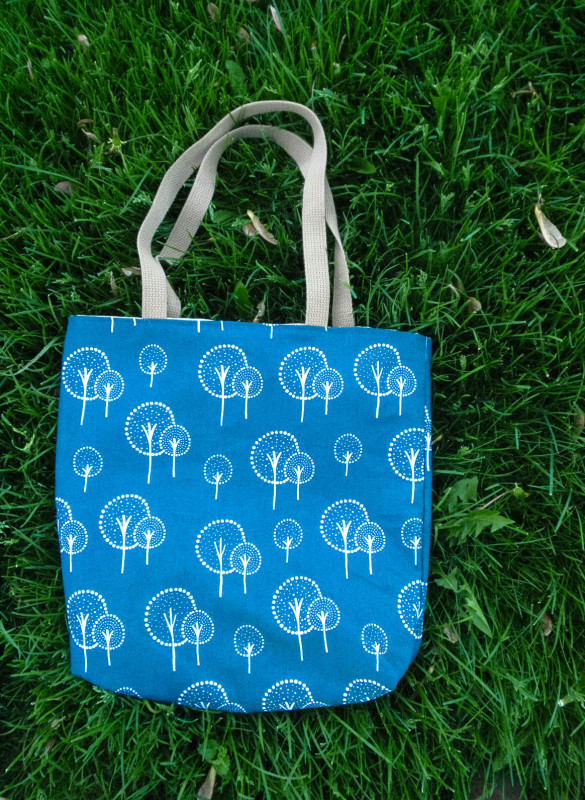
Usually I put a piece of canvas in between, but since this blue tree dot fabric is a heavy duty fabric, I skipped that step for these bags.
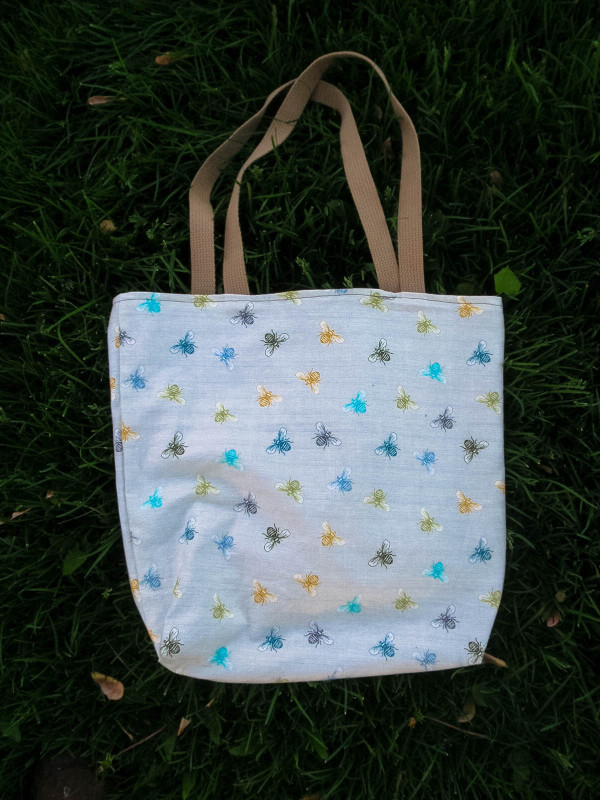
Aren’t those bees so amazing! I really do love the color pallet. The best part about these bags is that they are so easy to make! I whipped up 4 bags in 2 hours. If you know how to sew here’s a really quick run down on how to make them:
- You’ll need 1/2 yard each of 2 cotton fabrics, heavy canvas, and 1.5yds of webbing
- Cut 2 18×18″ pieces out of each of the fabrics
- Cut a 2×2″ square out of the two bottom corners of your bag. (You get to decide where the top is)
- With right sides facing, sew up the sides and bottom of one of the cottons. Box out your corners. {see here - step 6 shows the corners}
- Make a canvas sandwich (canvas, cotton, cotton, canvas) with the right sides facing of your other cotton. Sew up the sides and bottom, and box out your corners.
- Flip your cotton bag right side out. Place it inside the canvas sandwich bag.
- Cut your webbing in half. Place it in between the two facing cottons, one on each half of the bag. Pin the two ends to the edge of the bag, making sure not to twist.
- Sew a seam around the top of the bag, going over the straps several times. Make sure to leave a hole for flipping.
- Flip the bag right side out through the hole.
- Iron the edge of the top.
- Topstich around the top, making sure to close up the hole.
That’s it! Hopefully that makes sense.
Well, that’s it for today! I hope you enjoyed this update on my Craft-it-Forward! Don’t forget to let me know in the comments if you’re more interested in the gaming table or the backyard metal casting to follow the cosplay posts coming up next. Also – I’m curious! Which Craft-it-Forward project do you like best? I had fun making them all and can’t wait to do more!

Do I have to pick a favorite? I like them both. The cards are awesome and look very polished. The bags are beautiful and functional on a daily basis. You continue to amaze me!
Oh my gosh this is like 4 blog posts in one! I love all of these projects! But I really love the idea of creating a coordinating gift set with the cards and gift tags…they are so detailed and beautiful. I would be an ecstatic recipient of a craft-it-forward project like that! (And what a neat concept to “craft-it-forward,” too!)
Meredith @ unOriginalMom recently posted…TWIX Bites filled Chocolate Chip Cookies & A Father’s Day Gift