

Hello! As promised, here is my first tutorial. Before I get started, I wanted to introduce you to the new name of my craftblog “Please Excuse my Craftermath.” Credit for the name goes to my friend Sarah. I think she’s been to my house too often after a crafting bonanza. Or she instigates them. Either way, it is what it is. I figured that given the name, with every tutorial I would post a picture of the craftermath from that project. While I am a bit hesitant to show you my poor in-project organizational skills, it humanizes the projects a bit. With that, I present my first reader poll!
Ok, let’s get onto the tutorial! I chose to do dog beds this week because I had a problem to solve. I have a queen sized “feather” bed that I have no use for. I was unable to find anyone that wanted it, and I wasn’t sure if I could donate it, so we decided to salvage the stuffing for other projects. The first thing that came to mind was dog beds for our Jack-Russel: Bug. Without further adieu, I present to you my very first tutorial.

Time: 30 min
Familiarity Needed: How to sew a basic straight stitch.
Materials

1. Cutting Mat and Straight Edge (optional)
2. Pins
3. Coordinating Thread
4. Rotary Blade (optional)
5. Scissors
6. Felt (I used 2 yds and made 4 beds)
7. Stuffing (you really don’t need much)
Directions
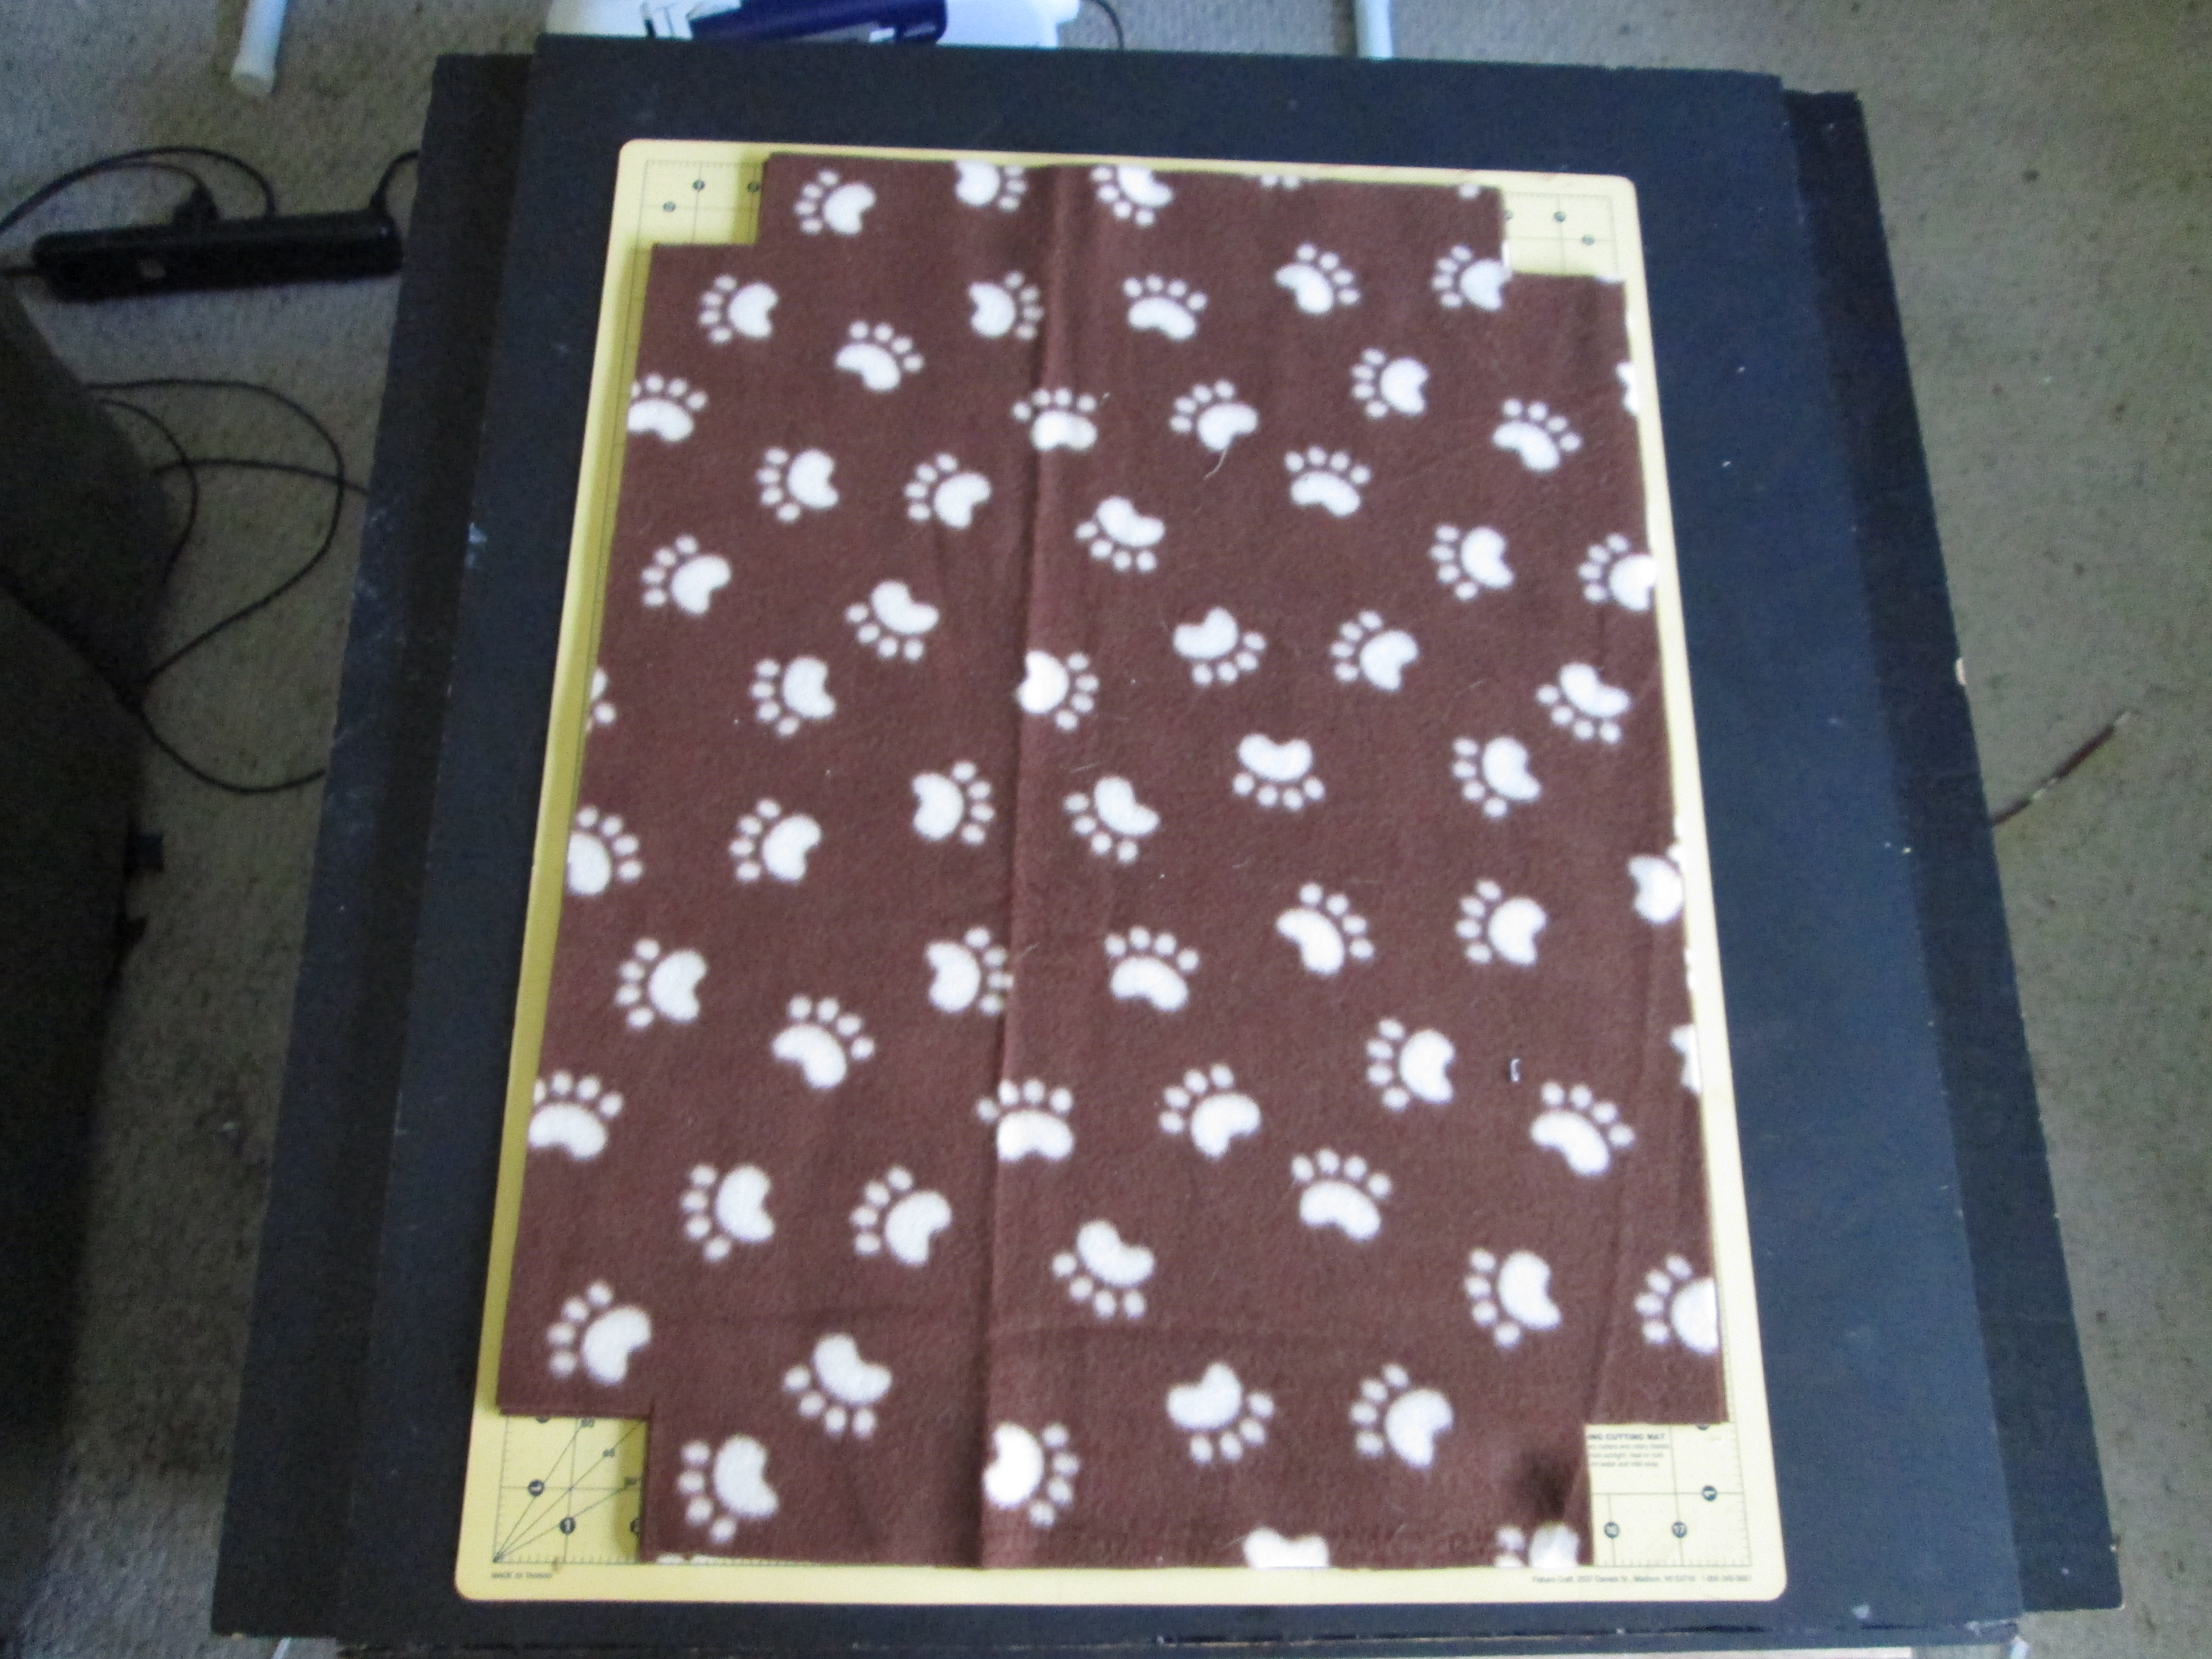
Step 1. Cut the Fabric to your desired size. Our crate is 24×18. I wanted the bed to be a bit small in the crate and we’ll be giving the beds some loft, so I cut my original pieces to 24×18 with my rotary blade.

Step 2. Place your two matching rectangles together and cut out a 2×2″ square in each corner of your fabric.

Step 3. With the wrong sides together, sew all four straight edges of your two pieces together. Leave an opening in the middle of one of the straight sides. (Alternatively, you can sew all the sides together here and leave one corner open in the next step)

Step 4. Grab the inside corners of the cut out squares and pull out so that they make a single seam. Sew each corner flat like these. (Make sure to leave one open if you did not leave a gap in one of the sides).


Step 5. Turn your fabric inside-out so that the seams are on the inside.

Step 6. Now it’s time to stuff your bed. You don’t want the bed to be too full. I stuffed mine so that there was a thin layer of stuffing about equally distributed. I would say it was maybe 1/4 as full as I would stuff a pillow.


Step 7. Now that your bed is full, it’s time to close up the bed. You could hand stitch it closed so that the seam doesn’t show so much. I machine stitched mine because it’s a dog bed, and it doesn’t bother me if the dog bed has an open seam.

And here it is, all finished and in the crate with Bug modeling how much he likes it!

Well, there it is, my first tutorial. It’s really simple, but I figured it was a good place to start. I hope you enjoyed it. Let me know in the comments if there is anything that you want me to make!
Oh yeah, and I almost forgot….. Here is the craftermath!


I like to link up here.
Affiliate links help me keep this blog running. Thanks for using them!
All opinions expressed on this blog are always my own.
I was told you were still trying to discard your stuffing. I am interested in it if you still have it.
I do still have a ton of stuffing! I’ll catch up with you on facebook and see what we can arrange.