My husband and I host board game nights roughly twice a month, and for years we played on our dining table with a tablecloth thrown over it. Cards slid everywhere. Dice bounced onto the floor. Someone always knocked over a drink. After one particularly disastrous Catan session that ended with root beer on a $60 expansion, I decided to build an actual gaming surface.
The whole project cost me about $43 and a Saturday afternoon. Here's exactly how I did it — mistakes included.
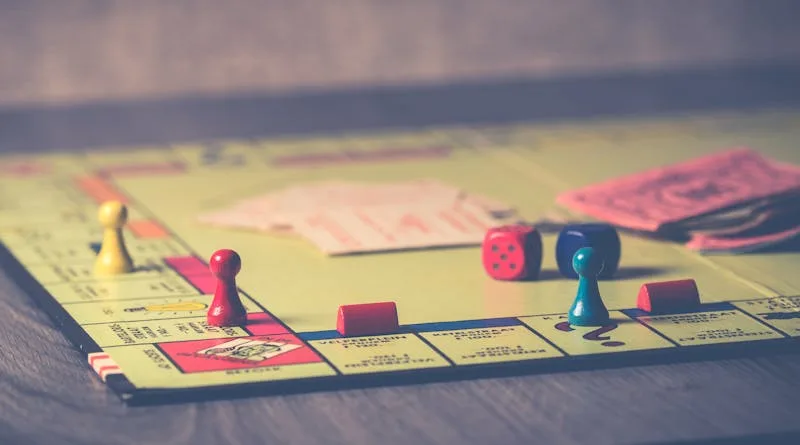
The finished gaming surface with felt top. Photo: Pexels.
The concept
I didn't want a permanent gaming table — we need our dining table for, you know, dining. So the plan was a removable topper: a flat board with a recessed felt playing surface, a raised wooden rail around the edges to stop dice from escaping, and built-in cup holders at each corner. Lift it on when it's game night, lift it off when dinner's ready.
I got the idea from those fancy $2,000+ gaming tables I kept seeing on Kickstarter. Same concept, fraction of the cost, and I could customize it to our exact table dimensions. My dining table is 42 x 60 inches, so the topper needed to sit inside those edges without sliding around.
Materials and tools
Here's what I actually spent:
A 4x8 sheet of 3/4-inch plywood from Home Depot — $28 (I had them rip it to 40 x 58 inches in the store, which is free). A yard of forest green billiard felt — $8 from a fabric store remnant bin. Four cheap plastic cup holders from Amazon — $6 for a pack of eight (I only needed four but couldn't find a four-pack). Pine lattice strips for the rail — free, because I had leftovers from another project. Wood glue, a staple gun, and a jigsaw for the cup holder cutouts.
Total: $42 plus some scraps I already had. Compare that to the gaming tables I was drooling over online. Even the "budget" ones start at $500.
The build process
Cutting the plywood was the easy part — Home Depot did it for me. Back home, I marked where the cup holders would go (one at each corner, about 4 inches from the edges) and used a jigsaw to cut the circles. This is where I made my first mistake: I cut the holes BEFORE attaching the felt. Don't do this. The felt should go on first, then you cut through it from underneath. I ended up with ragged felt edges around the holes that I had to trim and re-glue. Messy.
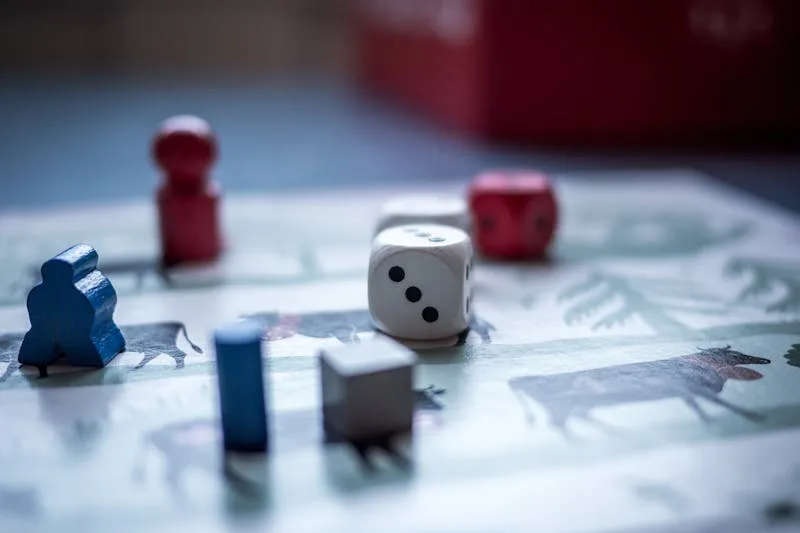
Game night setup on the finished surface. Photo: Pexels.
Attaching the felt is straightforward but tedious. Lay the felt over the plywood, pull it taut (not drum-tight, just smooth), and staple it to the underside every 2-3 inches. Start from the center of each edge and work toward the corners. The corners are the tricky part — fold them like you're wrapping a gift, pull snug, and staple generously. I used about 60 staples total.
For the rail, I glued pine lattice strips around the edges using wood glue and pin nails. The rail sits about 1.5 inches above the felt surface — tall enough to stop dice but low enough that you can comfortably reach across the table. I stained the rail with a walnut stain I had from a shelf project. Looked surprisingly professional for pine lattice.
The cup holders just press-fit into the cutout holes. The plastic lip sits on top of the plywood, and the cup drops below the surface. They're removable for cleaning, which turned out to be important after the first game night (pretzel crumbs get everywhere).
The Silhouette touch
This is where my craft addiction kicked in. I couldn't just leave it as a plain green surface with wood rails, could I? I used my Silhouette Cameo to cut custom vinyl labels for each cup holder position — player names in a medieval-looking font. I also cut some decorative corner pieces from gold adhesive vinyl. Nothing over-the-top, just enough to make it feel intentional rather than "I threw some felt on plywood."
I also made removable game-specific overlays using freezer paper stenciling techniques. For Catan, I cut hex grid lines that lay on top of the felt. For poker nights, I printed and cut a betting area layout. These overlays just sit on the felt and peel right off — no adhesive, the felt's texture holds them in place.
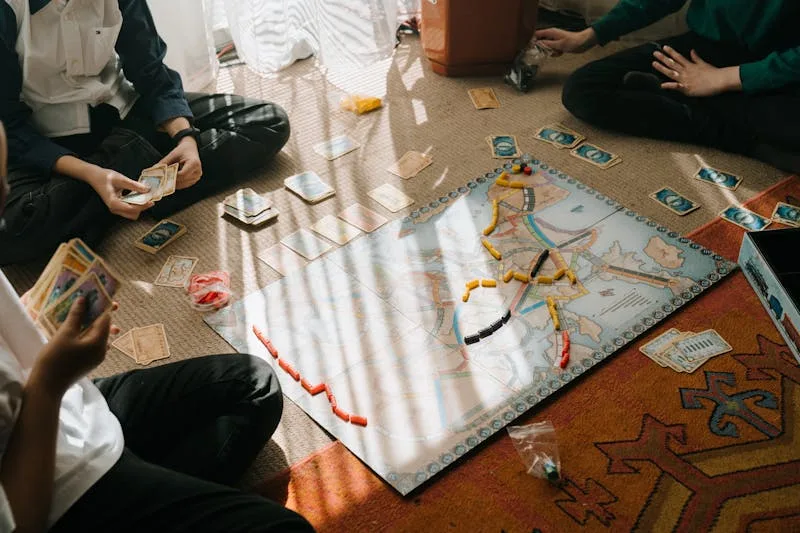
Dice actually stay on the table now. Photo: Pexels.
Mistakes I made (so you don't have to)
First: cutting cup holder holes before the felt. Already covered that. Second: my original felt was too thin — regular craft felt from the dollar store. It wrinkled within two game sessions. Billiard felt (or "speed cloth") is stiffer and lies flat. The $8 remnant piece has held up perfectly through a year of weekly use.
Third: I didn't add rubber bumpers to the bottom. The first time I set the topper on the dining table, the plywood scratched the finish. Four adhesive rubber feet from the hardware store ($2) fixed this permanently. Should have thought of that from the start.
Fourth: I used too much stain on the rail and it took three days to dry in our garage. One thin coat is plenty for pine lattice. Nobody's inspecting your gaming table rail with a magnifying glass.
Upgrades after a year of use
After about six months, I added a few things. A strip of vinyl icon labels on one rail section — tiny icons for each game we play regularly, so we can track our "house records" with dry-erase marker tallies next to each icon. My husband thought this was ridiculous. He also checks the tallies every single game night.
I also cut felt coasters that sit inside the cup holders, because condensation from cold drinks was pooling in the plastic. And I made a simple drawstring bag from leftover felt to store the hex grid overlays and poker layout flat.
One thing I'd do differently if I built another: make it two pieces that hinge in the middle for storage. The single 40x58 inch board is awkward to store — it lives leaning against the wall in our garage, and I'm always worried about warping. A hinged version would fold to 40x29 and fit under a bed.
Was it worth it?
Absolutely. The felt surface alone transformed game night. Cards don't slide. Dice roll and stop instead of bouncing onto the floor. The cup holders mean drinks stay off the playing area. And the geek factor of having a dedicated gaming surface — with custom vinyl labels, no less — gets comments from every new person we invite over.
For anyone who's into gaming blogs and JRPG reviews, you'll appreciate this: I also made removable character stat cards from laminated cardstock that slide into vinyl sleeves I cut on the Silhouette. Perfect for tabletop RPG sessions where everyone needs their character sheet visible but protected from snack fingers.
Total investment: about $45 including the rubber feet. Total time: one Saturday. Would I do it again? I've already built a second one for my sister. Hers has blue felt and she requested custom cardstock name plates instead of vinyl — different look, same build process. That's the beauty of a project this simple.