

I’ve been a bit quiet around here lately. Not that I have’t been working (have you seen my instagram feed lately? I’ve been quilting my days away). The plan is to finally give it to my brother and sister-in-law this Saturday, so I should be back in gear again soon. In the meantime, it’s Silhouette Challenge time, and I couldn’t help myself but to whip up a project for this month’s theme. For “Our Favorite Things” I decided to make a fun trio of pillows using Heat Transfer vinyl. Today I’ll show you the HTV process, and the I’ll also show you the sewing steps for these super simple pillow covers later this week. 
HTV Pillow Cases
Materials
Some of these links are affiliate links. Thanks for supporting my blog by using them!
The materials I needed for this project were pretty simple. In addition to the Silhouette, here is what I used:
1 12×12 sheet black easy siserweed (I didn’t use the whole thing)
3 15×15 pillow cases (I made these myself from some white Denim)
Weeding Tool
Iron and Ironing board (Here and here are two irons that I know work well, but as long as it gets hot enough you’ll be all set.)
Creating your cut file
Once you’ve got your cut file created, you’ll want to cut it out. You can download my free cut file here if you want (both V2 and V3 formats), or you can make your own using whatever text or images you want. I set my font size to 150px and used Segeo Print. Here are some tips to remember before you set your machine to cut.
Don’t forget to mirror your work! In V3, select your object(s) and go to In V2, select your object(s) And Choose object – Transform – Flip horizontally.
Make sure to do a test cut. I needed to do a double cut with the vinyl settings (I used my vinyl on a mat). In V3, In V2, go to Silhouette Cut Settings. From there, choose your settings and hit “Test Cut”
Applying the HTV
The first time I tried to use HTV, it was a disaster. Turns out it was my old $10 iron that was the problem. Once I bought a new iron, I was happy as a cat in a box. This is a pretty simple 3 step process: Weed – Place and Iron – Remove the plastic  I used my weeding tools (I have a Silhouette one too, but you could also use tweezers. Really, anything that lets you grip the small pieces works).
  Place the vinyl against the fabric (notice how it flips?).
  Before you iron, place a thin piece of cotton over the fabric. A kitchen towel is too thick. Here, I just used a scrap piece of muslin.
  Press down on your iron for about 30 seconds (don’ use any steam settings).
  Once you’re done, the plastic sticky part will peel away easily from the htv. If it doesn’t, simply apply more heat and pressure.
Admire your handiwork
Now I’ve got a brand new set of pillow covers to adorn my couch! I want to make a bunch more to switch out. I’m thinking maybe a tri-force pillow. And of course, I’ll need to to a Serenity logo. I’d love to make a set of Dr. Who pillows (one for each doctor, of course). Got any suggestions? Leave them in the comments below! Don’t forget to come back later this week to catch the sewing instructions! 
Want to Check Out More Silhouette Projects?
My Silhouette Challenge buddies and I are all sharing projects on our blogs today, so peruse the projects below for a wealth of Silhouette inspiration! 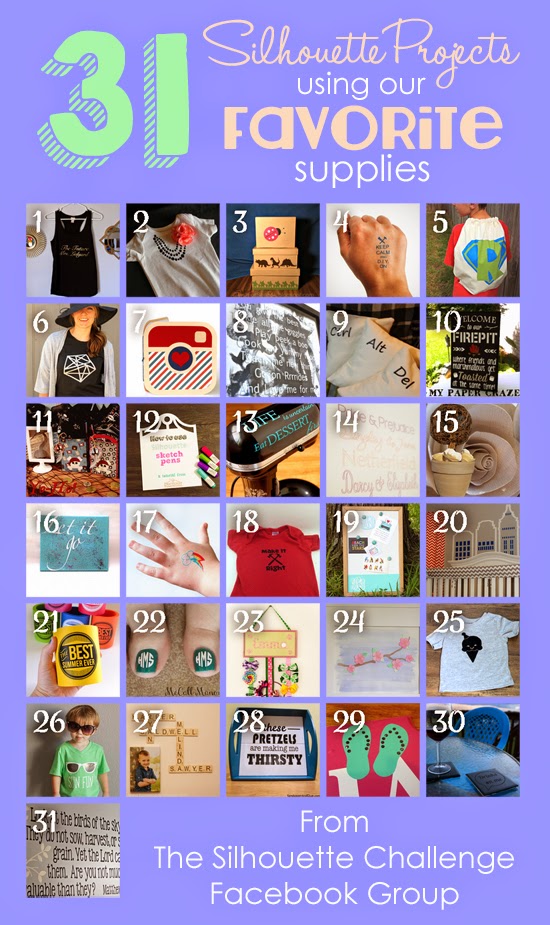
1. Just a Girl and Her Blog // 2. The Frill of Life // 3. A Time For Seasons // 4. The Thinking Closet // 5. Ginger Snap Crafts // 6. Grey Luster Girl // 7. Simply Kelly Designs // 8. Home At Eight // 9. Please Excuse My Craftermath… // 10. My Paper Craze // 11. Mama Sonshine // 12. Practically Functional // 13. Adventures in All Things Food // 14. Two Purple Couches // 15. Dragonfly & Lily Pads // 16. Sowdering About // 17. Cutesy Crafts // 18. My Mom Made That // 19. Pitter and Glink // 20. Pineapples And Pinecones // 21. Dream a Little Bigger // 22. McCall Manor // 23. TitiCrafty // 24. unOriginal Mom // 25. Persia Lou // 26. Lil Mrs Tori // 27. Home. Made. Interest. // 28. Sandpaper and Glue // 29. Silhouette School // 30. Creative Ramblings // 31. My Favorite Finds


I like to link up here.
Affiliate links help me keep this blog running. Thanks for using them!
All opinions expressed on this blog are always my own.
I loooove these! They look like so much fun! Great job!
Randi Sowders recently posted…Just umm, Let it Go
Thanks Randi! They are a ton of fun, and seem to make people smile when they first see them. 😀
I just found Your blog Kristy and I think it`s amazing. Alt + Ctrl + Del on pillows ? Come on! It`s funny on so many levels escpecially for IT man 🙂 Hugs
Great pillows!
and I wanted to let you know I love the new look of your blog!
Dawn Marie recently posted…Yo-Ho it’s a Pirate Party
Thanks Dawn Marie! I found the font for the header first, and then just kind of went from there. Even though clutter is part of the point of my blog, I still wanted to go for a little bit of a cleaner look. I’m glad you like!
These are so fun!
Bethany recently posted…{Monogram It: A Memo Board Makeover}
Thanks! <3
25- Thx for the clear explanation of Bynum’s injury. Ah, so you are a tennis player. As a dedicated club player I am amazed at how hard tennis is on the body. It’s interesting that the top male players start to be considered leaving their prime at 27 or 28 (Agassi and Conners excepted), as opposed to the NBA where the window of a player’s prime is much larger.It’s hard to win a tennis match as you cannot run out the clock like in basketball, you need to keep winning points, games and sets.
so clever!! they came out great 🙂
Stephanie @ Sandpaper and Glue recently posted…Serving Tray Upcycle
Oh-so-clever!! Love this idea. Simple and fun!!
This is SO cute!!!! I love it!
Carrie recently posted…Church Nursery Wall Quote
What a fun idea. They’re great.
[…] This tutorial is just for the sewing, if you want to add the Vinyl decals, check out my previous tutorial here. […]
These are TOO CUTE, Kristy! As someone who has used CTRL ALT DEL more times than I can count, I’m particularly fond of their geeky factor. Also, I love your blog sig. Ink-tastic!
Lauren @ The Thinking Closet recently posted…10 Lessons I Learned from Planning My Own Wedding
I still haven’t ventured into HTV yet but I’m dying to try it. I want to make these in ctrl z or for us mac users cmd z or edit > undo! Oh the possibilities!
Michelle from Weekend Craft recently posted…Antique Fork Photo Stand
[…] how we chose our font for the Ctrl Alt Del pillows! You can find the sewing tutorial here and the iron on vinyl tutorial here. And honestly, wordmark.it is how I choose my fonts for about everything now. Thanks for […]
[…] 5. Ginger Snap Crafts // 6. Grey Luster Girl // 7. Simply Kelly Designs // 8. Home At Eight // 9. Please Excuse My Craftermath… // 10. My Paper Craze // 11. Mama Sonshine // 12. Practically Functional // 13. Adventures in All […]