Last week I showed you the stenciling job I did with my cameo and some good old freezer paper. This week, I’ll show you how to turn those pieces of canvas into a toiletry bag! There are 2 parts to this process. The first is to wax the canvas. This is an optional step, so feel free to skip it if you don’t want to do that. Waxing the canvas makes it waterproof. And the second step is to sew it!
I should warn you, though I looked at a bunch of other tutorials before making my bag, I kind of winged it as I went along. So if it looks like I’m doing something funky, and you can think of a better way to do it, go right on ahead! And if you’re new to sewing, don’t worry! I’ll try to take it slow. (I do assume that you know the basics of threading your machine and sewing a straight seam throughout this tutorial).
Waxing Your Fabric
Materials
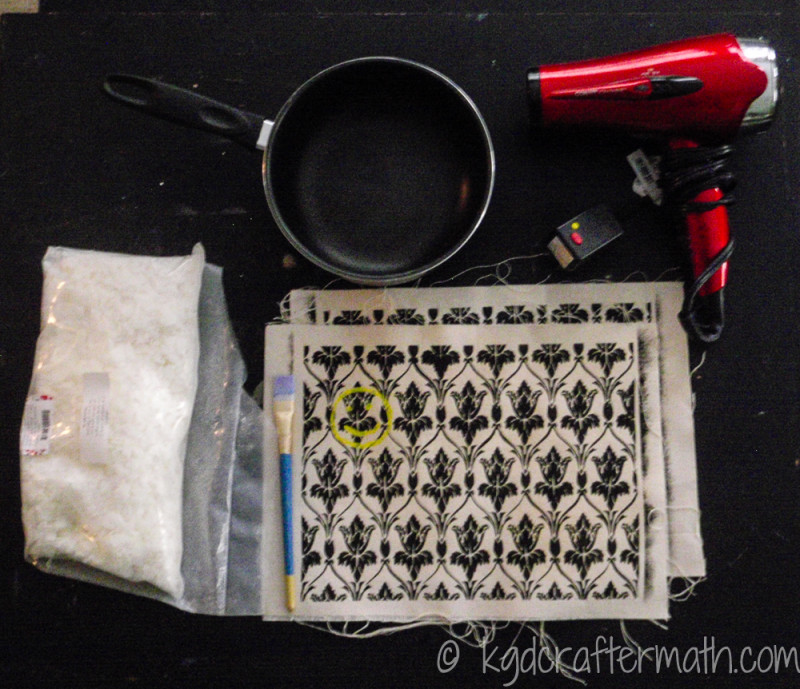
Your fabric
Some wax (I had some soy wax from making candles, so I used that. I used about 2 cups of wax, but could have gotten away with a bit less).
A paintbrush.
A pot (to melt the wax in)
A source of heat (hairdryer or heat gun)
Something to protect your surface. I used freezer paper (not shown here)
Step 1: Melt your wax
Go ahead and melt your wax on the stove. It melted for me in about 5 minutes on medium heat. You could use a double boiler, but I’ve never found the need.

Step 2: Paint your fabric
Yep, you heard me. Paint the wax onto the fabric. Don’t worry about getting it too even, we’ll fix that later. I probably put a little bit too much wax on my fabric, so try not to over do it either.
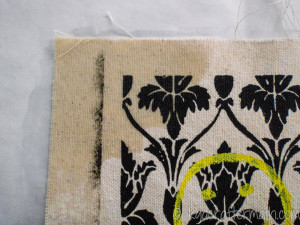
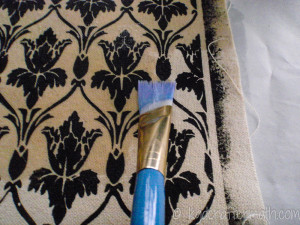
Step 3: Even it out
To finish off the wax job, you’ll be using your hair dryer to melt the wax into the fabric. Start with the side you just painted, and pay particular attention to the spots where you may have dripped. You’ll want to keep the hair dryer really close to the fabric, and use the force from the side to push out thicker blotches. Make sure to slowly go over the entire piece of fabric.
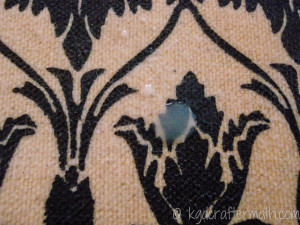
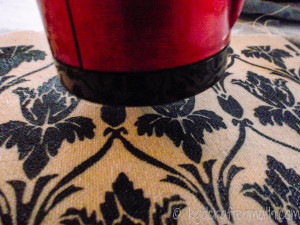
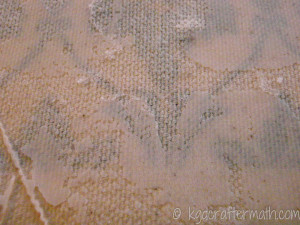
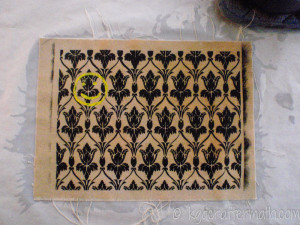
Once you’re done with the top, flip the freezer paper over (or place a new piece down). Then place your fabric down with the back side up. It’ll look really uneven. Blow dry this, flip it, and blow dry the front again. Keep doing this until you have a pretty even application of wax and there isn’t much wax seeping out onto the freezer paper. I held mine hanging for a few minutes once I was done to dry it.
Sewing the Bag
Materials
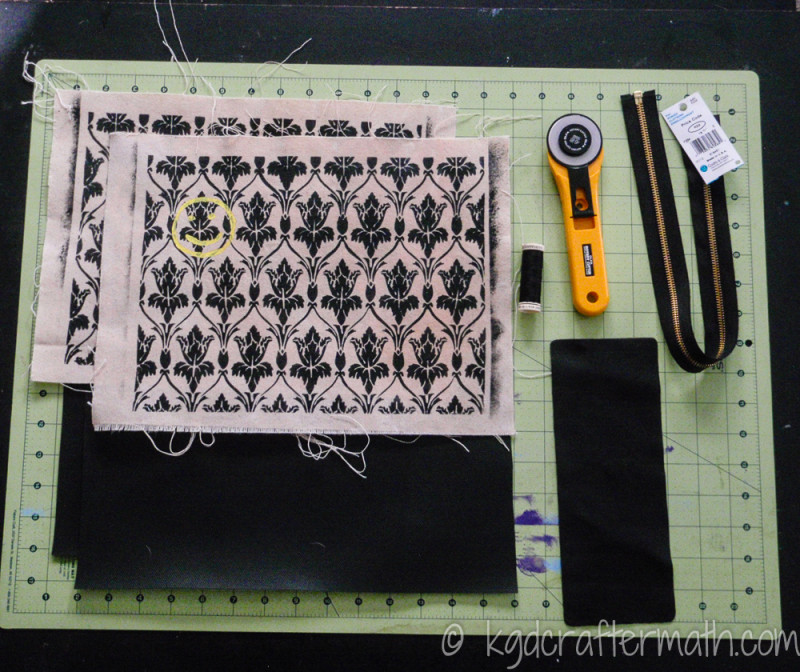
2 pieces of canvas (will be cut down to 12×9.25)
2 pieces of waterproof interior , 12×9.25 (I used a vinyl fabric)
Some soft scrap leather (I used about half of this 9×3 piece)
Rotary blade or scissors
Zipper that’s at least 10″ long
Thread
2 D-rings (not shown here)
2 rivets and a punch (not shown here)
Step 1: Trim your fabric
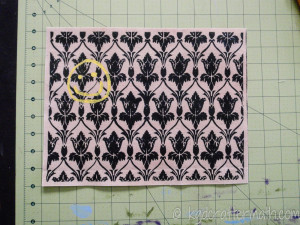
I trimmed my canvas so that there was a 1/4″ of white space around the fabric. I usually sew with a 1/4″ seam, so that was just the right size for me. Then I cut my interior fabric to match the size.
Step 2: Prepare your zipper
First, cut your zipper so that it’s the length of your fabric. Then cut 2 pieces of leather that are 1.5×2″ in size.
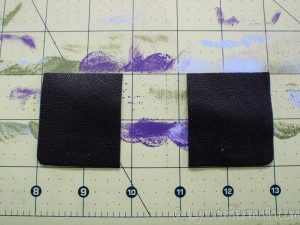
These pieces will go over the ends of your zipper. Wrap them around like so, and carefully pin them into place.
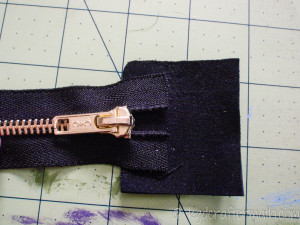
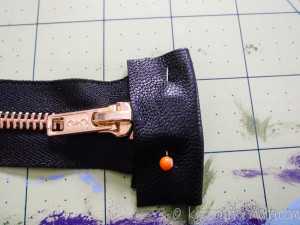
Carefully sew the leather into place, making sure not to break your needle on the metal. You may need to lift your needle and pull the zipper through a bit on the other side. I put 2 seams in here.
Step 3: Attache the zipper
Make a zipper sandwich with the canvas on the bottom (right side up), then the zipper (right side down) and the interior fabric (right side down). Pin this in place.
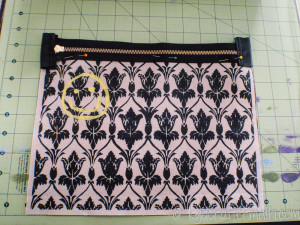
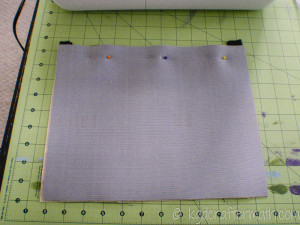
Sew along the top edge of the zipper, making sure to move the zipper once you get to it. (You may need to stop and start again if you don’t have a zipper foot).
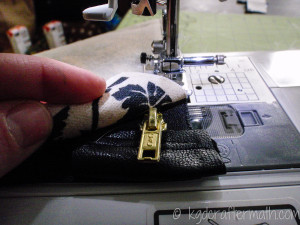
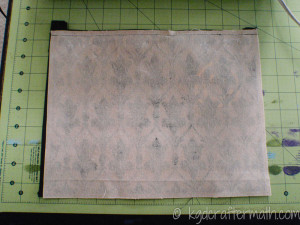
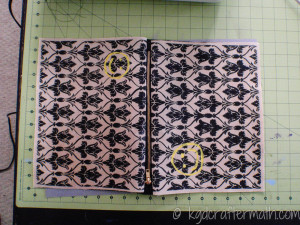
Flip the fabrics back. You can press the seams down if you want here. I didn’t. Then, tack the other side down as above to sew the zipper to the other side. Once you have both sides sewn, it your piece should look like this:
Step 4: Cut your corners
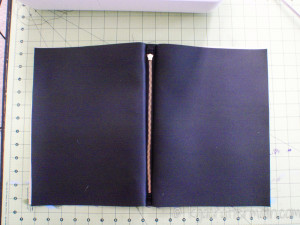
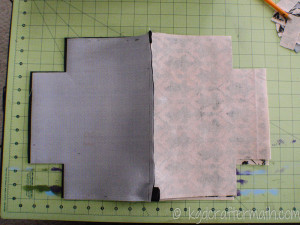
I used a basic box corner for the fabric. You could cut these out earlier if you wanted (and I probably should have), but this is when I decided to do the box corners, so the pictures make sense here. In the bottom corner of each peice, cut out a 2×2″ square.
Step 5: Sew your sides together
Next, line up the right sides of your interior and your exterior. Pin these together and sew a seam down the sides, but not across the bottom.
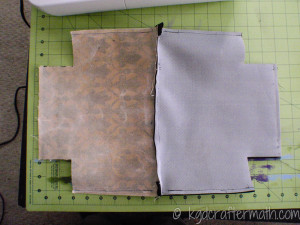
Step 6: Out then in, then out again
That sounds confusing, but let’s take this one step at a time. First, pull the fabric through one of the sides so that the right sides are showing.
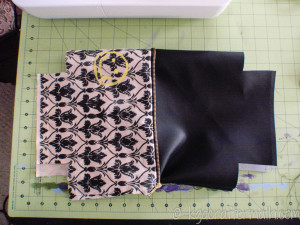
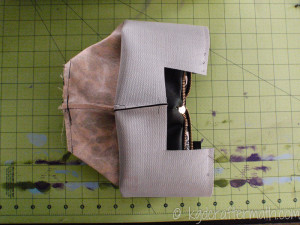
Now, pull your printed canvas through the inside of the zipper so that it appears that the canvas is on the inside of the bag. When laid out, you can only see the interior fabric like so:
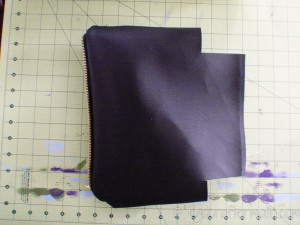
Fold the bottom of the interior fabric backwards, so that you can see the wrong side of the exterior fabric, like so:
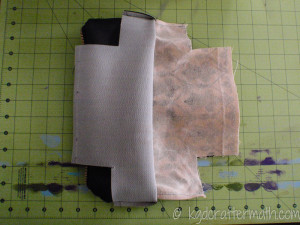
Now pin the bottom edge together and sew a seam along that edge. We’ll do the corners in a minute.
Step 7: Add your D-rings
I didn’t have any D-rings on hand (silly me for not picking any up), so I deconstructed some buckles and used those instead. I highly recommend using actual D-rings.
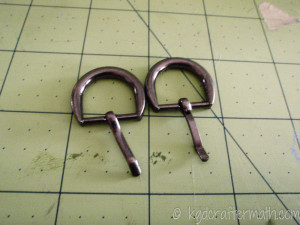
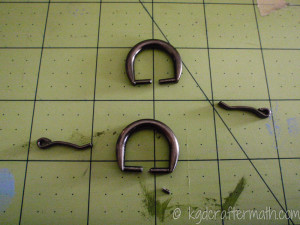
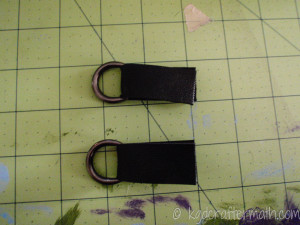
Cut 2 leather strips that are the width of your D-ring and about 2 inches long. (Mine are 3, and I feel they ended up being too long in the end). Loop these through your D-rings. You can sew a seam here to help stabilize the connection if you want. (Again, I didn’t do this, but probably should have).
Ok, now pick up your bag and straighten one of the canvas corners like so:
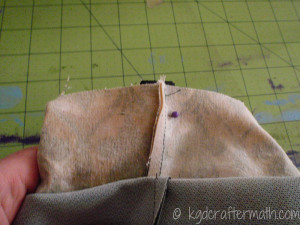
The left and right ends of the ragged edge above are the interior corners of the square you cut out before. Place your D-ring configuration in the center of the corner. You can see it peeking out a bit above. If you take a peek inside the bag, this is what you’ll see.
Sew a seam along the corner with the right sides facing each other. Do this for both of the corners on your exterior fabric. (Check out my dog bed tutorial if you need some more pictures on how to make the box corners).
Step 8: Flip it around again and sew the interior seams
Flip your exterior fabric back through the zipper and the interior fabric so that the wrong sides are together.
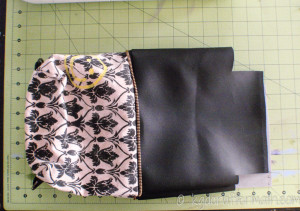
Sew the bottom of the interior together with the wrong sides together. Sew the corners together in the same manner as before, but don’t add the D rings this time.
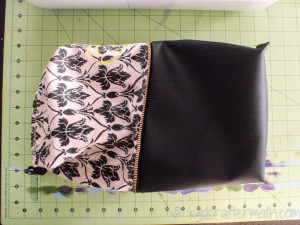
Push the interior fabric through the zipper so that it becomes the inside of the bag.
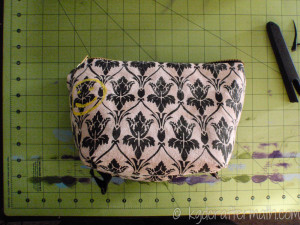
Step 9: Pull out the ends of the zipper
If you want to rivet a piece of leather connecting your D-rings to your zipper, you’ll want to pull out the end tabs for the zipper. This will take a bit of finagling, and might require a bit of seam ripping.
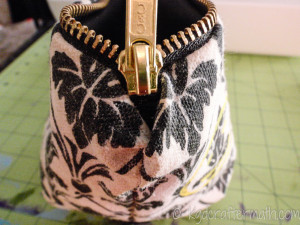
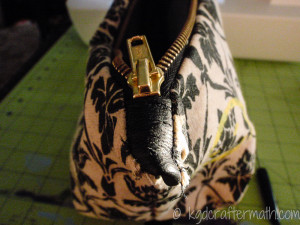
Step 10: Riveting
First you’ll want to cut a strip of leather that you’ll be looking through the D-ring and tucking under the zipper end.
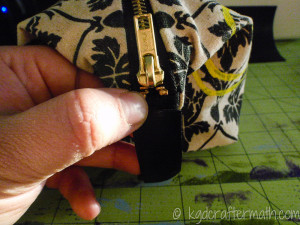
After you’ve figured out the placement and have your pieces, punch a hole in all the pieces at the same time. I used my crop-o-dile for the punches and riveting process.
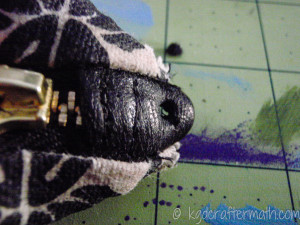
With your pieces layered you how want them, stick the tube like side of the rivet through all three holes.
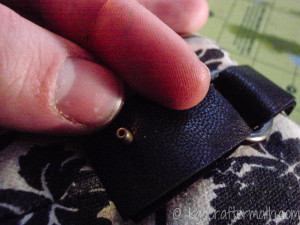
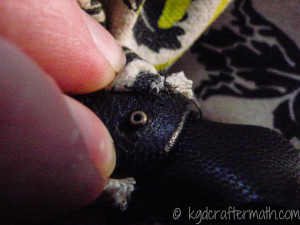
Place this on the bottom of your rivet tool. Then, place the rounded part of the rivet on top and apply pressure (either through a mallet onto the riveting tool, or by pressing down on the crop-o-dile).
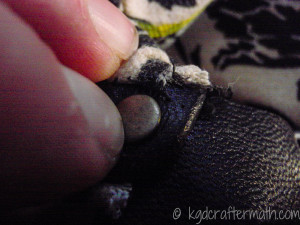
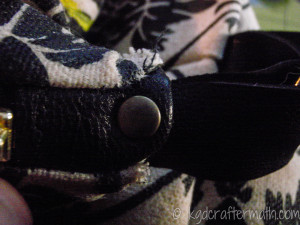
Adjust the tab to be straight if you need. Then, just box out your bag and you’re all set to go!
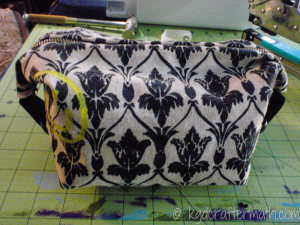
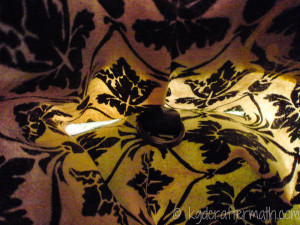
And if the light isn’t right, just take it out into the snow!
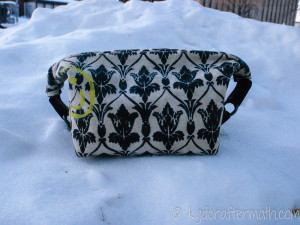
Well, there you go! I hope you found it useful! Oh yeah, I absolutely adore box corners. They’re really so easy, and quickly add shape to your project! And somehow I forgot to take a picture of the craftermath. Sorry about that! I’ll try to get two pictures next time for you.

I like to link up here.
Affiliate links help me keep this blog running. Thanks for using them!
All opinions expressed on this blog are always my own.


Wow Kristy! Still loving the bag. I’m kind of a ‘wing it’ kinda girl when it comes to sewing. But boy am I glad to read through your tutorials! I always learn something new. I’ve sewed zipper before, but never hauled out my zipper foot, you’ve got me dying to try it!
I’m on season two of Sherlock now, gah I love fast talking shows that really make you think. Thanks for getting me hooked! Now only if they’ll film more than 3 episodes per season…
Trisha D. recently posted…#thriftscorethursday Antique Buffet
I’m a wing it girl too! I mean, I hadn’t decided how I was going to do my corners until after I had sewn on the zipper. Maybe I should have figured that out sooner!
And I didn’t end up using the zipper foot. I just pulled the piece out, moved the head of the zipper, and then started the seam back up again (overlapping part of it). Had I used it, I could have just gone right down the length without stopping, but that would have meant taking the time to find it.
So glad you’re a Sherlock fan now! And trust me, if the wait between seasons is anything like it was last time, the 3 episode thing will be the least of your concerns!
Great tutorial Kristy! I’ve never seen anything on waxing fabric. So cool!
Glenna Anderson recently posted…Valentine’s Day Shadow Box
Thanks Glenna! I think I used a little too much wax this first time though! I’ve also read that you can run it through the dryer to help it even out. I want to find a cheap laundry bag to put it in first to keep the wax from getting all over the dryer.