First off, how have I had a blog for almost a year and not posted any Firefly projects? What is wrong with me? Not familiar with Firefly? Ah! I must introduce you. Firefly was a single season show written by Joss Whedon. The season was cancelled prematurely (in many people’s eyes) after only 13 episodes, but with lots of fan support a follow up movie was made. There have also been a number of comic book arcs which follow the story line. The best way to explain it is to call it a space western. I really love the characters. There are 9 main characters who all live aboard the same ship and struggle to survive, though each has their own motives and personalities. I don’t really want to say much more than that, but you can watch it on Amazon (available on Prime), Hulu (only some with regular, all with plus), and Netflix.
Ok, onto the crafting part. When we decided to go to Minneapolis Comic Con, I knew that I wanted to cosplay as Malcom Reynolds. He’s the captain of the ship. I already had a resin cast of the gun (though it needed to be painted), and most of the clothing was easy to come by. More on that in another post. But one of the things I really needed to make was the holster. I already had some leather on hand, so it was just a matter of putting some elbow grease into it!
Cutting the Leather
To start with, I needed a pattern. Some google searching brought me to dmbarnham’s Deviant Art page, where she provides a pattern and some instructions. So exciting! I just printed out the pattern, cut around it, and traced it onto the raw side of the leather. To cut, I used my leather scissors. Not a perfect cut, but it worked well enough for me. I used a 9-10oz weight leather, so it was about 4mm thick. (Don’t forget to click on any image to embiggen it!)

Dying the leather
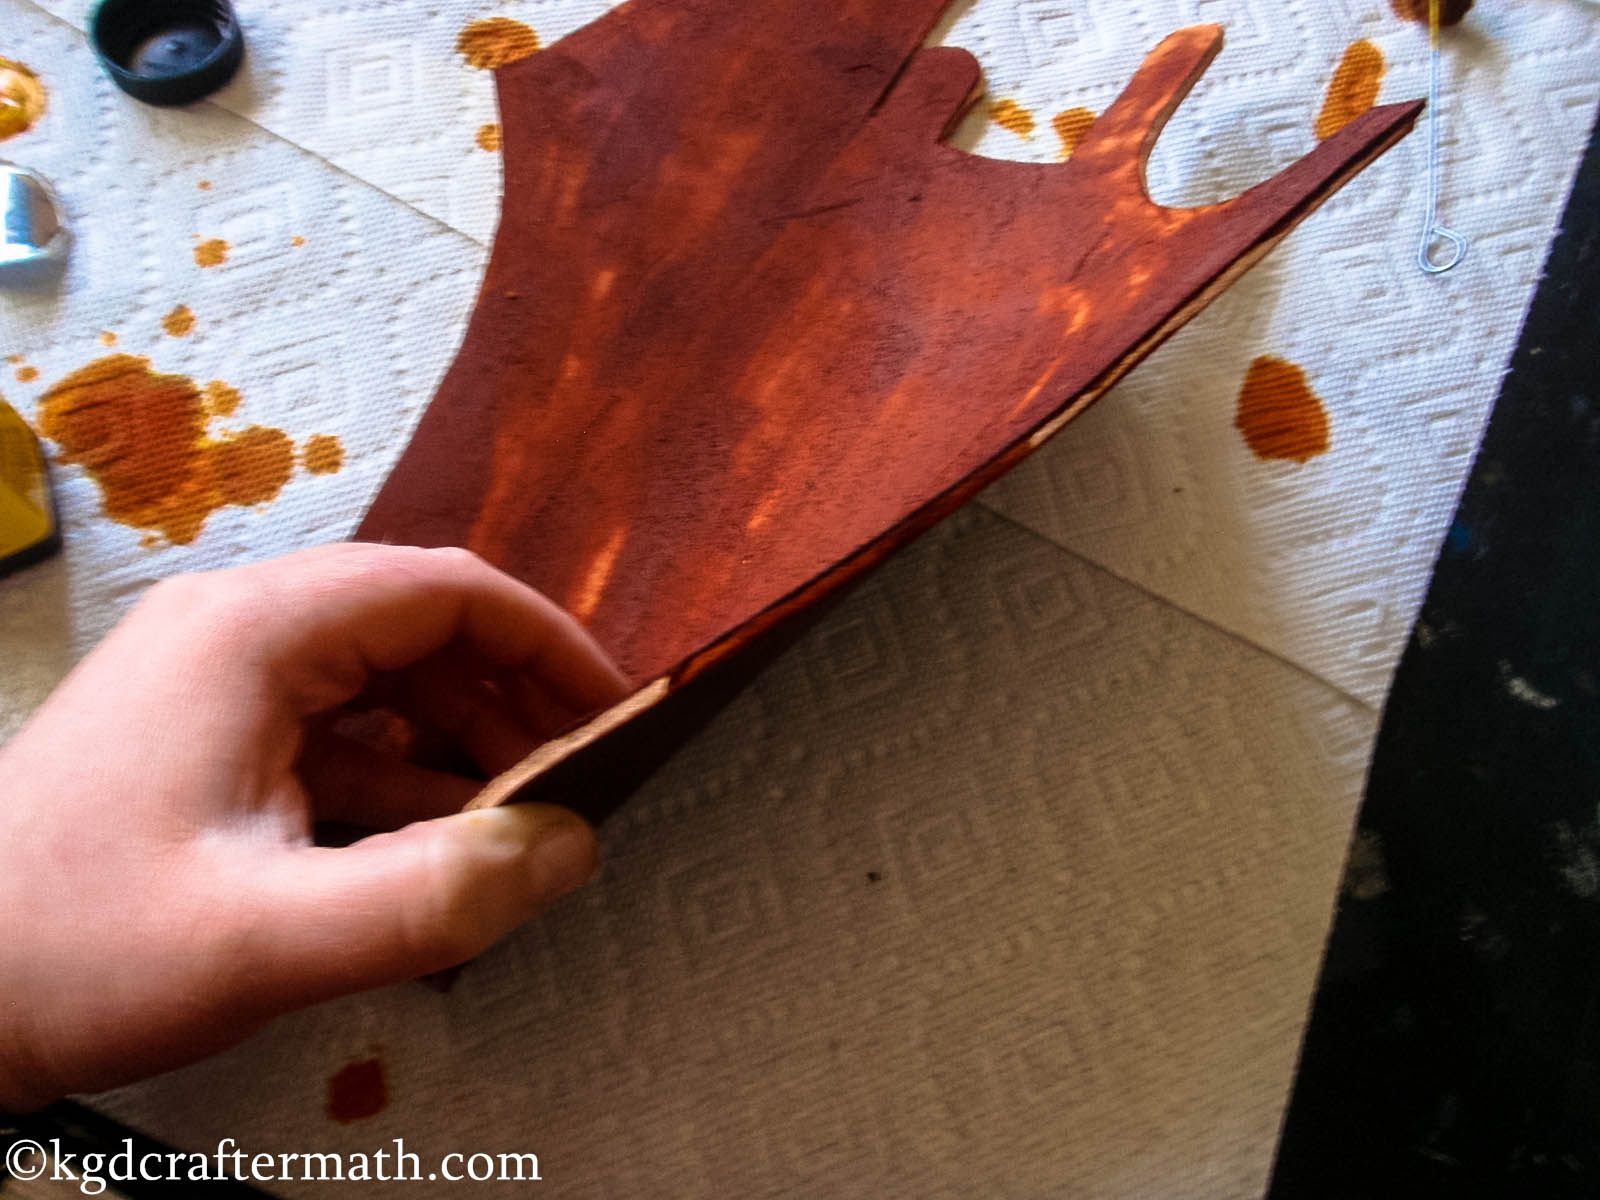
I dyed the leather on both sides using Fiebings British Tan leather dye. (Affiliate link) I made sure to coat both the inside and the outside of the piece. Admittedly, my coating wasn’t too particularly even, but I figured it would help add a faded look to the holster.


Once the first coat was done, I added a second coat. Much more even. I also made sure to coat the edges.

Setting the stitch marks
The whole piece is held together with a small bit of stitching on the side. First, I made a groove along the edge where the stitching went with a groover. I did this on both the left and right sides of the peice. In a bit, it will be folded in half and the two sides will meet.

Then, on just the left side of the piece, I ran an over stitch wheel along the side to mark where the stitches will go. I purchased both of these tools as a set, which also included some needles, thread, and an awl. You can get the set here if you want. (Affiliate link)


More Sewing Prep: Glueing and making holes
To add some extra strength to the stitch, I used some contact cement. Once it was added to each side, I clamped up the sides together and let it sit to dry.

Once it dried, I went through with my awl and pressed it through along each of the indents from the overstitch wheel. This created the holes that I stitched through in the next step.

Sewing the leather
I used a simple overlapping stitch to stitch down the length of the leather. First, I cut a piece of waxed thread about 5 times the length of the piece I was sewing. Then I ran it through to the half way point and made sure there was a needle on each end of the thread. For the stitch, I pulled the right needle through first, and then the left needle through the same hole. Keep going till you hit the end of the holes.


And once you’re there, backstitch a little bit and cut off the remaining thread.

Adding the finishing touches
Once it was stitched, I had Earl add the rivets. To be honest, I was busy at the sewing machine while he did it. It’s not that I can’t add rivets! It’s just that I waited too close to the last minute to be able to finish it up myself, and he was really awesome to help. We kind of guessed where they should go, since I hadn’t added in the markings ahead of time.

He also added on the snap. To do that, he did need to skive (or thin down) the piece a little bit where the snap went.

All Done!
Here you can see the holster all finished!

Well, kind of. Another thing I forgot to do was to add in the slits for the small belt like piece. Unfortunately, we also didn’t have time to add the buckle to that. To be honest, I think it would work better if I made that out of a thinner leather as well. Maybe a 2-3 oz. So, I’m planning to go back and add that with another piece of leather before the next con. I don’t really know when that will be. You also get a sneak peak of the next post in the picture above – the gun!
Tomorrow I’ve got an extra special post coming up about an amazing gift exchange I participated in, so look forward to the next cosplay crafting post next Friday. Fingers crossed that everything cooperates and my computer doesn’t explode! Thanks for stopping by!
]]>