

Yesterday I told you that I was going to have a special post today. You see, my friend Tori from Lil’ Mrs. Tori organized a fantastic gift exchange over at The Silhoutte Challange Facebook group. I really had a blast participating! Today you get to hear all about my experience, see what I gave, see what I got, and even learn a new technique!

Part 1: What I gave
First, we each got paired up with another member. I was paired up with Becka from Yellow Dog Press. She’s really cool. In addition to her regular blog posts, Becka has a series called “Five Things I’m Loving”. I read through each and ever one to get an idea of what it was that she liked. I tried to incorporate these into the gifts I sent her. I learned that she loves vibrant floral prints, has a thing for striped designs, and is semi-obsessed with office supplies. (Although to be honest, who isn’t?). With those things in mind, I decided to make her some bags and some custom stationary.
For the custom stationary, I found a fun black striped pattern and printed it across a bunch of yellow papers. The larger pieces are just paper, but for the smaller pieces I ran some re-positionable glue on the top to make custom sticky notes for her. I also lined 50 envelopes with the same striped design and her logo sketched out with the cameo.

I found an awesome bright floral print and a sturdy outdoor fabric to use in the half yard bags that I like to make. The bag is reversable, so she can have either fabric on the outside depending on her mood. When I asked Becka about the yellow lab in her logo, she gave me this wonderful story of inspiration about how she came to start her Yellow Dog Press blog and store. I made my own applique to go on the bag and honor her brand. I’ll show you how I did that a little later!

I wasn’t planning on making a second bag originally, but I had enough fabric left over that I figured, why not? Since I already had a spare zipper, a small box bag for office supplies seemed like just the thing. I even added in a few office goodies I had lying around into the bag. (Including a yellow sharpie!)

Part 2: Applique How To
Ok, it’s time I let in you in on a little secret. Even though this project was done as part of the Silhouette Challenge Facebook group, I used my Cricut for the applique. *gasp* I know, I know! I’m a traitor! And it’s possible that it could have been done on the Silhouette, but since I was using a heavier fabric, I went right to my Cricut. The fabric I used for the applique was a moleskin, and is a bit heavier. Hopefully you all can forgive me, but I wanted to keep it real and not write up a tutorial that didn’t reflect what I actually did.
Since Yellow Dog Press is Becka’s brand, I wont’ be sharing a cut file or an image with, but I will show you the steps to go from fabric to applique. Good? Good. I’m also showing you a test patch that I did with a different color thread to help show the processes a little clearer.
Materials:

Applique Fabric
Project Fabric
Silhouette Fabric Interfacing (I’m told you can also use Heat n’ Bond)
Coordinating Thread
You’ll notice my thread is a vastly different color from either of my fabrics. If this is your first time sewing around an applique, I’d suggest using something that matches your applique fabric pretty well. A contrasting color will show every mistake you make much more prominently.
Cut your Fabric
First you want to cut your two fabrics to size. My applique here is about 4×5.5 inches. You should also cut your interfacing down to just slightly smaller than your applique. Iron down the interfacing to the wrong side of the fabric.

Then remove the paper backing from the interfacing.

Cut your Applique
You could do this on a Silhouette, or even trace and hand cut the image directly from the fabric!
Place your fabric down on the mat interface side down.

Then send it through your machine. On the Circut, I used the Fabric+ setting. It might have been worth bumping it up another spot.

Here, you can see what the fabric looks like from the interfacing side after it was cut. You may notice that even though I took it out of the machine, it came out in one piece. Most of the fabric was cut through, and just needed a little tug to come apart.

However, there were a few spots where the moleskin wanted to stay attached.

Once I went through with a scissor and cut these little threads, I was able to pull everything apart. The rounded parts caused the most trouble.
Attaching your applique
I used 2 methods together to create a strong attachment. First, since I used an iron on backing, I ironed the patch on.

However, since I was using a moleskin which liked to fray, I decided that I wanted to sew the patch down as well. This should keep the fraying down in the future, and it also added a nice border. To start, I set my sewing machine to do a zigzag stitch with very little vertical distance between the stitches. I started just below the tail.

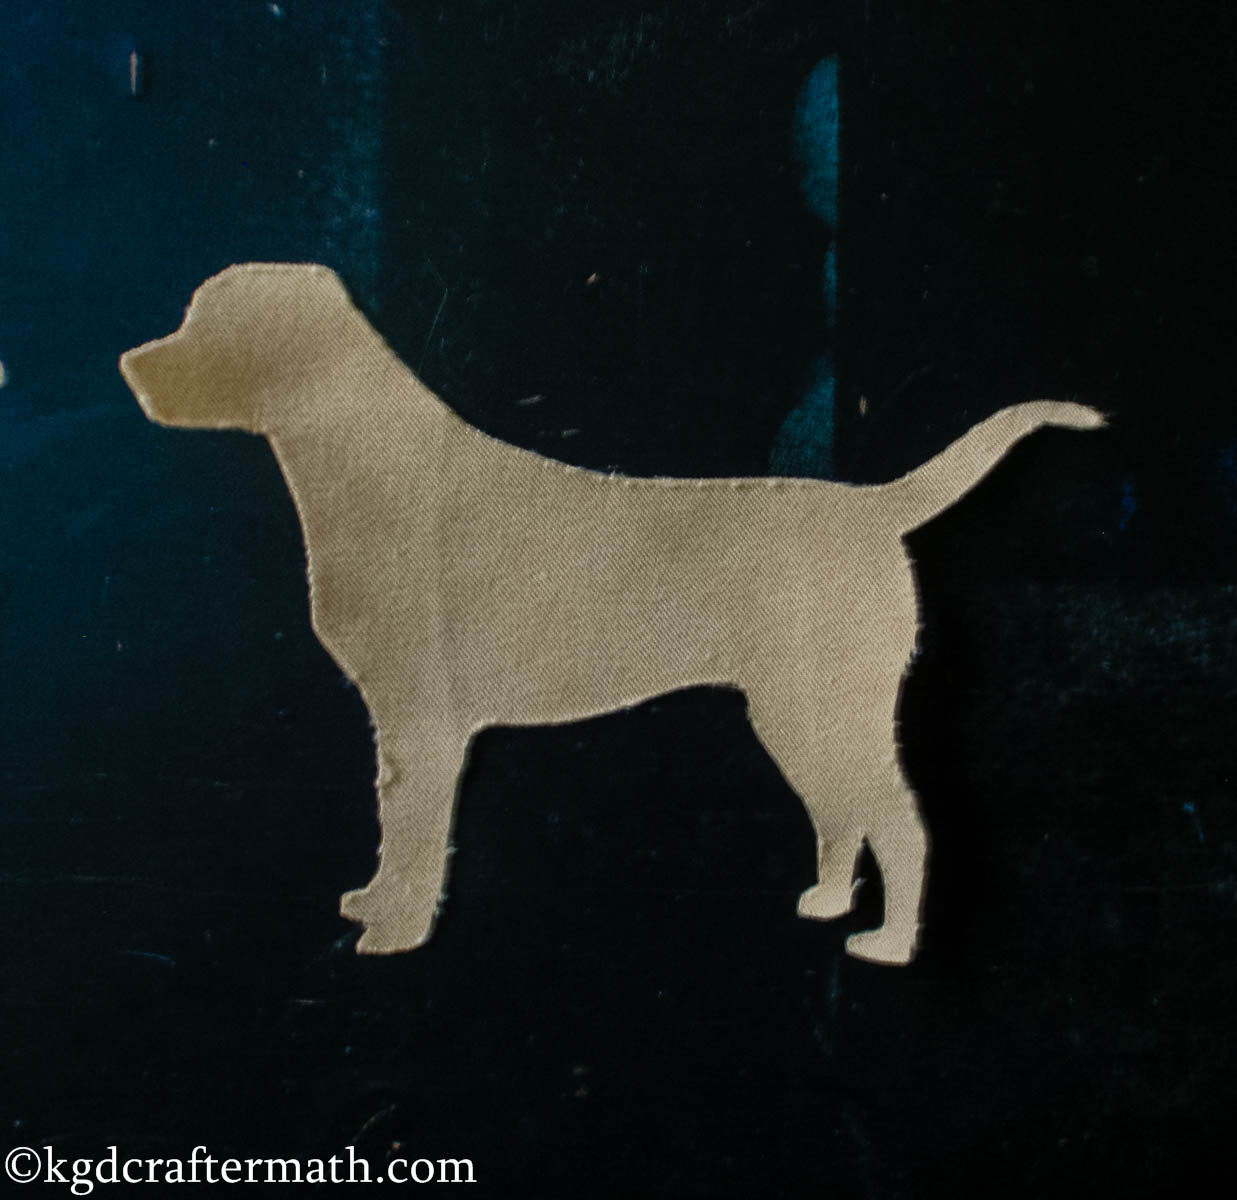
Then I just slowly and methodically followed along the outline of the dog. You can see my results with the black thread below. Note that since the colors are contrasting, it’s very easy to spot every place that I strayed. The final project, which used a yellow thread, doesn’t show the errors as much. Instead, it provides a pretty nice border between the dog and the fabric.

Part 3: What I got
Becka hit my likes right on the head. The first question she asked me was “Ok so how much in love with Dr Who are you?” Mentally, I started jumping up and down like a kid at Christmas. But then I toned it down and said, something along the lines that that would be a good fit for me. You see, even though I love me some Dr. Who (remember my blinds? Or Earl’s custom notebook holder?), I know that realistically I’m in the narrow end of the fandom world. I’m really only about knee deep. But still, I love Dr. Who. Here is what Becka made for me:

I am absolutely in love with the pouch she made me. It’s a nice heavy duty fabric pouch that will be great for storing all sorts of stuff in it. I haven’t decided if I want to store cables in it when I travel for work, or casting odds and ends, or something else. And the quote she used was just perfect. “We are all just stories in the end.” Let’s make it a good one, eh? 😉
She also made me a nice custom notebook (I can always have enough of those) and tossed in a few pencils for good measure. I love it! Thanks again Becka!!
Check out all the links below to see many of the bloggers who participated in the exchange! Be extra sure to check out Becka’s post (it’s the one with the Tardis pouch), since she talks a bit about what she did when she made the pouch!


I like to link up here.
Affiliate links help me keep this blog running. Thanks for using them!
All opinions expressed on this blog are always my own.
Kristy,
Your exchange project turned out so cute. I love the Yellow Dog Logo for Becka.
I also think she nailed your gifts too. Tori sure did a wonderful job pairing us didn’t she?
Thanks for sharing your talent,
Karen Marie
Dragonfly & Lily Pads
Thanks Karen! I really had a blast being part of the gift exchange. It’s part of what makes this group so great!
Kristy — this is a great collection of personalized gifts! And on the Silhouette, I’d try the Fabric: Canvas setting and double cut. But since you’ve got the Cricut, go for it!
Sharon Rexroad’s Bringing Creativity 2 Life recently posted…Who’s the Fairest of Them All? Wallternatives (and ME)!
Good call on the Silhouette cut setting Sharon! I’ve been switching around between the two machines, but I definitely find myself using my Silhouette more. It’s just so much easier to design with!
Love the post! Thanks so much for my gifts. You’re the best!
I’m glad you loved them Becka! I’ve gotta say, it was a blast being partnered with you. Thanks for doing this with me!
This bag is super cute! I love the idea of adding appliqué on your bag 🙂
Helen Gullett recently posted…DIY Stenciled Canvas Tote Bag
Thanks Helen! The bags are super easy to make, and I’m so addicted to picking out all sorts of fabrics and pairing them up. I really liked adding the extra personalization to this one!
Wow! I love all the thought and LOVE you each poured into your gifts – – and the best part about this exchange is not just the creative projects, but the new friendships born out of it! I smiled so wide to see what she made you. And that quote about stories really hit home. It’s probably why I’m so dramatic in my storytelling – – all the world’s a stage!
Thanks so much for sharing your projects and the significance behind them. I’m inspired to try my hand at applique again. You’re so right: slow and steady is the name of the game….
Lauren @ The Thinking Closet recently posted…Personalized Milk Bottles & Silhouette Promotion!
Thanks Lauren! This exchange was a ton of fun, I’m so glad that I’m part of such a great group!