Hi everyone! I added more to my card walk through. In particular, how to make your own envelopes. Head over to the page there for a full walk through on making your own custom envelopes (including a nifty javascript gadget that will do all the math for you). If you just want some typical card sizes, here’s a template for you with some assembly instructions!
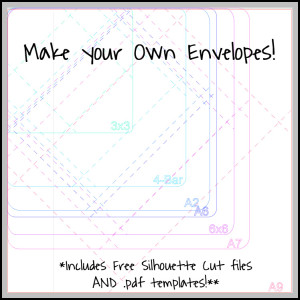
Download your free files HERE!
Then cut them out with your silhouette or print the .pdf templates (fit to page) and hand cut the pages. You’re all ready to start assembling the cards as per the directions below.
Assembling your envelope
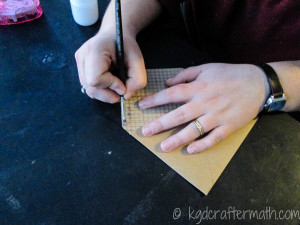
First you need to crease your fold lines. You can do this with a scoring board, cut it with the silhouette, or just fold along the drawn line. Whichever floats your boat.
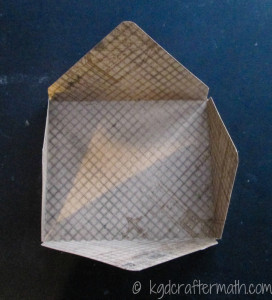
Next, fold the bottom flap inwards. This will be one of the longer flaps. Add some double sided tape to the bottom edge of the two shorter flaps and press them onto the bottom flap.
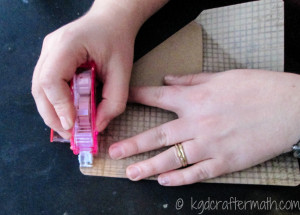
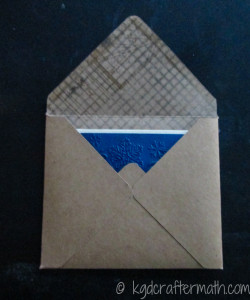
For the top flap, you can either use double stick tape or glue when you’re ready to send it, or you can use envelope gum. Envelope gum adheres wet, but can dry and be re-moistened later.
That’s it! Coming up in the next few posts are my extract labels (the hand written draft has been found!), single stroke lines without Illustrator, and a few other envelope posts. This Monday is the Fabric Silhouette Challenge, and I’m so excited for that!
There are a few changes coming to the blog, but I want to get the things above off my writing desk before I implement them. Hopefully they will allow things to run smoother around here! As always, thanks for stopping by!
**None of the links in this post are affiliate links. They are just products I use.

I like to link up here.
Affiliate links help me keep this blog running. Thanks for using them!
All opinions expressed on this blog are always my own.

This is epically awesome. Thank you for doing all the hard work for us, Kristy! I’ve been wanting to learn how to make my own envelopes…and now, I have no excuse not to! Any recommendation on paper that we should use for the job? I’m guessing something thicker than scrapbook paper but not as thick as cardstock would be good?
Lauren @ The Thinking Closet recently posted…Nautical Master Bedroom Makeover & How We Found Our Shared Style
Good question Lauren! I put that information in the full envelope post, but didn’t think to repeat it here in the shortened version. Doh! I’ve used scrapbook paper, craft paper, and cardstock, depending on the look I’m going for. I actually really like scrapbook paper because you can get paper that’s pretty plain on one side and then decorated on the other. Then you put the decorated side on the inside and have a pop of flair when they open the envelope up! You could also use colored printer paper if you wanted to as well. The only thing is that you want to think about the durability of the paper and the tape that you’re using and how you are transporting your cards. You might want something thicker than printer paper if it’s going through the mail.
Thank you so much for taking the time and trouble to do this series of articles for us. I do appreciate it.
Janet xx
Thanks Janet! I’m glad that you’re able to get use out of it. The more card makers we can create, the better!
You ought to take part in a contest for one of the highest quality sites on the net.
I will recommend this web site!
franco recently posted…franco