Yesterday I told you that I would post today on how to cut vinyl if you don’t have a silhouette (or other cutting machine). And this is it! This post will be the first of several on how you can achieve similar results without the silhouette. My hope is to have several simple tutorials both for use with the silhouette and without the silhouette that relate to the basics of each way of crafting. This way when I have a craft that uses these techniques, I can just link to the post about the technique and focus on the craft itself. Plus, when I do more complicated things I know that I can point you to the basics and focus on the more complicated aspect instead of constantly repeating myself. Maybe by the end I’ll be able to write a book that goes from simple projects and builds up your skills along the way to more complicated projects. Who knows?!
Anyway, I’m going to do the same project from yesterday, but this time without using my silhouette machine.
Materials
A piece of vinyl. (I used oracle 631 which I purchased from Just for Crafters*, but you can also check your local craft store to see if they have any near their cutting machines in the scrapbooking section)
Scissors or an xacto knife
A printer and a piece of printer paper
A pencil
Free print file
Step 1: Set up your file
For this walk through, I’m going to use OddPrints*. It’s an online tool that allows you to re-size your image to whatever size you want, download a file, and print. There are some quirks, but since it’s online I know that in all likely hood anyone who is reading this can use it. Alternatively, you can use your favorite graphics editor to re-size your image and print from there.
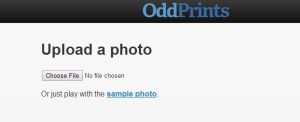
Go to OddPrints and press the blue Get Started button.

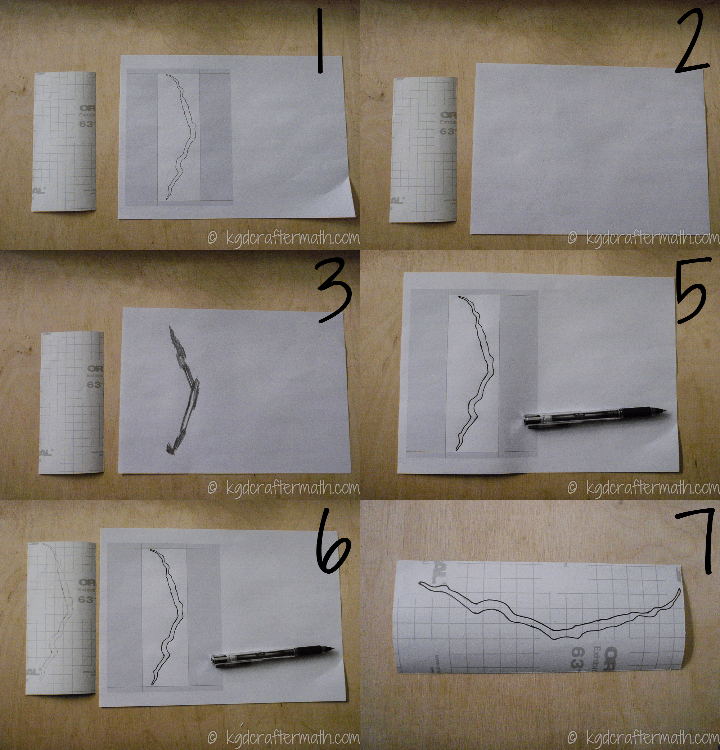
Next, click on “Choose File” and navigate to the file you are using. I’ve included an .svg and a .jpg. Either will work, but I used the .jpg because it has a white background.
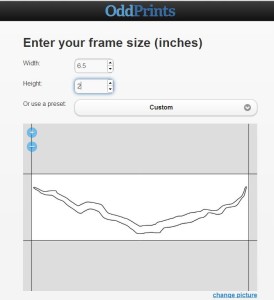
Once you’ve determined the size of your photo, type the width into the width box. The preset is for inches. For this project, we don’t really care about the height, so just make sure that the box is not going through the crack graphic. I’ve set my width to 6.5″, since I know that’s about the width of the piece of vinyl I’m using. Note that unless you are using your own graphics program (and can print larger sheets or alignment marks like I did for my Gallifreyan blinds), your print will be limited to 8.5×11.
You will also want to open up the extra options box and make sure Zooming is set to fit (other wise it will crop your image).
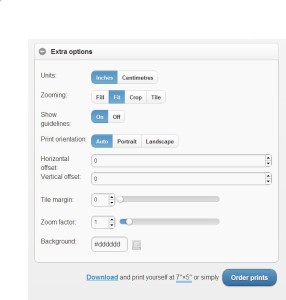
See underneath the bottom of the extra options box? You can download your photo from that link. Pay attention to the size you see there (that will come up in the next step) – for me it says 5×7″. This is the size print you will want to use.
Step 2: Print your image
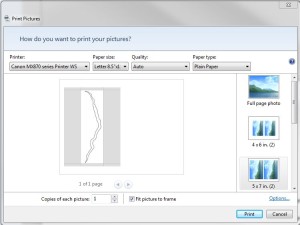
Open up your picture in Windows Picture Viewer. (Sorry Mac users, you’re own your own here). Up at the top, choose Print-> Print. You will get a pop up box with print options. Now, remember that number from the last step? Choose that size print to get the image at the size you want it. You can see my print box below. You may want to print out 2 copies on the sheet just in case you make any mistakes in transferring the pattern.
Step 3: Transfer your image to the vinyl
I used the old pencil rub technique, which you can see in the gif below. Basically, rub the back of the printed sheet with a graphite pencil, put it on top of the vinyl (with the back of the vinyl being what you will trace onto), press down hard and trace the lines. Then you will have the outline on the back of your vinyl. I traced it over again with the pen to make the lines clear.
Step 4: Cut your vinyl
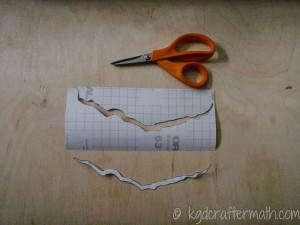
I decided to use tiny scissors for this cut, but you could also use an xacto knife and a cutting mat. Whichever you feel more comfortable with. In general, you can get finer cuts with the xacto knife.
Step 5: Peel and Stick
To peel a piece like this, I find it easier to work from somewhere in the middle.
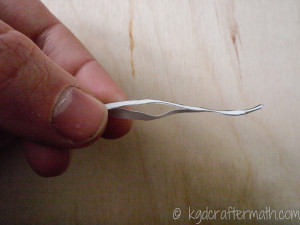
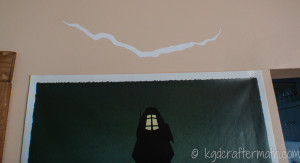
Then just stick it onto the wall in the same way as before (*note: these images are from the larger piece I cut out with my silhouette. The decal on top of the poster is 20″ wide, the decal I hand cut was 6.5″ wide.
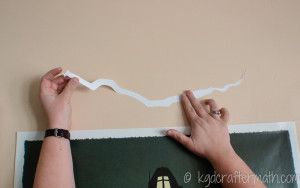
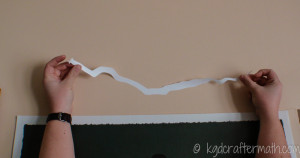
And there you go! That’s how you would go about cutting vinyl without a silhouette. Now, some of the more intricate designs will be more difficult to do, but that’s the glory of having the machine to help!
And speaking of having a silhouette, have you entered into the giveaway yet? Click on the image to head over to yesterday’s post and enter!
Thanks for stopping by! I’ll see you next time with a post about the labels we made for our extracts. I think you’ll like this one, it’s full of hidden surprises.
*I am not being compensated by either of these companies, in fact they don’t even know I’m blogging about them. I just like their product.

I like to link up here.
Affiliate links help me keep this blog running. Thanks for using them!
All opinions expressed on this blog are always my own.

Great post! I’m going to keep this in mind for my next heavy vinyl post.. I always feel bad when not everyone can make it!!
Dee @ From Wine to Whine recently posted…all about VINYL & your SILHOUETTE MACHINE
Thanks Dee! Yeah, one of my directions this year is to become more of a geeky craft blog (which is what I had originally intended before I bought my silhouette) and less of a silhouette blog. Unfortunately, with some of the really intricate designs hand cutting may just bee too tedious to make it feasible. Of course, that’s why I bought the machine in the first place!