With the exception of my first paper cut (which I still need to finish writing), the rest of my Silhouette projects will show up either in the crafting hour or in Finished Fridays. This particular piece was so quick, I thought I’d put it in the crafting hour. And don’t worry, I know this has seemed like the Silhouette blog lately, but I’ll get back to the knitting and we’ll get some sewing in here too soon enough!
Truth be told, I wanted this to be my first silhouette project, but I jumped into the paper so fast that it had to be left out. So what did I do? Well, I decorated my silhouette!
A bit of geeky background: when you learn to code, often the first thing you learn is to print out “Hello World!” on the screen. This is true no matter what type of code you are learning. I wanted to geek it up a bit, so I choose to do “Hello Sweetie!” instead. It’s a common greeting from River Song to the doctor in Dr. Who. I coupled that with the Commodore 64 font. For the font, I choose the angled version. Even though I really like the pixelated version, I was afraid it would just look really weird on the front of my machine. The vinyl I choose was the Silhouette turquoise vinyl, since it was the closest they had to green. I wanted it to be a bit of a throw back to the old black screens with green text.
It took me all of 5 minutes to install the font, open up Studio, and write out the phrase. I made it large enough to stretch the 12″ and added a straight line underneath for easy removal of the excess. Here is what my studio file looked like:

This is the first time that I am cutting directly on the media and without a mat, so I had to figure out how to adjust the rollers. Turns out it’s really easy! Just flip the blue tab down, twist the white roller so that it isn’t locked into place, move it to the right length, twist it to lock, and flip the blue tab back up again! The only trick is that you need to hold the silver rod steady while you twist and move the roller.
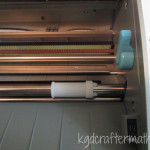
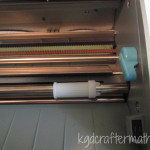
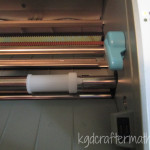
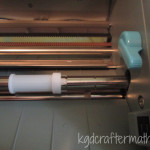
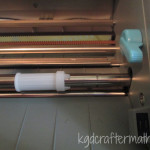
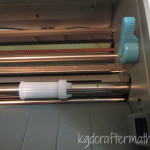
Next, I printed a test cut. This cuts out a square with a triangle inside. Since this was my first vinyl cut, I wanted to make sure it would cut right. It cut perfectly. I’m not sure why I had any doubts. In the picture below, I’ve removed just the triangle.
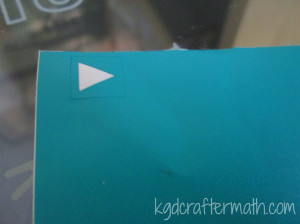
Now it’s time for the vinyl cut! Here’s a picture with all the extra removed, since it’s hard to see the cut lines.

At this point, all of 15 minutes has passed.
Now for the transfer paper! Ok, tip for all of you newbies out there. The transfer paper is the light paper with the grid lines on it, got that? So don’t crumble up the lighter stuff and toss it aside (oops!). Good thing I didn’t need much! Here is my transfer paper all cut and placed on top of my text.

From there, just carefully lift up the transfer paper and align the pieces where they are meant to go.

The transfer paper pulls off really easy, and then I just gave it a quick pat down. I did have to move the point of my “!” separately, but it worked out fine in the end. Now my silhouette gives me a nice greeting every time I see it, and I get a bit of Dr. Who injected into my day. Much like my blinds, this bit of Dr. Who will put a smile on your face even if you don’t get the reference.

Next I want to print out a circuit board paper background for the buttons on the right. It will be really easy and take maybe 10 minutes, but that’s for another day.
All told, this project took me about 20 minutes. I think it took longer to put together the post!

I like to link up here.
Affiliate links help me keep this blog running. Thanks for using them!
All opinions expressed on this blog are always my own.

Yay! I’m glad you had such a successful first vinyl cut! And I loved hearing the process of how you came up with this design (you’re a great storyteller). Vinyl is so fun and so easy, I have a feeling this is just the beginning of your relationship with it!
Thanks Lauren! I’m glad that you enjoy my writing. The vinyl really was so easy to work with too!