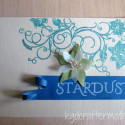
I hope you all enjoyed your labor day weekend! It’s back to school time which would normally mean I was on campus dealing with the throngs of people. Since I’m not teaching this semester, that means that I’m at home putting together my own schedule to make sure I meet all my writing deadlines. I’m sure that’s not what you’re excited about, you want to see my new tutorial!
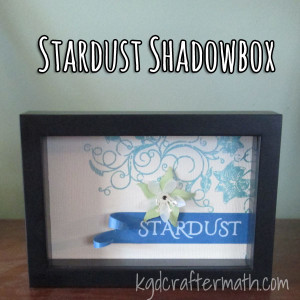
So how did I get to a Stardust shadow box? It’s a bit of a story. When Earl and I got married (3 years ago), my youngest brother Nate gave us a set of 5 shadow box frames. I really liked them, but have been trying to think of something to do with them, so they have just been sitting around. In the past few weeks several things happened that all came together nicely for this project. A few weeks ago I got my new Cameo, which has had me constantly thinking of new paper projects to do. Among those projects is a tutorial based on the paper flowers I made for my wedding. Each flower was made from the pages of fantasy books that Earl and I chose, including Neil Gaiman’s Stardust. Around the same time, The Thinking Closet did a post about making her own sketch art with her Cameo. Shortly thereafter, it all came together. I could use my Cameo to make some 3D paper art based on one of the Stardust cover art versions and put it all in one of the shadow boxes we have. I’m not sure what I’ll do with the other four boxes. Earl and I talked about doing artwork based on the other books we used or possible just using Gaiman, but we haven’t really decided yet. Rest assured, you will here about it here when we do decide.
Here’s how I made my shadow box! It’s just the directions, but I’ll add another post on how I designed the box later.
Materials:
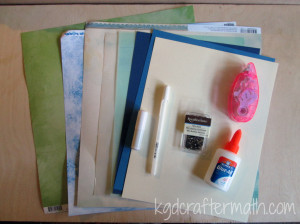
Assorted Paper:
Cream color for background
Blue for banner
White/blue/or vellum for flower
Green for leaves
1 Mini Brad
Double Sided Tape Roller
Elmer’s Glue
White Pen
Blue Pen (Not Shown)
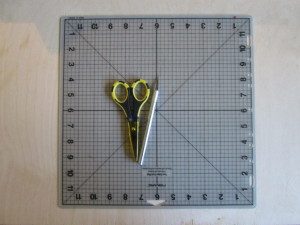
If you don’t have a silhouette, you will also need:
A Self Healing Mat
Paper Scissors
An exact-o type knife with a new blade
Skills Needed: Cutting, gluing, and shaping paper.
Step 1: Download the patterns
If you have a silhouette, you can use these directions to work with the silhouette file I made and follow the steps in order. Otherwise, you can download a .pdf with the images and text. If you are using the .pdf, print the file out on each of your colored papers and hand cut the shapes out. With the .pdf, print at actual size, cut your shapes using your scissors and exact-o blade, and skip down to step 5. Both patterns are designed for a 4×6 image.
Step 2: Cut and Draw the background
I’m assuming that you are using 4 different colors: the leaf, the flower, the banner, and the background which also doubles as the center of the flower.
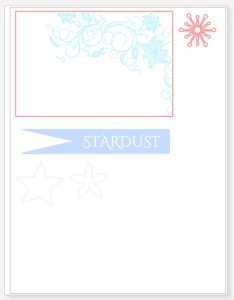
For the background, you first need to ungroup the main design. Click on the main design and go to Object – Ungroup. Now click on the cut style button in the upper right ![]() . Make everything no-cut except for your box and the center of the flower. It should like like this:
. Make everything no-cut except for your box and the center of the flower. It should like like this:
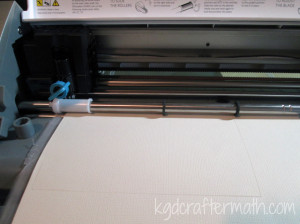
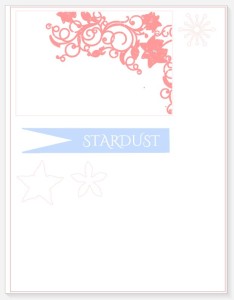
Without removing your paper, go back to the silhouette program and change your cuts so that only the floral design is being cut. Switch your blade for your blue pen, change your cut settings, and send the design to the silhouette. Here is the second cut:
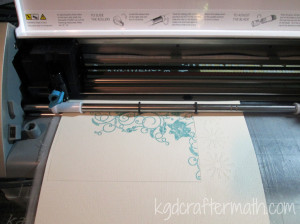
Now you can unload your paper.
Step 3: Cut and Draw the banner
Move the main background out of the way and put your banner up top. Now click on the banner and ungroup that by going to Object-Ungroup. You will make two cuts here as well. First, set everything but the banner to no-cut. Cut your banner out of your blue paper. Keeping the paper in place, change the banner to no-cut and the text to cut. Switch out your blade for your white pen and send the design to the silhouette. Unload your blue paper.
Step 4: Cut your flower and leaves
For the flower and the leaves, make sure that only the flower or leaves is set to cut depending on your paper. There is only one cut on each of these papers, so once you have cut out the shape you can remove the paper.
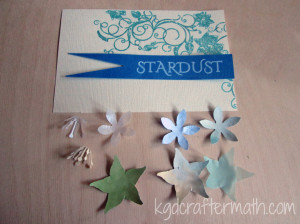
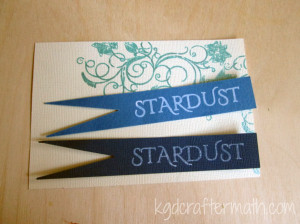
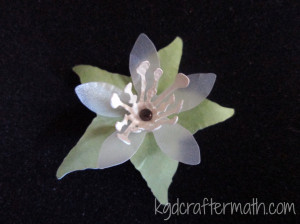
I wanted to experiment with several different colors for the leaves, flowers, and stamen. Below are all the bits I cut out with my silhouette. In the end Earl and I chose to go with the lighter blue banner, the silver velum flower, the bright green leaf, and the cream stamen.
Step 5: Curl your leaves
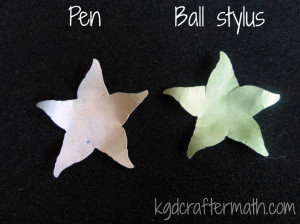
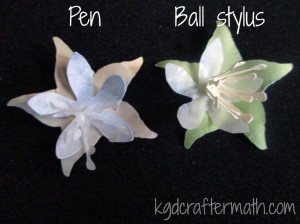
You can use one of two tools to curl your leaves and petals: a ball stylus or a pen. I used my ball stylus and foam molding mat because I like the way it looks better, but either works. I’ll show you both here.
First, you want to roll your leaves up towards the center. With the ball roller, simply place the roller near the center of the leaf and press out to the edge. Do this for each leaf. After you have rolled each leaf up, put the ball in the center of the leaves and depress the center a bit by using a circular motion. Then, turn the leaf over and roll just the tips back down. I like the rolling look this gives the leaves.
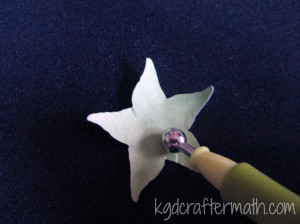
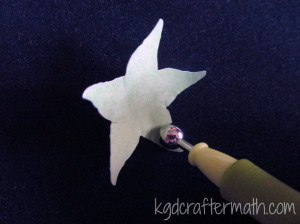
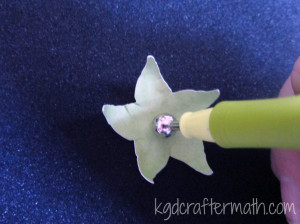
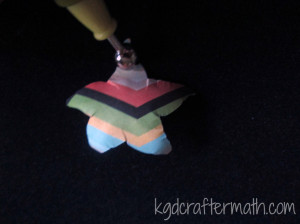
If you are using a pen, wrap the leaves around the pen going towards the center. Repeat for each leaf. Flip the leaf over and wrap just the tip in the opposite direction.
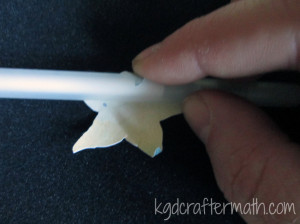
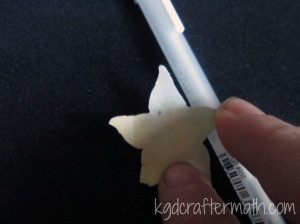
Here is a comparison photo of both methods:
Step 6: Curl your petals
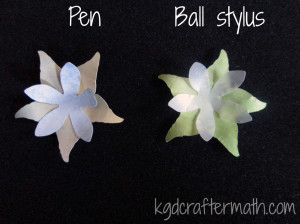
Follow the same steps as with the leaf, except don’t roll the edges backwards. Instead, press the flower down very gently with your hand to flatten it a bit.
Step 7: Curl your stamen
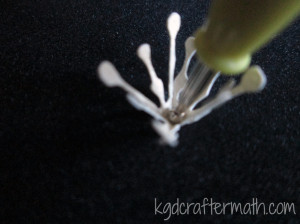
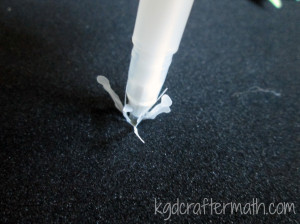
To curl your stamen, press down the center with either the tip of your pen or a smaller ball stylus. Then pull each stamen bit up.
Step 8: Assemble your flower
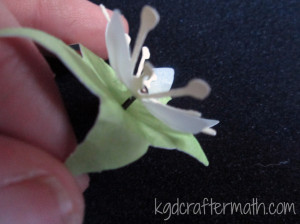
Use the brad to assemble the three parts of your flower. If you cut your flower with the silhouette, there will be a hole there for you. If you printed via .pdf you will need to punch one through with the brad. If you flatten your flower as you assemble it, just re-work the shape with your hands a bit. It will be more pliable now that you’ve already shaped it above. Either way, you will probably have to pull your stamen up to the center again.
Step 9: Color in your banner and background
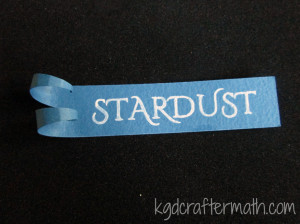
The silhouette file only colors the outline of the text. Just color inside the lines with the same pen to fill out the text. I went over the text 4 times to achieve the look I wanted. Also consider filling in some of the lines on your background scroll with the blue pen. I filled in the swoopy bits that connected the flowers, but kept the flowers as is.
Step 10: Curl your banner
I curled my banner with my pen. After I curled both ends up, I pressed the bottom one backwards a bit and curled the top one even more with a smaller tool. Then I pulled the curl of the top one down so you could see the spiral.
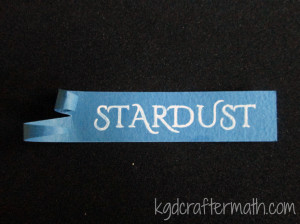
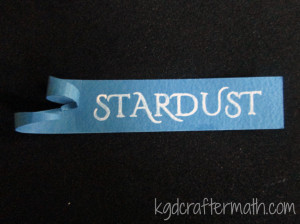
Step 11: Adhere the banner to the background
To adhere the banner to the background, I used my tape roller. I also added a bit of tape to the end of the bottom curl to keep it down a little more
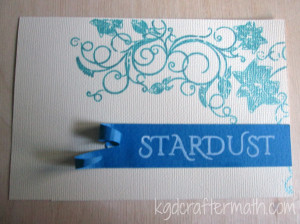
Step 12: Add your flower
I used elmer’s glue to adhere my flower. It’s a bit heavier duty than the tape. Just a dot will do. Hold it down for a minute or two to make sure it takes. After a few minutes, pull your stamen back up and re-shape the flower if need be.
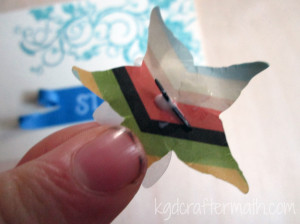
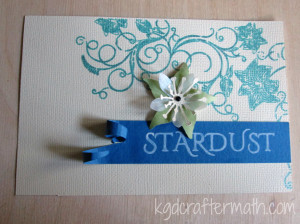
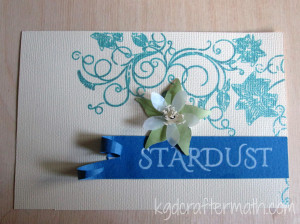
That’s it, you’re done! Put your new artwork into your shadow box, hang it on the wall, and enjoy!
And here’s your craftermath. This one isn’t too bad, but if you’re not careful you’ll have paper bits hanging around your house for a while!
What do you think of today’s project? What book would you turn into wall art if you could?
This post has been added to a link party! What does that mean? Well, it means that a bunch of crafty people all got together to share the fun projects they have been working on. To see more fun stuff, head over to That’s Pinteresting! hosted by the House on Hillbrooklane.

I like to link up here.
Affiliate links help me keep this blog running. Thanks for using them!
All opinions expressed on this blog are always my own.

