It’s Silhouette Challenge time again! Wow, that came along fast. Who knew! This month’s theme was flowers, so I thought I’d revisit an old paper flower project. Actually, this was the very first project I wanted to do with my machine when I got it!
Warning: This project is not for the faint of heart! You will find some beautiful, easy to make flowers in this month’s blog hop. These flowers are not those. The first one I ever made took me 8 hours to make. With the use of the Silhouette to cut and some experience under my belt, I can make about 1 an hour now. I haven’t practiced in a while, so I might be able to get that faster if I were to make a ton of them again. Still time consuming, but it shows how much a little bit of practice can help! They require a bit of dexterity and perseverance, but they’re so worth it! Plus, it’s like riding a bike, once you’ve got it down you can not make one for years and it will come back to you. (This I know from experience!!) Also – this post is super picture heavy.
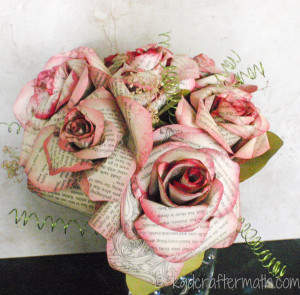
So, I feel like I need to start with a bit of back story. I got married about 4 years ago now, and I pretty much made everything in my wedding, including the flowers. Every single flower was hand made from a selection of books. Here, let me show you my bouquet alongside the bridesmaid’s bouquets to show you what we’re talking about:
Stunning, right?! Well, I hope they are! And why did I pick such complicated flowers to make you ask, instead of some of the simpler ones? Well, part of it is simple stubbornness, but I hope you’ll agree that we went with the right choice. You might notice these are also made from book pages. Well, Earl and I are both avid readers, so we wanted to incorporate that into the flowers. Of course, it took a bit of courage to cut that first book, but in the end I was able to accept it. You see, we chose to use previously used books where possible and we picked out which books we wanted to use for our wedding. Curious what we chose? Here you go! They are all fantasy stories which incorporate some sort of love story into them. {The Last Unicorn by Peter S. Beagle, Stardust by Neil Gaiman, The Fire Rose by Mercedes Lackey, The Princess Bride by William Goldman, and Wizards First Rule by Terry Goodkind.}*Affiliate links.
And of course, I hand cut every. single. petal. (with the help of some of my lovely bridesmaids). But with the Silhouette, hand cutting is needed no more! I did use a tutorial from somewhere in the web once upon a time to create the originals, but for the life of me I cannot find it to give credit where credit is due. I will be sure to add that here if I’m ever able to find it again. (It was over 4 years ago, which is ancient in the eyes of the internet…) So, let’s get this tutorial going!
Materials
For your materials you’ll need the following:
Some book pages (the number depends on how big the page is, I used 12 5×7 pages for this project)
A mat to protect your working surface
A paper towel
2 sponge daubers (these are my favorite of all time, you’ll want good ones)
Green washi tape or floral tape
Cranberry colored Tim Holtz Adirondac ink (you could use another color)
Meadow colored Tim Holtz Adirondac ink
Adirondack alchohol blending solution
2 Mini spritzers
Flower stems (or bamboo sticks)
Free template! (.pdf and .studio version 2&3 files are included!)
*Do you like using my free downloads? I’d love it if you followed me on one of my social media outlets! You can find me on Facebook, Instagram, Pinterest, and Twitter. Thanks!
**All links are affiliate links. Thanks for supporting my blog!
Step 1: Cut out your petals and leaves
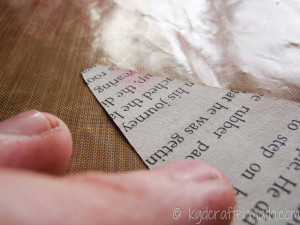
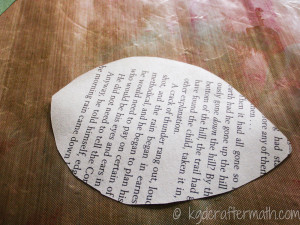
Step 1 is pretty simple. If you’re using a Silhouette, you’ll want to group the leaves to fit your page size. Try fitting multiple pages on your 12×12 mat to help save time! I used the regular paper settings, and old mat (so the stick wasn’t too much), and a newish blade.
If you’re using the .pdf, I suggest printing it out on cardstock and cutting out the templates. Then trace as many onto a single page as you can.
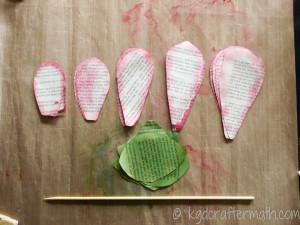
There are 5 sizes of petals and 1 leaf size. From smallest to largest, cut out the following number of petals: 3,3,5,5,6. You can cut out as many leaves as you want. I used 5 for the flower you’ll see here.
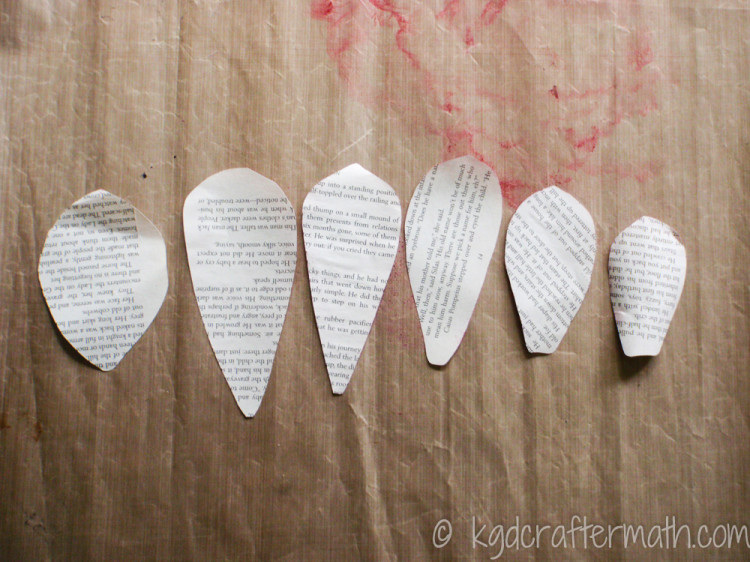
Step 2: Ink your petals
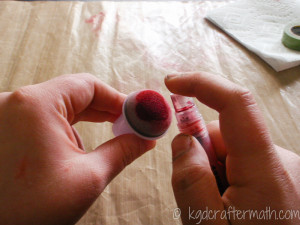
To ink your petals, you’re going to use the alchohol inks. First, make a mixture of approximately 1:2 (color to blending solution). This waters down the ink a bit and makes it go further. You can add some more of the blending solution if you want as well. This is about how much I needed for 1 flower (maybe a little bit more).
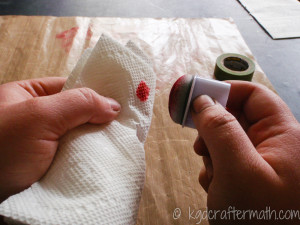
Then, place 1-2 spritzes on your sponge and blot it on the paper towel. After the first time, you’ll only want to spritz once.
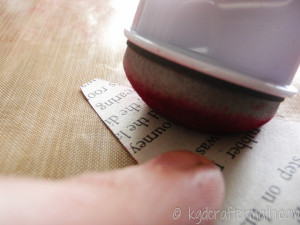
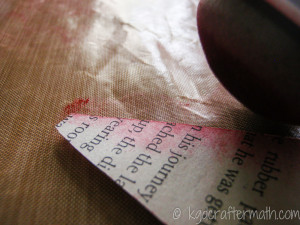
To apply the ink to the petal, press the sponge gently down just inside the edge and swipe outwards. This is a pretty light movement, but you can press harder as the ink becomes more used up. I can usually get 1-2 sides of a petal depending on the size per spritz.
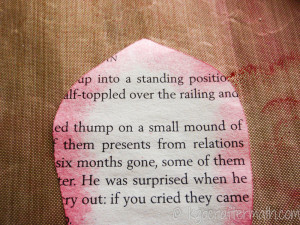
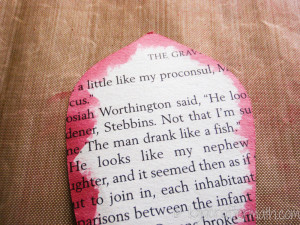
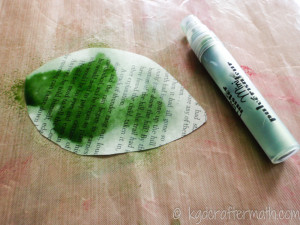
Be careful how much ink is on the sponge. I always start near the bottom, in case it needs to be blotted again. Check out the photos below, you’re trying to emulate the first image. The second image was done with a sponge that has too much ink on it. If you mess up a bit – DON’T PANIC. Remember that these are hand made, and it’s ok to have inconsistencies. It adds personality to the flower! (And as long as you know where your towel is, you’ll be fine. <– Insert obligatory nerd joke here.)
Do this for both sides of your petals.
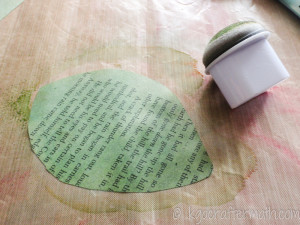
To ink up the leaves (or if you want petals that are a flat color), mix up the green ink as above. Then spritz 4-5 spritzes on top of the leaf. Spread it even with the other sponge. It will soak through to the other side, so you only need to do this once per leaf.
And look – you’ve done your inking!
Step 3: Add your petals to the stem
Ok. I’ll not lie here – this is where things get a bit difficult. Go slowly until you have the movements down. Remember you’re working with paper here. It will bend for you, but it will also rip if you’re not gentle enough.
Starting with the smallest size, roll it around your stem so that it’s a bit loose at the top, but tight at the bottom. Then tape it down with your washi (or floral) tape.
Got it? Good. Now you’ll take another of those smallest ones, and set it so that the peak of the petal is opposite the peak of the first petal. Once it’s attached, it will look something like this:
Remember, it doesn’t have to be perfect. Take the your last small petal and place it so that the peak is between the two existing peaks.
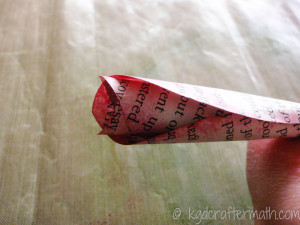
And I bet you can guess what’s next! You’re going a size up in petals, but it’s the new smallest. Place it so that it’s opposite the petal you’ve just put on, keeping the peaks at the same height. It’s longer, but that’s ok. Use the extra length at the bottom to help tape it on.
We’re going to keep up with that pattern (1,2,3,4) for all of the petals except the largest ones. Trust me, I’ve done so much experimenting with this, and I found these looked the best. Here’s a visual (don’t worry about the lettered points just yet).

Keep adding on your petals, keeping them a little loose, but not so loose that they’re falling off. Here’s some of the buildup:
Once you’ve got all but the largest petals, you’ll see that there’s a bit of a “seam”.
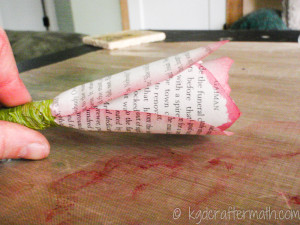
We’re going to cover this up by adding 3 points around the circle instead of two. Refer to the abc and def points in the image above. Finish applying the rest of your petals.
Phew! 1st hard part done!
Step 4: Curl your petals
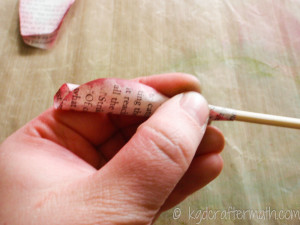
To curl your petals, you’ll want something skinny and round. Guess what! Another bamboo stick works just fine! Again, be careful with this part. Try not to rip the edges of the petals, but if you don’t, don’t worry. There will be a chance to fix that later.
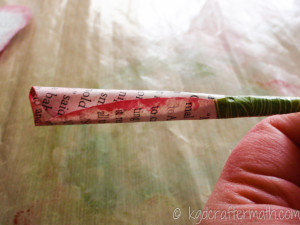
First, roll the tip of the last petal down around your roller.
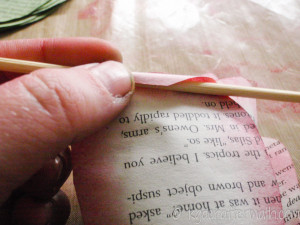
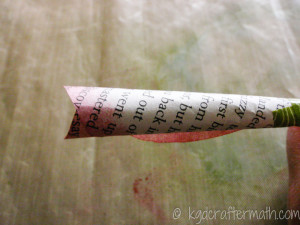
Gently roll it down as far as you can go.
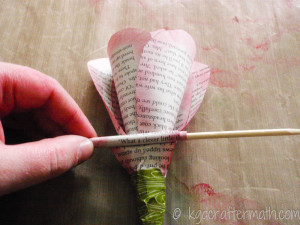
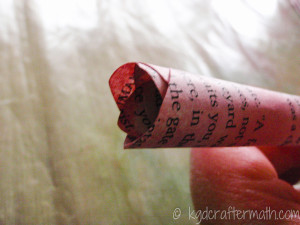
And then following the reverse order you put them on, roll down as many petals as you can. You won’t be able to roll them all down, that’s ok.

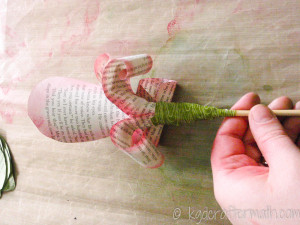
You should have something that looks like this:
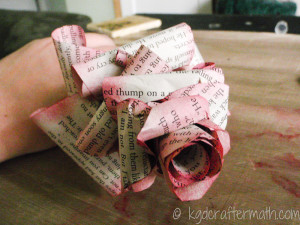
Now, going from top to bottom, push them and flatten them a bit so that you get your flower shape.
Look at that! Almost done!
Step 5: Add your leaves.
We still have a bit of a seam thing going on, so we’ll add some leaves to help us out. First, add some more tape to base if you need it.
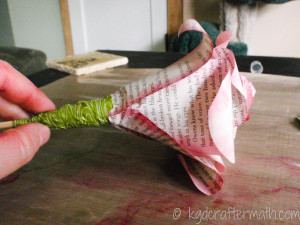
I just added 5 leaves evenly dispersed around the flower and gently taped them on.
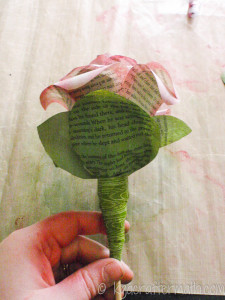
Fin!
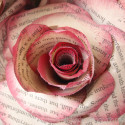
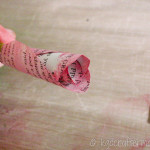
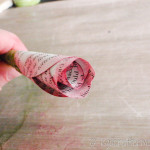
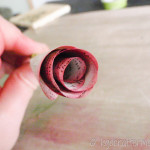
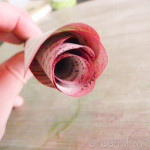
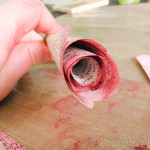
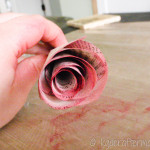
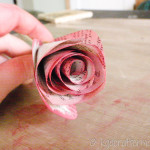
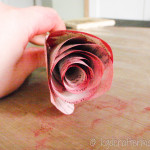
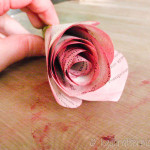
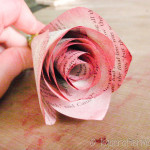
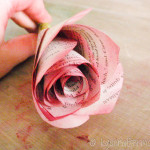
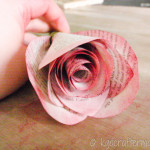
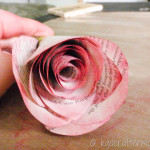
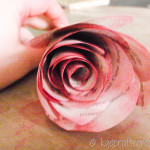
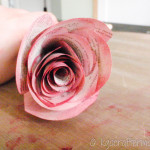
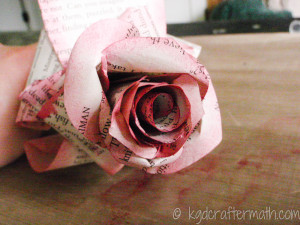
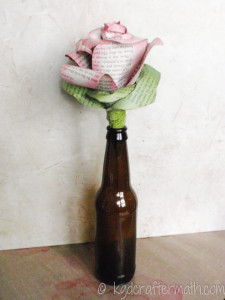
Marvel at that beautiful rose! Put it in a vase! (or a beer bottle if that’s what you’ve got)
Look at it from the side:
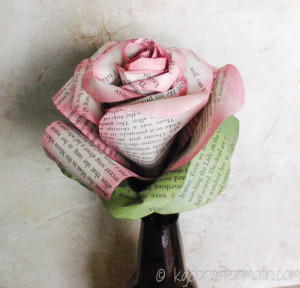
And from the top!
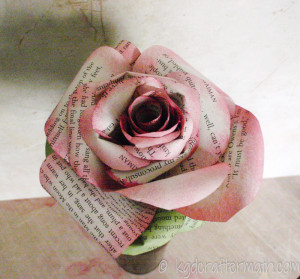
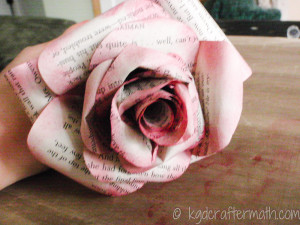
And take that obligatory up close photo!
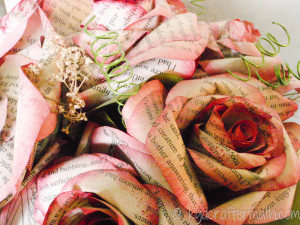
You get the idea. I hope you’ve enjoyed this post, and sorry that it was so long.
Don’t go just yet though, it’s Silhouette challenge day! And that means more awesome projects! Check them out below!
Want to Check Out More Silhouette Projects?
My Silhouette Challenge buddies and I are all sharing projects on our blogs today, so peruse the projects below for a wealth of Silhouette inspiration!
1. Create & Babble // 2. Kate’s Paper Creations // 3. Please Excuse My Craftermath // 4. Tried & True // 5. unOriginal Mom // 6. Mama Sonshine // 7. Adventures in All Things Food & Family // 8. The Experimental Home // 9. The Outlandish Momma // 10. Whats Next Ma // 11. Dream a Little Bigger // 12. Silhouette School // 13. Creative Ramblings // 14. Our Rosey Life // 15. Bringing Creativity 2 Life // 16. Practically Functional // 17. Minted Strawberry // 18. Two Purple Couches // 19. Simply Kelly Designs // 20. Grey Luster Girl // 21. TitiCrafty // 22. My Mom Made That // 23. Architecture of a Mom // 24. My Paper Craze // 25. The Sensory Emporium // 26. Ginger Snap Crafts // 27. Mabey She Made It // 28. McCall Manor //

I like to link up here.
Affiliate links help me keep this blog running. Thanks for using them!
All opinions expressed on this blog are always my own.



These are lovely and sometimes the extra effort is worth it and this proves it. Thanks for sharing your how to and being up front about the time involved.
My project is much simpler but I hope you’ll take some time and visit my blog too. Have a great day. http://www.katespapercreations.com/2014/05/silhouette-challenge-shape-challenge-flowers.html
Thanks Kate! This was one time that I was willing to pull out all the stops, and I’m really thankful I did!
Wow! Just, wow. Stunningly beautiful. And I can’t get over how incredible your wedding bouquet is!! Great tutorial – these are definitely worth the time and effort.
Meredith @ unOriginalMom recently posted…Simple Pantry Labels and a Giveaway!
Yay! I’m so glad you like them! Best thing about the bouquet is that it’s almost 4 years later, and it looks almost as good as new!
These are so very gorgeous! Glad to know about the length of time it might take for most of us just starting.
As usual, great tut and I love your story that accompanies it.
I admit, the first time I tried to make one I came this close –> <– to giving up. I’m so glad I didn’t though!
[…] getting my Cameo. Boo. If you’d like to check out the challenge this month, you can do so on Kristy GD’s blog. But since I couldn’t join my Silhouette buddies today, I decided to join my list-making […]
WOW that looks so pretty and it takes a lot of work… It’s pure art. Love it!
XOXO
Camila recently posted…DIY Home Decor Paper Flowers Blossom Branches
Wow! So beautiful! Love the look that the spray ink brings!
Adding the ink to the edges is one of my favorite touches – it makes the whole thing just a bit softer I think.
Wow. Amazing. These are lovely! A true work of art!
Rachel @ Architecture of a Mom recently posted…French Box Upcycle with Graphic #silhouettechallenge
Thanks so much Rachel!
Oh my goodness, these are stunning. Wow the detail you put into them is amazing. Great job!
Melissa @ Silhouette School recently posted…DIY (Vinyl) Faux Carriage Garage Doors (Free Studio File & Giveaway)
Thanks Melissa! The devil is in the details they say, but I think they were well worth it.
WOW! Amazing! I’ll probably never have the patience to do this, but they are just stunning!
Brooke recently posted…Metal Etching
Thanks Brooke! I’ve got to say, patience is certainly something I had to learn for this project. But I’m always good with projects like this if I’ve got an audio book on in the background. That’s when I just loose myself in the work.
Your flowers are BEAUTIFUL. Your tutorial is great. Thanks for sharing your project.
Tanya recently posted…My Baby is Graduating
Thank you so much Tanya! You have such great taste, I’m so glad that you like them.
Holy cow, these are incredible! And your finished bouquets are absolutely beautiful!
Emily @ Two Purple Couches recently posted…Silhouette Sketch Pens Peony Prints
Thanks Emily! It took some trail and error to get the bouquets right. I discovered the night before the wedding that 5 flowers don’t bunch quite right, and so had to make 2 more the night before! (The smaller bouquets have 3.)
These are SO gorgeous, Kristy! True works of art! I love that you revisited this epic project from your wedding, and of course, I love hearing the backstory to things. How cool that you chose books of personal significance! I think one’s wedding day is definitely a worthwhile reason to cut up a book. I can approve! And now, off to pin this puppy to like a gagillion different boards of mine…tee hee.
Lauren @ The Thinking Closet recently posted…Five Minute Friday: Grateful
Choosing books was one of the best thing! It was also one of the most fun things, since we decided we both needed to have read them. That meant we got to do a bit of comparing on our previous readings, and even add a few more to read!
And I’m loving the word gagillion. I need to pin this to my own boards! I’ve been so distracted lately, and can’t wait for a moment to breath again!
These are absolutely beautiful! Thanks for the tutorial…but I’m a little intimidated. I don’t think I would have the patience for something like this. Nonetheless, I did learn something useful about inking petals, though!
Heather recently posted…Monday Listicles: Wardrobe Must-NOT-Haves
I don’t blame you Heather. To be honest, if they weren’t connected to such a significant event, I don’t think I would have posted a tutorial since they are so intimidating! I’m glad you were take something useful out of it though! I’m sure that technique would look amazing on any flower petal.
These flowers are beautiful Kristy!
Kelly Hedgespeth of Simply Kelly Designs recently posted…Paper Purse Gift Card Holder
Thank you Kelly!
Oh man oh man. These are amazing!! I can’t even imagine you (and your bridesmaids) cutting out the petals freehand. And I love that you used books with special meaning to you and your fiancé!!
Michele @ Our Rosey Life recently posted…Distressed White Washed Terra Cotta Pot with Book Page Flowers
Haha! I can, but only because I’ve been through it. And they weren’t the only thing that we hand cut. Granted, we used patterns to trace (or in some cases printed lines), but there was *a lot* of hand cutting. Those girls are amazing for not wanting to cut me up by the end! And I’m so glad you appreciate the thought we put into the books – it’s one of my favorite things about this project!
Wow, Kristy, these roses are truly amazing! And what a great tutorial! I’ll have to give these a try!
Becky @ My Paper Craze recently posted…Creative Spark Link Party #2
Thanks Becky! I hope the tutorial helps you work your way through them the first time.
This is an amazing tutorial! I can’t believe how beautiful these flowers are– pinned and will refer to soon!
Thank you! Let me know if you have any questions if you end up making your own.
These are fantastic!!

Work of art, and I admire your talent
Winnie recently posted…רולדת בננה במילוי גבינה ושוקולד
Thanks Winnie! I think this is one of those times where dedication and, dare I say it, a bit of stubbornness payed off big time.