That’s a horrible title. Sorry. But, that’s what this quick software tutorial is all about. There are times when I just don’t want to double stroke that’s created when you trace in Silhouette Studio. So, I found a way around it. And since I left my handwritten draft of today’s post at the U, I decided to write this quick software tutorial. Here’s the rub, I don’t know how to do this in the Silhouette Studio software. Instead, I’ll be showing you how to do this in 2 different line editing programs: Illustrator (a paid program) and Inkscape (a free program) (Inkscape does not support center stroke tracing. I’ve got a few other options I’ll show you though). Today’s post is just on Illustrator, I’ll do Inkscape the others another day very soon.
The Image
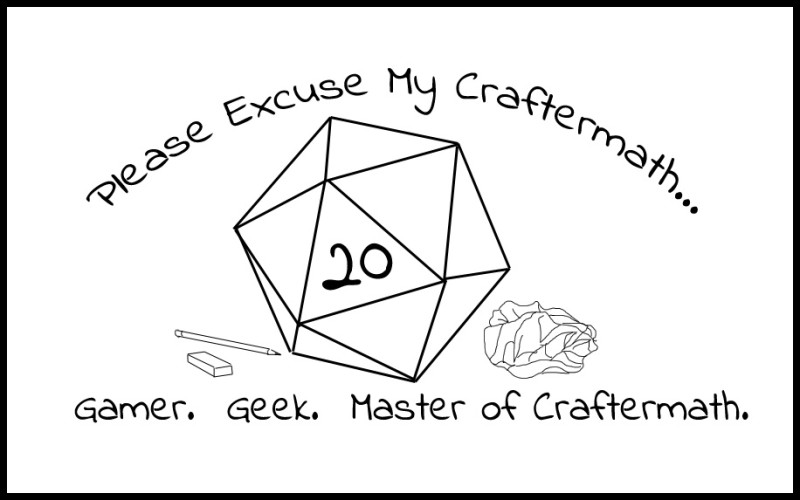
Ok, let’s start with our image. I’ve been playing around with a tag line that I rather like, so I created this image to feature the tag line here. (See what I did there.) I like it for this tutorial though, because it shows the versatility of this method as it has both text and images. Today we’ll just go through the transformation, and in another post (probably this weekend some time) I’ll sketch this out with my silhouette. I just saved the image as a .jpg file when I was done creating it in Photoshop. There are other file types you could use (.png and .tiff to name 2), but I won’t list them all here. Suffice it to say that it is a bitmap image (created by pixels, not paths). Silhouette studio can import these to print, but if you want to cut or sketch them, you’ll have to trace them. And since I don’t want the double lines, I’ll be doing that in another program.
Illustrator
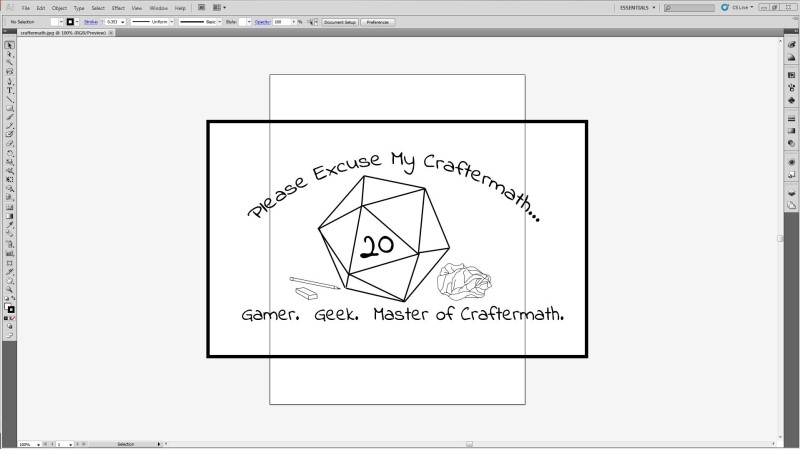
Let’s start with Illustrator, since it is the program that I use. First you’ll want to open the file in Illustrator. You can do this by just clicking File-Open and going to the proper file path. Here is the file after it’s been opened. Notice that there is an 8.5×11 white border in the background which the image is bigger than. Don’t really worry about that right now, but you can resize the image if it bothers you.
Step 1: Trace
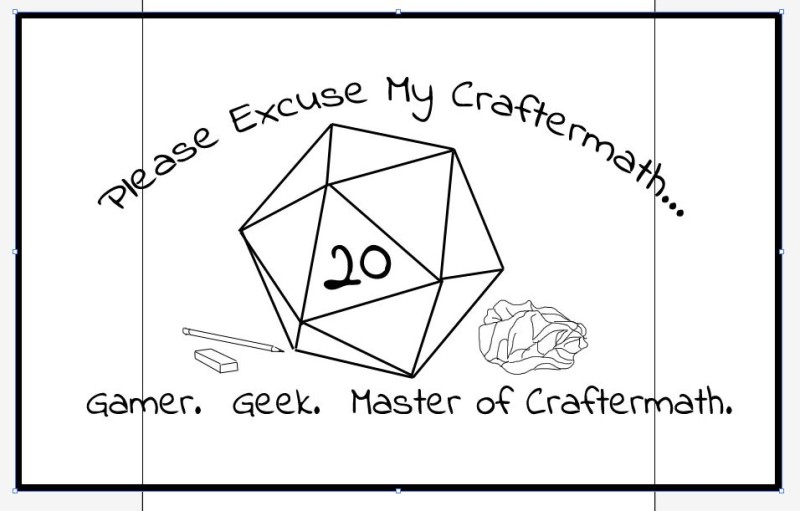
Now we will trace the object. Select the object so that you see the blue outline around it, like so:
Using the top menu, go to Object – Live Trace – Tracing Options. Under trace settings, you’ll see that the default is set to Fills. We want to switch that to Strokes. You’ll also want to check the Preview box. You’ll notice that my path doesn’t really look all that pretty right now.
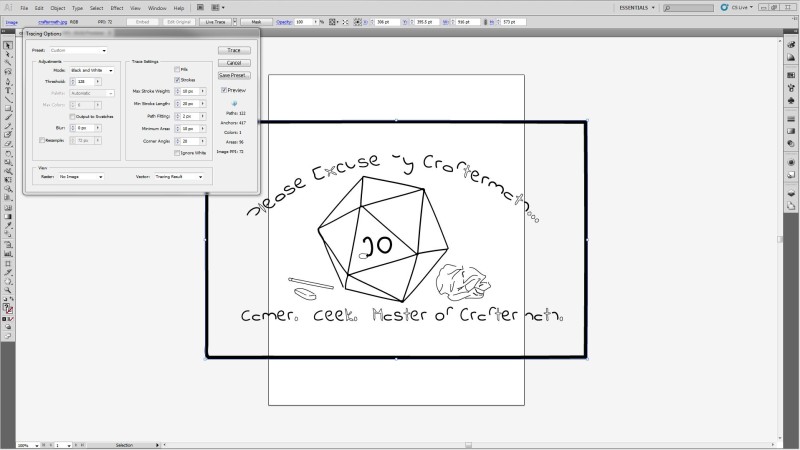
That’s ok. We can fix that by bumping up the stroke values. After a bit of fiddling, this is what I came up with:
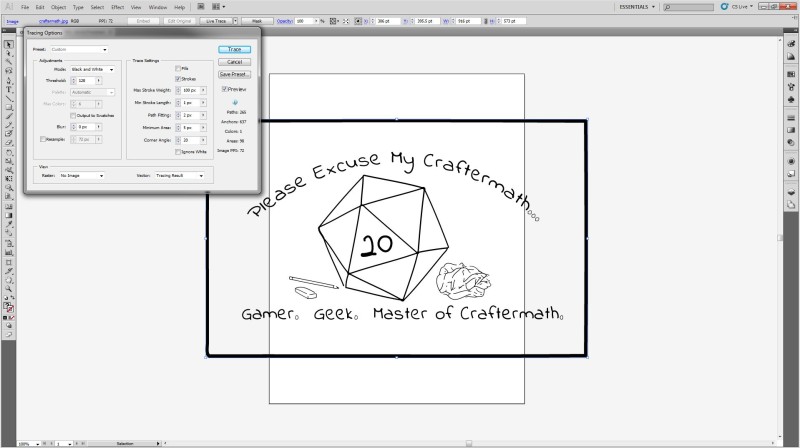
Much better. Click the “Trace” button in the pop up box to allow the changes.
Step 2: Preparing for export
Ok, there are a few things we need to do before we can export this for studio. I don’t have the new connect plug in, so I don’t know if these steps are necessary if you’re cutting straight from Illustrator. If you are exporting, make sure to do the following.
With the object selected, select Object – Live Trace – Expand
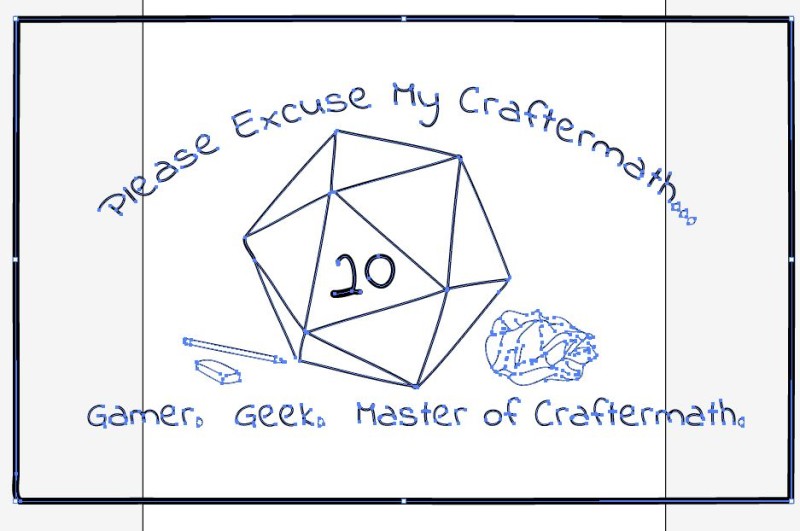
Now go to Object – Ungroup. There isn’t any visible change, but that’s ok.
Step 3: Export
This part is really easy. Go to File-Export. Name your file and save it as a .dxf file.
**Since I’ve written this post, I’ve been able to get it to work with .svg files. Originally I couldn’t, and I’m not really sure why. *shrug* I’ve also been able to import without having to go to Object-Ungroup before exporting.
Step 4: Open In Silhouette Designer
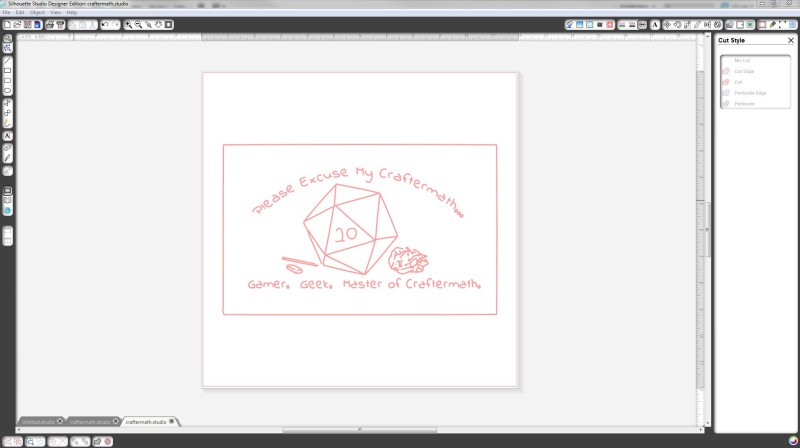
Silhouette designer can open .dxf files, so all you need to do is go to file-open, make sure your file type is set to All Files (*.*) just below the file name box, and navigate to your file. Since everything has been un-grouped, you can delete that outer box if you want. Here’s what it looks like in Studio, with the cut lines in red. (I do not know if you can import it into the basic version of the software.) Then, select everything you want to keep, group it, resize it, and place it where you want.
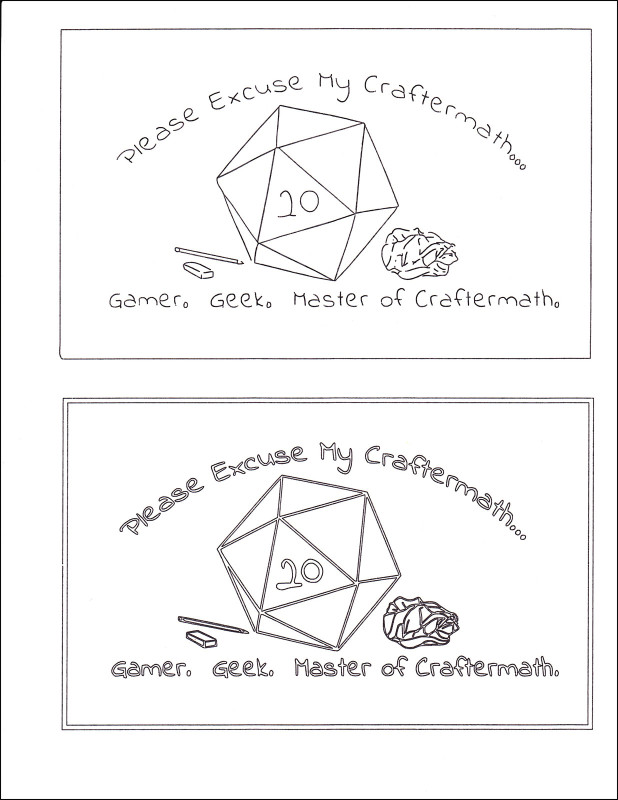
And just to show the difference here is a scan of the sketch both using the method above as well as the trace function within Studio. The top sketch is through Illustrator and the bottom is through Studio. Both were sketched out using sketch pens on my Cameo and then scanned in so you can see them here. Both have their strengths and weaknesses, so I’ll probably end up using both techniques in the long run. I’m also thinking that I could get different widths by using sketch pens for part of the sketch and sharpies, or another thicker pen, with my pen holder. I’m looking forward to trying out a few different methods!
And just to recap, here are the next few posts you can expect: Labels for the extract jars, Single Stroke Paths using Inkscape freeware, Using Sketch Pens (a super simple silhouette post). I hope you find this useful. I know that this was something that has bothered me for the longest time with sketch pens, and I’m so glad I have this trick in my arsenal of tools now. Thanks for stopping by!
*Note: I’ve now used this several times. Sometimes, the results are great! Other times, especially with naturally bold fonts, they don’t work out quite so well. Here’s an example of what I could get from the font “Jekyl”. I’ve gotten some better results with more fiddling, but still haven’t managed to get something I’m truly happy with.
Here are all of the overviews:

I like to link up here.
Affiliate links help me keep this blog running. Thanks for using them!
All opinions expressed on this blog are always my own.

Kristie, your posts are always so easy to follow for someone like me that does not use a Mac on a regular basis. Thank you so much for taking the time to do a very understandable tutorial. I always enjoy your posts and reprint them for my “Tutorial Folder” so I can refer back and forth.
Thanks Karen! I’m honored that my tutorials make it into your folder. I actually use a PC, maybe I should state that above! Sometimes the location of the buttons is slightly different, but usually the logic is the same.
I find that I don’t use my sketch pens nearly as much as I would like because of that double line feature. This tutorial is awesome and makes me want to get illustrator (or at least Inkscape). Nice job!! I’m so glad we are friends

Dee recently posted…Lollipop Wands for Valentine’s Day! (with printable & cut file!)
The double line trace was one of the most annoying things for me. I’m so glad I was tenacious and fought to figure out a way around it. Sadly, it looks like I was wrong and Inkscape doesn’t offer a center line trace option (though may people have asked for it!); however, I’ve found a few other freeware tricks that will help. I’m so glad we’re friends too!
You are a wealth of information, my dear. I am a illustrator-lover, and as you know, a silhouette newbie. Here is my question… why a .dxf file not a .svg file? Just curious.
Laura @ The Experimental Home recently posted…Learn to KNIT with me!
That’s a great question Laura! For some reason, when I was writing this tutorial I couldn’t get the .svg to work. I have no idea why. Since then, I’ve been able to. Maybe I was just having a bad day? It’s my understanding that you can import .dxf into regular Studio as well, if you don’t happen to have Designer Studio. (Though I haven’t checked that).
I also had problems if I didn’t ungroup originally, but am no longer having those problems. There was a recent update to Studio that *might* be what fixed that problem, but I don’t remember when that happened.
SVG wasn’t even an option for me….
uhh…never mind.
It shows up when I ‘save’ but not when I ‘export’
Thanks for this Kristy! I used it for a picture instead of a font and it worked great!

Much quicker than me trying to figure it out on my own
Dawn Marie recently posted…Running Log ~ March 12
This was great. I have an older version of Illustrator and think I need to upgrade. Since I do all my drawing in illustrator can I live trace an ai file then use it in the Silhoutte?
I have tried everything to get rid of the double lines and this post was the best.
I wouldl like to be able to take my designs that i do in ai and convert it so i can use the sketch pens on fabric to hand embroider the design.
Any input would help as far as what version I need to purchase.
Thank you
If you do your drawing in Illustrator and save it as an .svg, the designer edition of Studio will be able to use it. Depending on how you do your drawing, you may not even need to live trace it. You just need to have the stroke information, since Live Trace is just converting a bitmap image to a stroke path.
There’s also the Connect plugin that Silhouette makes, which allows you to control your machine straight from illustrator. (CS4 and above)
If you don’t want to purchase another piece of software from Silhouette, I think that the regular edition of Studio will accept .dxf imports
As for version of Illustrator, I have CS5. Since the connect plugin is compatible with CS4 and above, I imagine it would have the features you want it to have, but definitely double check before you buy. The newest versions of the software (Illustrator CC – Creative Cloud) is cloud based and requires a monthly payment. I don’t really care for that, so personally I would suggest getting CS5 or CS6 from a retailer who still carries it.
And what a cool idea to transfer your drawings onto fabric to do hand embroidery!! I’d love to see one of your projects when it’s done!