It’s silhouette challenge day! Woohoo! This year we’re doing something extra special: themes! And since it’s January, and everyone is all about New Years Resolutions (notice how I’ve avoided that topic lately?), our theme is Organization. Also, notice how I’m using the word ‘we’ now? Well, I’ve become so involved with this group I’m now a member of the Sassy Silhouette Support team for our Facebook group (no affiliation with Silhouette themselves). I’m really super excited about this group, and so happy to be a part of it. Ok. Enough gushing, on to the organization!
Materials
Before I start in on the tutorial, here are your materials:
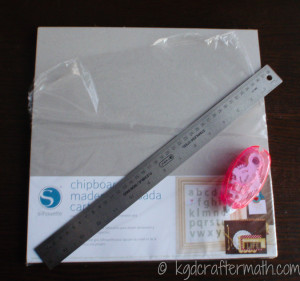
Chipboard
Double stick tape
A ruler
Mod Podge (not shown)
Step 1: Take stock of what you have.
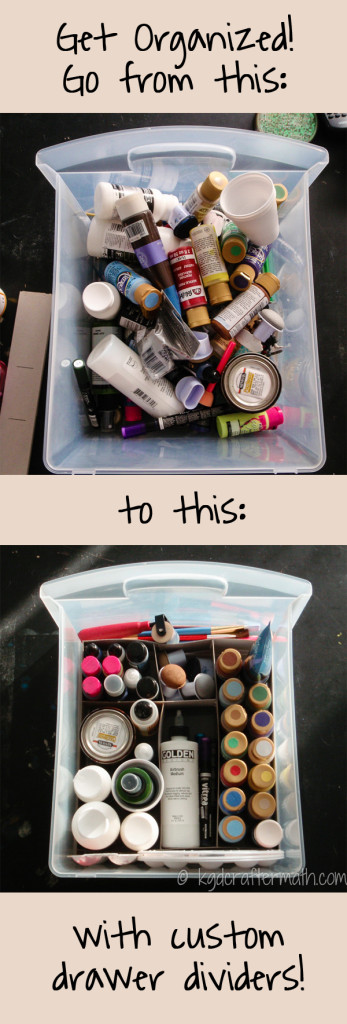
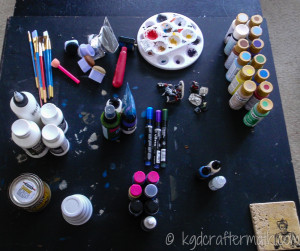
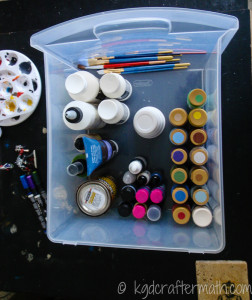
If you know me, it’s no surprise that I suck at organization. Usually I’m pretty good at getting the organizing going, but keeping it there? Eh, not so much. For this project I tackled a single drawer. That’s right, just one drawer. It had already been organized, and had a sample of my acrylic painting supplies in it. There are a quite a few related things in the basement, but until we tackle that disaster, this is what I’ve got to work with. Now, here is what that drawer looked like in it’s organized stage:
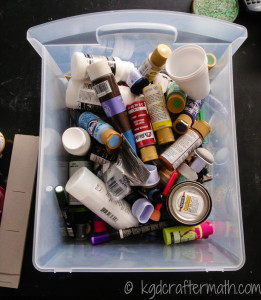
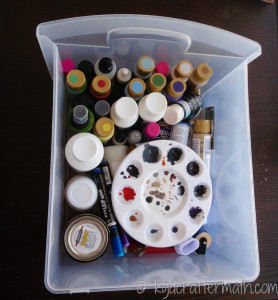
Yeah… not so pretty. But at least it’s all painting supplies! Maybe…. That was the first step, taking everything out, grouping it together, and fitting it back in the drawer so that it made a everything a bit easier to see everything that was in there. Turns out I had a few minis in there that didn’t belong!
Step 2: Measure out your sections.
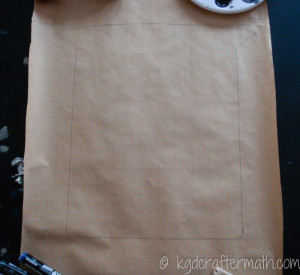
Here’s the thing, I’ve done step 1 before. I knew that if I put it back in the way it was, it would just end up being a jumble again. So I needed something to keep everything properly separated. And what I really needed was drawer dividers, but ones that had boxes where I wanted them and would fit into the drawers. Like that would happen! I didn’t even bother looking for a store bought solution – I went straight to my silhouette! First, I needed to make a template and measure how big I wanted the dividers to be. So, I traced the drawer:
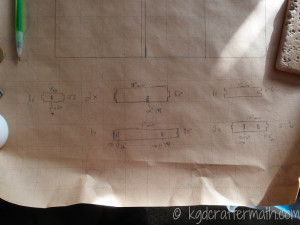
Placed the items back in my “drawer” and drew out dividers:
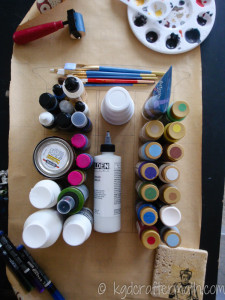
You’ll notice my paint pallets just hanging out on the side. I decided to leave a small space in the back for them to stand vertically. If that doesn’t make sense now, it will later. I was using the back of some wrapping paper, so I didn’t even need to pull out my measuring tape. I just drew out all the shapes, marked where they would intersect, and figured out all the measurements. I decided I wanted them to be short dividers, so they are only 2″ tall, Tall enough to do the job, but I can still easily grab everything in the drawer.
Step 3: Create your cut file.
Then it was off to Silhouette Studio! Luck for me, everything I was doing is based on squares. Armed with my measurements, it was pretty easy to create a cut file. The only trick was knowing that the silhouette chipboard was .4mm thick. I knew right away that I wanted to double up for a bit of extra stiffness, so I made my miter joints (the spots where two corners meet) and holes to be .03 inches (.4mm = ~.015 inches). Here is what one of my sheets looked like:
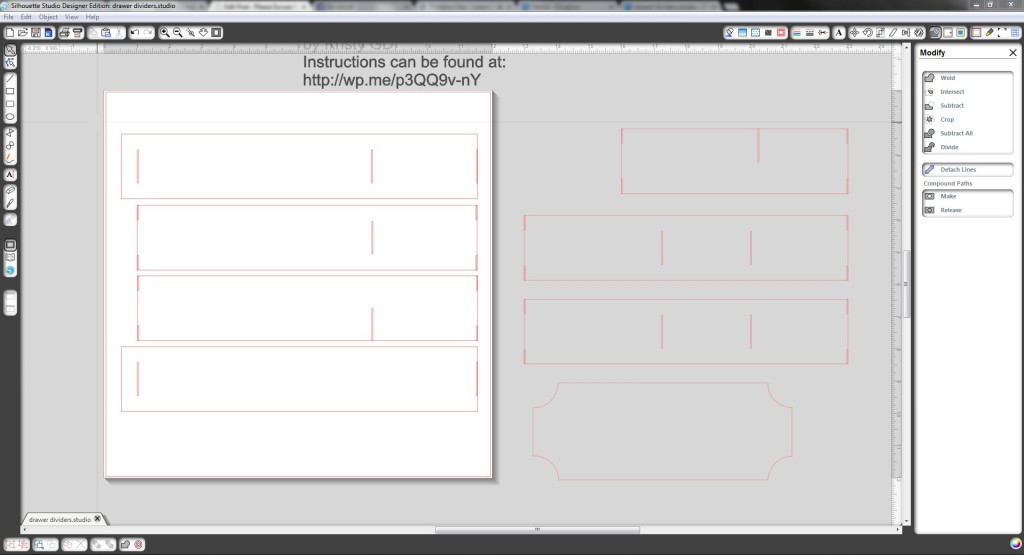
Click here to download the file.
I’ve made some slight adjustments to the file since I printed it, basically making the holes a tiny bit bigger. Of course, you’ll want to do some of your own measuring to figure out your own dimensions if you want to make your own dividers! If you don’t have a silhouette, you can always use your ruler to draw your dimensions right on the chipboard and cut it out. I would use a rotary blade for the exterior and an x-acto knife for the tabs and interior holes.
Step 4: Cut
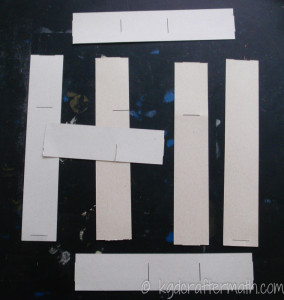
Here are all the pieces cut out and laid in their proper spaces:
Step 5: Adhere
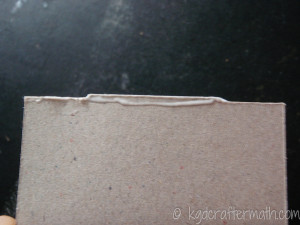
I doubled up on the chipboard and used my favorite double sided tape to adhere them:
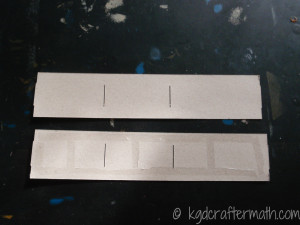
Then used some mod podge to glue all the corners and edges together. (Any paper glue will do though).
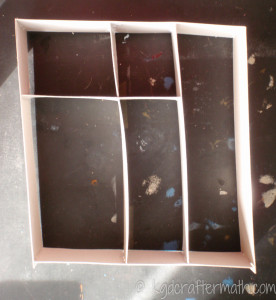
That was it! My drawer divider was done!
Step 6: Put it all back
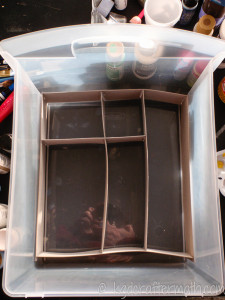
I just needed to insert it into the drawer.
Then, load the drawer back up!
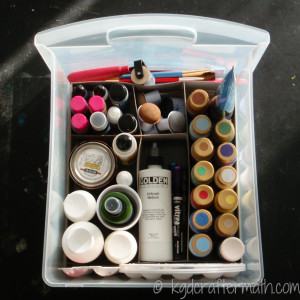
See that space in the back? That’s for my paint pallets. And, I’m using the weirdly shaped front to hold all of my brushes. I even slapped on a simple chalkboard label for good measure (also included in the free cut file)!
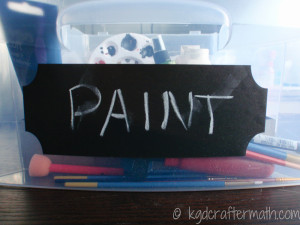
The math really wasn’t all that scary either. Just a bit of planning to create these super simple custom drawer dividers. They aren’t the sturdiest in the world, and I can probably firm up the joints now that the initial glue has dried, but the beauty is that they don’t have to be! Their job is to sit there and provide zones for my different materials, which they do wonderfully!
And what about craftermath you say? Well, that’s the beauty of this project. There is almost no mess at all! Here’s what I’m left with:
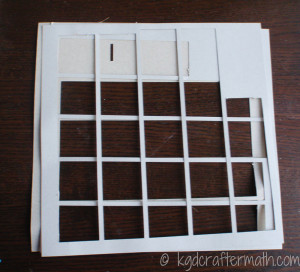
Of course, if you need to organize lots of drawer at once, it could be worse. But that’s why I’m doing my organization in steps – if it’s too overwhelming I’ll end up with more of a mess than before, and I don’t want that!
And since it’s a challenge day, there are so many more organization projects for you to check out! Take a look at any (or all!) of the blogs below to see some more awesome organizational projects you can do with your silhouette.
Want to Check Out More Silhouette Projects?
My Silhouette Challenge buddies and I are all sharing projects on our blogs today, so peruse the projects below for a wealth of Silhouette inspiration!
- DIY Window Shutter Mail Organizer by Weekend Craft
- Kids’ Art Wall by Tried & True
- Organizing Silhouette and Craft Supplies by The Happier Homemaker
- Simple Recipe Organization by It’s Always Craft Time
- Put a Label on it! Herb Names for Plant Stakes by Get Silvered
- Super Simple Linen Closet Labels by Two Purple Couches
- Beware of the Animals Vinyl Toy Box by A Tossed Salad Life
- Child desk accessories by Architecture of a Mom
- Organizing & the Important of Labels by The Turquoise Home
- Index Card Organizer for Easier Meal Planning by Chicken Scratch NY
- Create Craft Room Labels by Dragonfly & Lilypads
- Simple Storage Solution for your Christmas Ornaments by Vintage News Junkie
- Organize this: DIY Planner Covers, Tags & Dividers (made with Cereal Boxes) by Black and White Obsession
- How to Make a Cut File into a Print & Cut by Create & Babble
- Simple Chest Freezer Organizational Board by Nearly Handmade
- Vinyl Your Kitchen Canisters! by From Wine to Whine
- Nursery Closet Dividers & Silhouette Cut File by Creative Ramblings
- Make Custom Box Templates with a Silhouette for Drawer Organization by One Dog Woof
- Organizing the Craft Room by What’s Next Ma
- Vinyl Wall Calendar by Crafts Cakes and Cats
- Personalized Toy Storage Bins by Lil’ Mrs. Tori
- Personalized Routine Chart by Work in Progress
- Blog Planner Sheet Dividers + Free Cut Files by TitiCrafty by Camila
- Simple Project Calendar by Little Blue’s Room
- Dry Erase Photo Frame Menu Board + Free Cut File by Essentially Eclectic
- Receipt Organization with Free Cut File by The Thinking Closet
- Cute and Easy Labels by Life After Laundry
- “What’s For Dinner?” Menu Planning Board by unOriginal Mom
- Mixing Organization and Function: An Easy Conversion Chart by My Paper Craze
- Why do my cookies taste so bad? A lesson in baking. by The Life and Times of a TAP
- Custom Drawer Dividers by Please Excuse My Craftermath… <—– You are here!
- The evolution of my labeling system by feto soap
- Ikea Drawer labels by McCall Manor
- Glass Etched Vinegar & Oil bottles by Terri Johnson Creates
- Organize It: Bathroom Closet by The House on Hillbrook
- Ombre Butterfly Magnet Board by Sowdering About

I like to link up here.
Affiliate links help me keep this blog running. Thanks for using them!
All opinions expressed on this blog are always my own.


This has been on my to-do list for a while, I’ve been saving up cereal boxes…but I never thought to use my Silhouette for a nice clean cut! Great idea!!
Meredith @ unOriginalMom recently posted…“What’s For Dinner?” Menu Planning Board – with FREE Cut File!
I love the cereal box idea! The thing I really liked about using the silhouette is that I knew all my measurements were just right (especially where the pieces meet up). I *might* get the courage to make these out of thin wood for even more stability. That is, assuming I ever get all my drawers organized so I know everything has a home!
What a great idea!! I saw the chip board on sale through Silhouette… but never knew what I’d use it for! Then I saw the comment above… Cereal boxes?! I love free! And I love organizing! PS. thanks for the work you do with the Silhouette Group! It’s greatly appreciated!
Janice @ NearlyHandmade recently posted…Simple Chest Freezer Organizational Board
Aww, thanks Janice! I had the same issue with the chipboard: what to do with it? I’m really happy with it’s use for these, but free would totally be better!
Yay, how creative!!!! Not only does your box look great, but it’s practical so you can totally keep it organized!! Great job, I’d call this a challenge WIN!
Dee @ From Wine to Whine recently posted…Vinyl Your Kitchen Canisters!
I’m hoping it’s a win! I have to wait and see though, only time will tell if I can actually *keep* it organized. That’s the real challenge!
I definitely see this project in my future. Thank you so much for the instructions!
I’m so glad that this project inspires you to make some dividers of your own. Good luck!
This is great Kristy. You can see exactly what colour paints you have at a glance.
I could use this idea in a kitchen drawer. The evil one that has all the bits and pieces chucked in it that don’t have a proper home.
Pam – GetSilvered recently posted…Put a Label on it! Herb Names for Plant Stakes
I love seeing the paint colors on the tops of the bottles! I have some other paints (in smaller bottles) that don’t come with the colors on top, and the first thing I do is squirt a bit on the top of the cap so I can see the color easily.
And you only have one evil drawer? I envy you!
WOW awesome idea! and what a great tutorial. That is a great way to organize drawers as well! Pinning!!!
XOXO
Cami
Camila recently posted…We Heart You. Wall Art Love for Kids + Free Printable
Thanks so much Cami! I’m really happy with the results, and it’s great to see it inspire others to make their own drawer dividers.
I need to sit down and do this to all of my drawers! I usually spend more time searching for my supplies than I do actually working on the project!
At least you search Krista! I’ve given up. It’s sad. I have so many stashes of supplies that I can’t find. Soon, my pretties, soon you will all be discovered!
Thanks for the tutorial. I have drawers in my desk I’d love to do this for. I never thought to do it this way. It’s not such an overwhelming idea now.
Glenna Anderson recently posted…Mixing Organization and Function: An Easy Conversion Chart
I’m glad to hear that this post helped take something from overwhelming to doable! And don’t worry, the hardest part really is the measuring. It’s all in the planning!